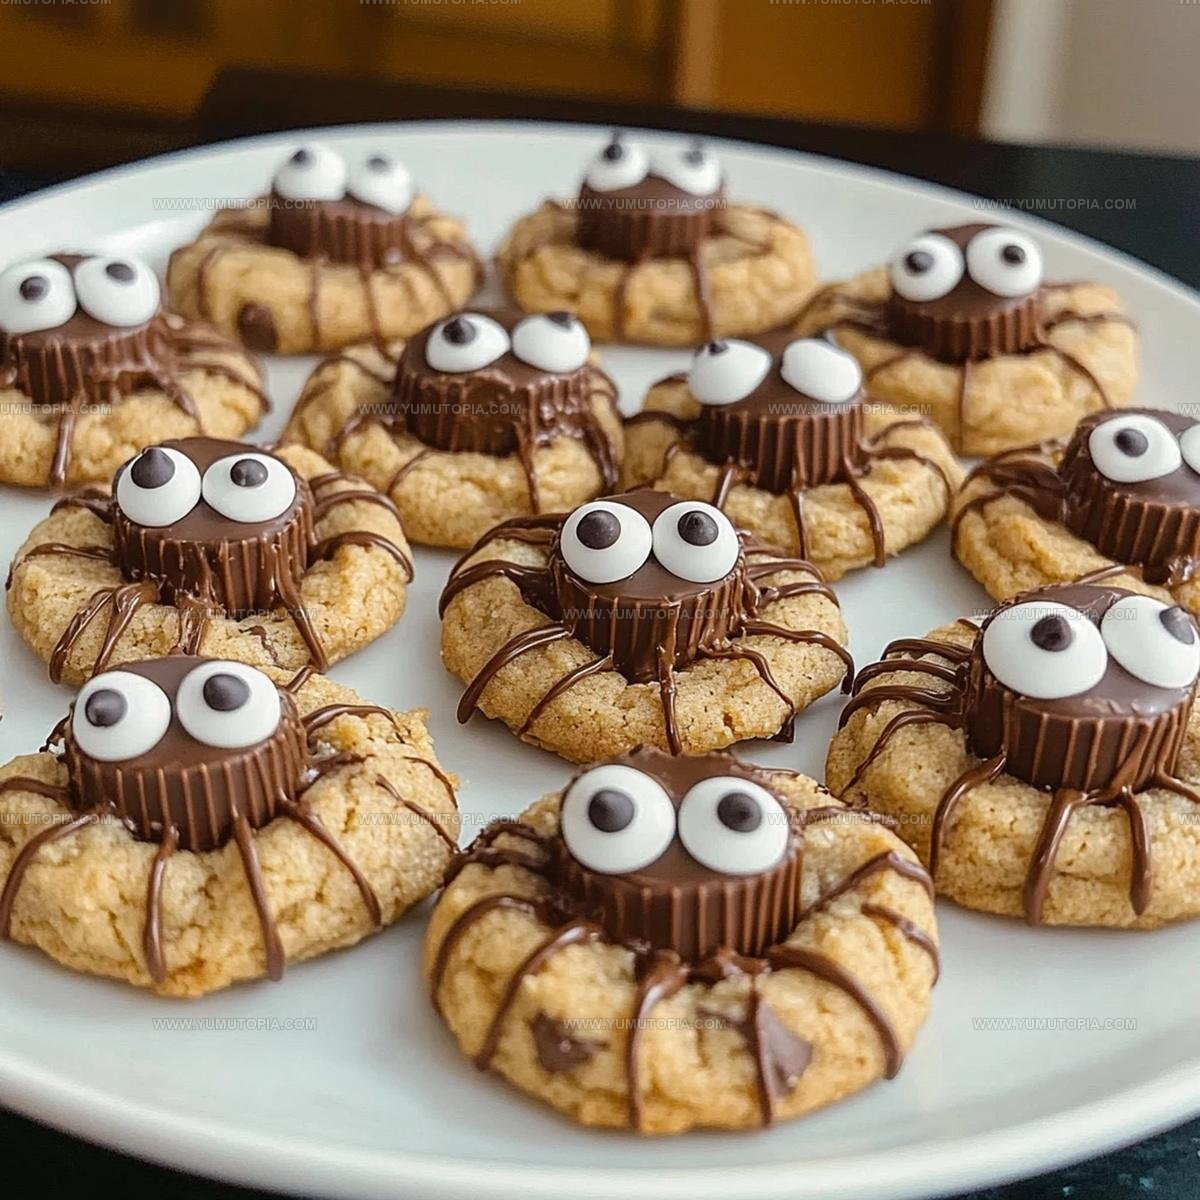
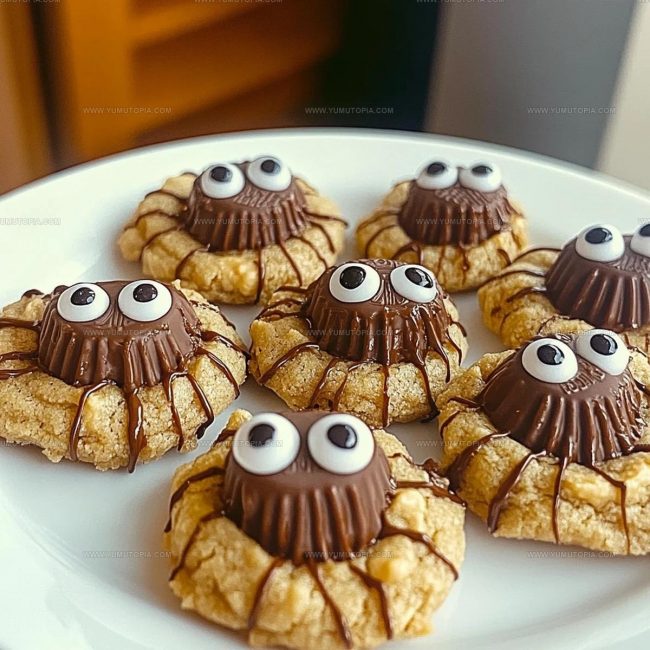
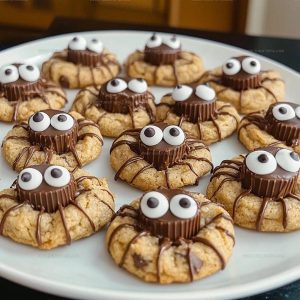
Peanut Butter Spider Cookies Recipe for Halloween Treats
Creepy peanut butter spider cookies promise spine-tingling Halloween excitement for festive gatherings.
Spooky dessert lovers will adore this wickedly delightful treat that combines playful presentation with delicious flavor.
Sweet and slightly sinister, these cookies transform ordinary baking into a memorable seasonal experience.
Decorative and whimsical, spider cookies capture the perfect balance between scary and scrumptious.
Halloween party guests will marvel at the clever design that turns simple cookies into edible art.
Crafting these delightful treats requires minimal baking skills and maximum creativity.
Why You’ll Love Peanut Butter Spider Cookies
Which Ingredients Do You Need for Peanut Butter Spider Cookies
Base Ingredients:Dry Ingredients:Decoration Ingredients:What Tools Do You Need for Peanut Butter Spider Cookies
Steps to Prepare This Peanut Butter Spider Cookies
Prep the Oven
Heat the oven to 350°F and line a baking sheet with parchment paper. This creates the perfect foundation for your spider cookie adventure.
Mix the Wet Ingredients
Grab a large mixing bowl and blend 1/2 cup unsalted butter, 1/2 cup brown sugar, and 1/3 cup granulated sugar until they’re smooth and fluffy. Then add these ingredients:
Whip everything together until it’s completely combined.
Combine Dry Ingredients
In a separate bowl, whisk these dry ingredients:
Slowly fold the dry mixture into your wet ingredients, stirring until the dough comes together.
Shape the Cookies
Scoop out the dough and roll each ball in granulated sugar. Space them evenly on the prepared baking sheet.
Bake the Cookies
Slide the baking sheet into the 350°F oven and bake for 8-10 minutes until the edges turn golden brown.
Add Peanut Butter Cups
Right after removing the cookies from the oven, gently press a mini Reese’s Peanut Butter Cup into the center of each warm cookie. Let them cool completely on the baking sheet.
Create Spider Decorations
Melt 1/2 cup semi-sweet chocolate chips. Use the melted chocolate to pipe spider legs around the peanut butter cup. Attach candy eyeballs using a tiny dot of melted chocolate.
Final Touch
Allow the chocolate to set completely before serving these spooky treats. Your spider cookies are ready to creep onto the dessert table!
Helpful Cooking Notes For Peanut Butter Spider Cookies
What Are Peanut Butter Spider Cookies Variations
Creative Serving Ideas For Peanut Butter Spider Cookies
What’s The Best Way To Store Peanut Butter Spider Cookies
Peanut Butter Spider Cookies What People Ask Most
Can I use crunchy peanut butter instead of creamy?
Absolutely! Crunchy peanut butter works great and adds extra texture to your cookies.
How do I store these spider cookies?
Keep them in an airtight container at room temperature for up to 5 days. They stay soft and delicious.
Are candy eyeballs safe to eat?
Yes, they’re made from edible sugar and food coloring, perfect for decorating fun treats like these spooky cookies.
Can kids help make these cookies?
Definitely! Children can roll dough balls, press Reese’s cups, and add chocolate spider legs with adult supervision.
What if I don’t have a piping bag?
No worries – a small zip-top bag with a corner snipped off works perfectly for creating chocolate spider legs.
Peanut Butter Spider Cookies Recipe
- Total Time: 23-25 minutes
- Yield: 24 1x
Description
Whip up peanut butter spider cookies for a spooky Halloween treat that’ll have your guests buzzing with excitement. Creepy-cute chocolate legs and candy eyes turn classic cookies into a playful dessert perfect for festive gatherings.
Ingredients
Base Cookie Ingredients:
- ¾ cup creamy peanut butter
- ½ cup unsalted butter
- ½ cup brown sugar
- ⅓ cup granulated sugar
- 1 large egg
- 1 ½ cup all-purpose flour
Leavening and Seasoning Ingredients:
- 1 teaspoon baking soda
- ½ teaspoon baking powder
- ½ teaspoon salt
- 1 teaspoon vanilla extract
Decoration Ingredients:
- ½ cup semi-sweet chocolate chips
- Granulated sugar
- Mini Reese’s Peanut Butter cup
- Candy eyeballs
Instructions
- Crank your oven to 350°F and line a baking sheet with parchment paper for easy cookie removal.
- Grab a large mixing bowl and cream ½ cup unsalted butter, ½ cup brown sugar, and ⅓ cup granulated sugar until they become fluffy and light.
- Mix in ¾ cup creamy peanut butter, 1 large egg, and 1 teaspoon vanilla extract until everything blends smoothly.
- In a separate bowl, whisk together 1 ½ cups all-purpose flour, 1 teaspoon baking soda, ½ teaspoon baking powder, and ½ teaspoon salt.
- Gradually combine dry ingredients into your wet mixture, stirring until your dough comes together without overmixing.
- Roll the dough into 1-inch balls and coat each one in granulated sugar for a sweet, crackly exterior.
- Arrange cookie balls on the prepared baking sheet, leaving about 2 inches between each one.
- Bake at 350°F for 8-10 minutes until the edges turn a delicate golden brown.
- Immediately after removing from the oven, press a mini Reese’s Peanut Butter Cup into the center of each warm cookie.
- Let the cookies cool completely on the baking sheet to help them set properly.
- Melt ½ cup semi-sweet chocolate chips in the microwave, stirring every 15 seconds to prevent burning.
- Transfer melted chocolate to a small piping bag or plastic bag with a tiny corner snipped off.
- Carefully pipe chocolate spider legs radiating from each Reese’s cup.
- Attach candy eyeballs using a tiny dot of melted chocolate as glue.
- Allow chocolate to set at room temperature for about 15 minutes before serving your spooky treats.
Notes
- Swap out peanut butter for sunflower seed butter to make these cookies allergy-friendly and safe for nut-free households.
- Chill the dough for 30 minutes before baking to prevent spreading and create a more compact cookie shape.
- Use a small offset spatula for gentle indentation of Reese’s cups to keep the cookie’s surface smooth and prevent cracking.
- For a cleaner chocolate spider web design, let melted chocolate cool slightly before piping to create more defined leg lines.
- Prep Time: 15 minutes
- Cook Time: 8-10 minutes
- Category: Cookies
- Method: Baking
- Cuisine: American
Nutrition
- Serving Size: 24
- Calories: 137
- Sugar: 8 g
- Sodium: 93 mg
- Fat: 7 g
- Saturated Fat: 2 g
- Unsaturated Fat: 4 g
- Trans Fat: 0 g
- Carbohydrates: 17 g
- Fiber: 1 g
- Protein: 3 g
- Cholesterol: 14 mg
Logan Lemaster
Founder & Culinary Innovator
Expertise
Recipe Development and Innovation, Menu Design and Optimization, Fine Dining Techniques, Ingredient Pairing and Flavor Science
Education
Metropolitan Culinary Arts Institute
Logan’s culinary journey kicked off in his vibrant Chicago family kitchen, where fresh, seasonal ingredients and bold flavors were always front and center.
After graduating from the Metropolitan Culinary Arts Institute in Arlington, Virginia, and honing his skills in renowned restaurants, Logan mastered the art of blending classic techniques with exciting, modern twists.
His kitchen is a dynamic lab for flavor exploration. Through Yum Utopia, Logan aims to empower you to cook with both confidence and creativity, turning simple ingredients into spectacular meals.