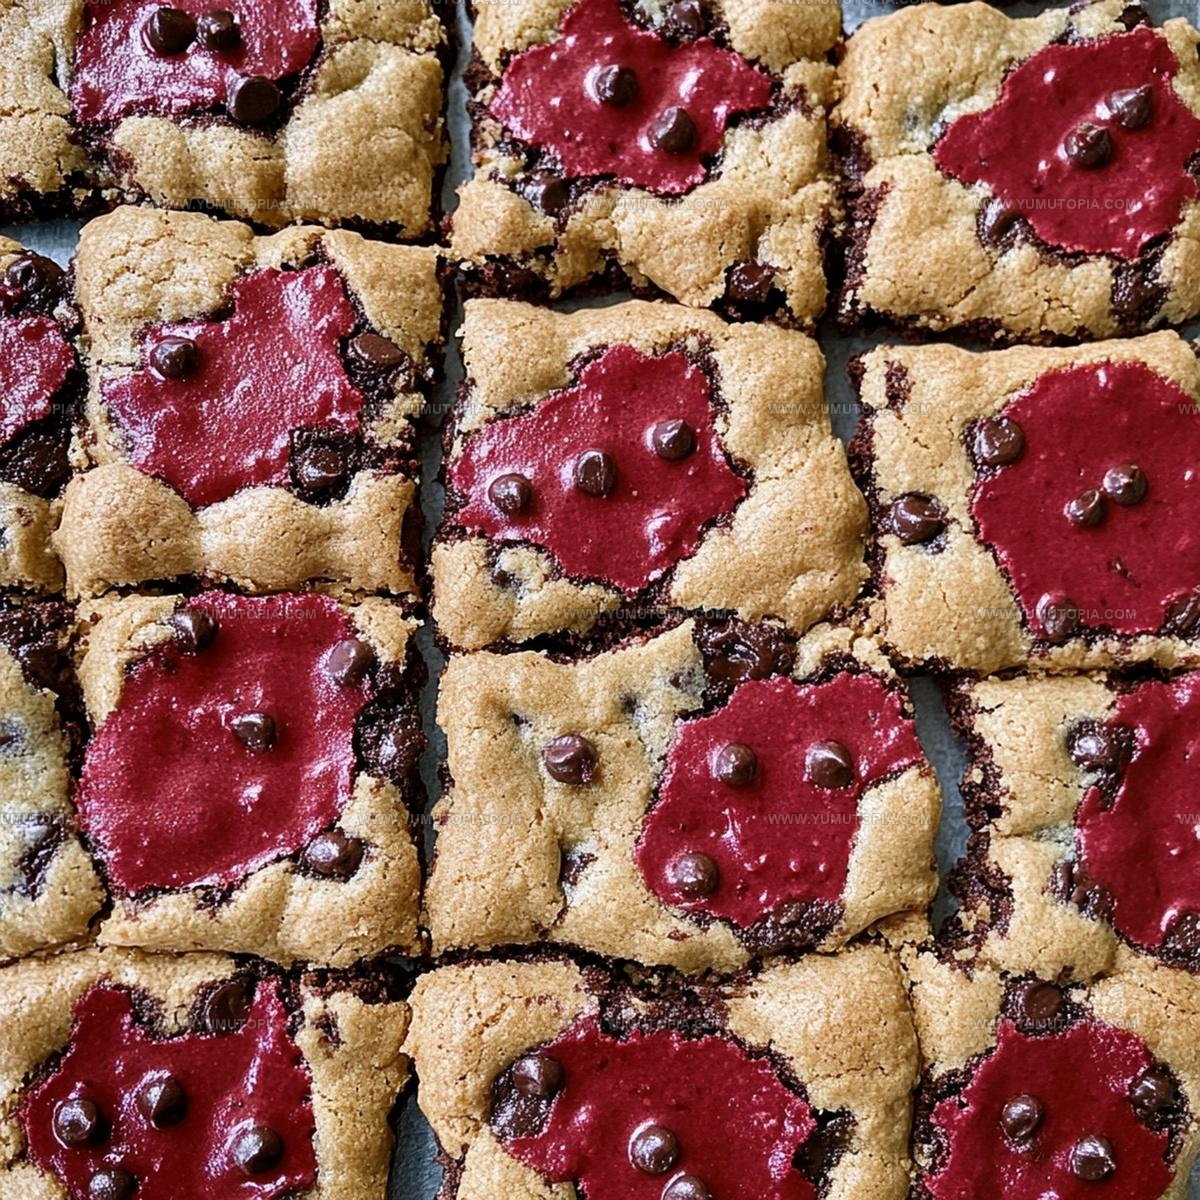
Brownie Cookies Recipe With Red Velvet Twist
Red velvet brownie cookies combine two beloved desserts into one showstopping treat that makes any occasion feel extra special.
The rich color alone creates a stunning impression when you arrange them on a serving platter.
These cookies deliver a fudgy texture that melts in the mouth while maintaining just enough structure to hold their beautiful shape.
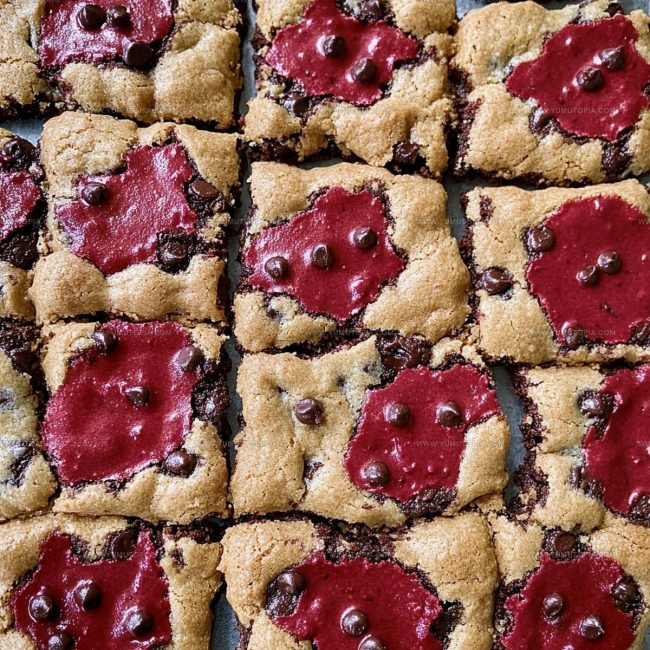
Bakers love how they add a touch of elegance to holiday gatherings, birthday parties, or casual weekend desserts.
The contrast between the soft interior and slightly crisp edges creates an addictive eating experience.
Everyone who tries one always asks for another, making them perfect crowd-pleasers at potlucks and celebrations.
Why Red Velvet Brownie Cookies Are Such a Crowd-Puller
Ingredients That Form Red Velvet Brownie Cookies
Flour and Dry Ingredients:Sugar and Sweeteners:Wet Ingredients:Optional Finishing Touch:Tools Behind Red Velvet Brownie Cookies
Baking Instructions for Red Velvet Brownie Cookies
Prepare Oven and Baking Sheets
Crank up your oven to 350°F (175°C). Line two baking sheets with parchment paper so your cookies won’t stick. Grab a sheet of parchment and smooth it out completely across each tray.
Mix Dry Ingredients
Grab a medium mixing bowl and whisk together these ingredients:
Make sure everything is well combined with no lumps hanging around.
Create Wet Mixture
In a separate large bowl, melt 1/2 cup butter until smooth. Add these ingredients and mix thoroughly:
Whisk until the mixture looks creamy and light.
Combine Wet Ingredients
Crack 2 large eggs into the butter-sugar mixture. Pour in 2 tsp red food coloring and 1 tsp vanilla extract. Stir everything until the color is consistent and vibrant.
Blend Wet and Dry Ingredients
Slowly fold your dry ingredient mixture into the wet ingredients. Stir gently until just combined. Don’t overmix or your cookies might turn tough.
Shape Cookie Dough
Using a spoon, drop rounds of dough onto your prepared baking sheets. Space each cookie about two inches apart to give them room to spread.
Bake Cookies
Slide the trays into your preheated 350°F (175°C) oven. Bake for 10-12 minutes. The edges should look firm, but the centers will remain slightly soft.
Cool and Transfer
Let the cookies rest on the baking sheet for 2-3 minutes. Then carefully transfer them to wire racks to cool completely. The cookies will firm up as they cool down.
Baking Guidance for Red Velvet Brownie Cookies
Flavor Swaps for Red Velvet Brownie Cookies
How to Serve Red Velvet Brownie Cookies
Best Storage Tips for Red Velvet Brownie Cookies
Red Velvet Brownie Cookie Questions
Can I use natural cocoa powder instead of Dutch-processed?
Natural cocoa works, but your cookies might be slightly less rich and have a more intense chocolate flavor.
How do I prevent my cookies from spreading too much?
Chill the dough for 30 minutes before baking, which helps maintain their shape and prevents excessive spreading.
What if I don’t have brown sugar?
Substitute with all granulated sugar, but brown sugar adds moisture and deeper caramel notes to your cookies.
Is gel food coloring better than liquid?
Gel food coloring provides more vibrant color without adding extra liquid that could affect your dough’s consistency.
Can these cookies be frozen?
Absolutely! Store them in an airtight container between layers of parchment paper for up to three months.
How do I know when the cookies are perfectly baked?
Look for slightly firm edges and soft centers – they’ll continue setting as they cool on the baking sheet.
Red Velvet Brownie Cookies Recipe
- Total Time: 25-27 minutes
- Yield: 12 1x
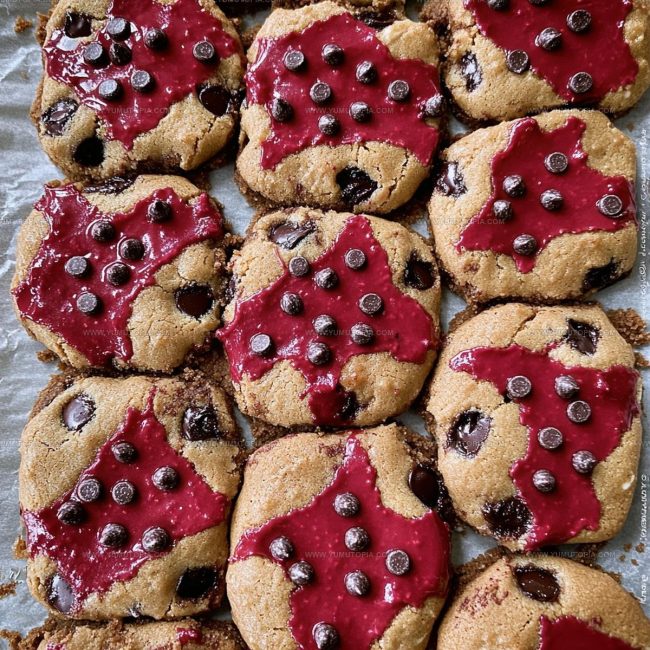
Description
Red Velvet Brownie Cookies bring pure chocolate comfort straight from your kitchen, melding rich cocoa with a velvety texture that melts deliciously on your tongue. Baking these treats means creating moments of sweet connection perfect for sharing with friends and family.
Ingredients
Base/Primary Ingredients:
- 1 cup all-purpose flour
- ½ cup unsweetened cocoa powder
- 2 large eggs
- ½ cup butter (melted)
Sweeteners:
- ½ cup granulated sugar
- ¼ cup brown sugar
Flavor and Leavening Enhancers:
- 2 teaspoons red food coloring (gel)
- 1 teaspoon vanilla extract
- 1 teaspoon baking powder
- ¼ teaspoon salt
- 4 ounces cream cheese (for frosting, optional)
Instructions
- Warm your oven to precisely 350°F (175°C) and carefully line two baking sheets with parchment paper, ensuring complete surface coverage.
- Sift 1 cup all-purpose flour, ½ cup cocoa powder, 1 tsp baking powder, and ¼ tsp salt into a medium mixing bowl, whisking thoroughly to distribute ingredients evenly.
- Melt ½ cup butter and combine with ½ cup granulated sugar and ¼ cup brown sugar in a separate large bowl, stirring until the mixture becomes smooth and slightly glossy.
- Crack 2 large eggs into the butter-sugar mixture, then add 2 tsp red gel food coloring and 1 tsp vanilla extract, mixing until the color is consistent and vibrant.
- Slowly incorporate the dry ingredient mixture into the wet ingredients, folding gently with a spatula until just combined – avoid overmixing to maintain cookie tenderness.
- Using a cookie scoop or tablespoon, deposit rounded portions of dough onto prepared baking sheets, spacing each cookie approximately 2 inches apart.
- Slide the baking sheets into the preheated oven and bake for exactly 10-12 minutes, watching for firm edges and slightly soft centers.
- Remove cookies from the oven and let them rest on the baking sheet for 3 minutes before transferring to a wire cooling rack.
Notes
- Use room temperature eggs for smoother batter integration and better cookie texture.
- Avoid overmixing the dough to prevent tough, dense cookies that lack the desired soft center.
- Chill the dough for 30 minutes before baking to help prevent spreading and maintain a more defined shape.
- For a gluten-free version, swap standard flour with a reliable gluten-free all-purpose blend and add a touch more baking powder for lift.
- Prep Time: 15 minutes
- Cook Time: 10-12 minutes
- Category: Cookies
- Method: Baking
- Cuisine: American
Nutrition
- Serving Size: 12
- Calories: 150 kcal
- Sugar: 10 g
- Sodium: 100 mg
- Fat: 8 g
- Saturated Fat: 4.5 g
- Unsaturated Fat: 3 g
- Trans Fat: 0.2 g
- Carbohydrates: 18 g
- Fiber: 1.5 g
- Protein: 2.5 g
- Cholesterol: 40 mg
Logan Lemaster
Founder & Culinary Innovator
Expertise
Recipe Development and Innovation, Menu Design and Optimization, Fine Dining Techniques, Ingredient Pairing and Flavor Science
Education
Metropolitan Culinary Arts Institute
Logan’s culinary journey kicked off in his vibrant Chicago family kitchen, where fresh, seasonal ingredients and bold flavors were always front and center.
After graduating from the Metropolitan Culinary Arts Institute in Arlington, Virginia, and honing his skills in renowned restaurants, Logan mastered the art of blending classic techniques with exciting, modern twists.
His kitchen is a dynamic lab for flavor exploration. Through Yum Utopia, Logan aims to empower you to cook with both confidence and creativity, turning simple ingredients into spectacular meals.