Red Velvet Cheesecake Brownies Recipe With Creamy Swirl
The best and authentic red velvet cheesecake brownies recipe combines three beloved desserts into one show-stopping treat that makes any occasion feel special.
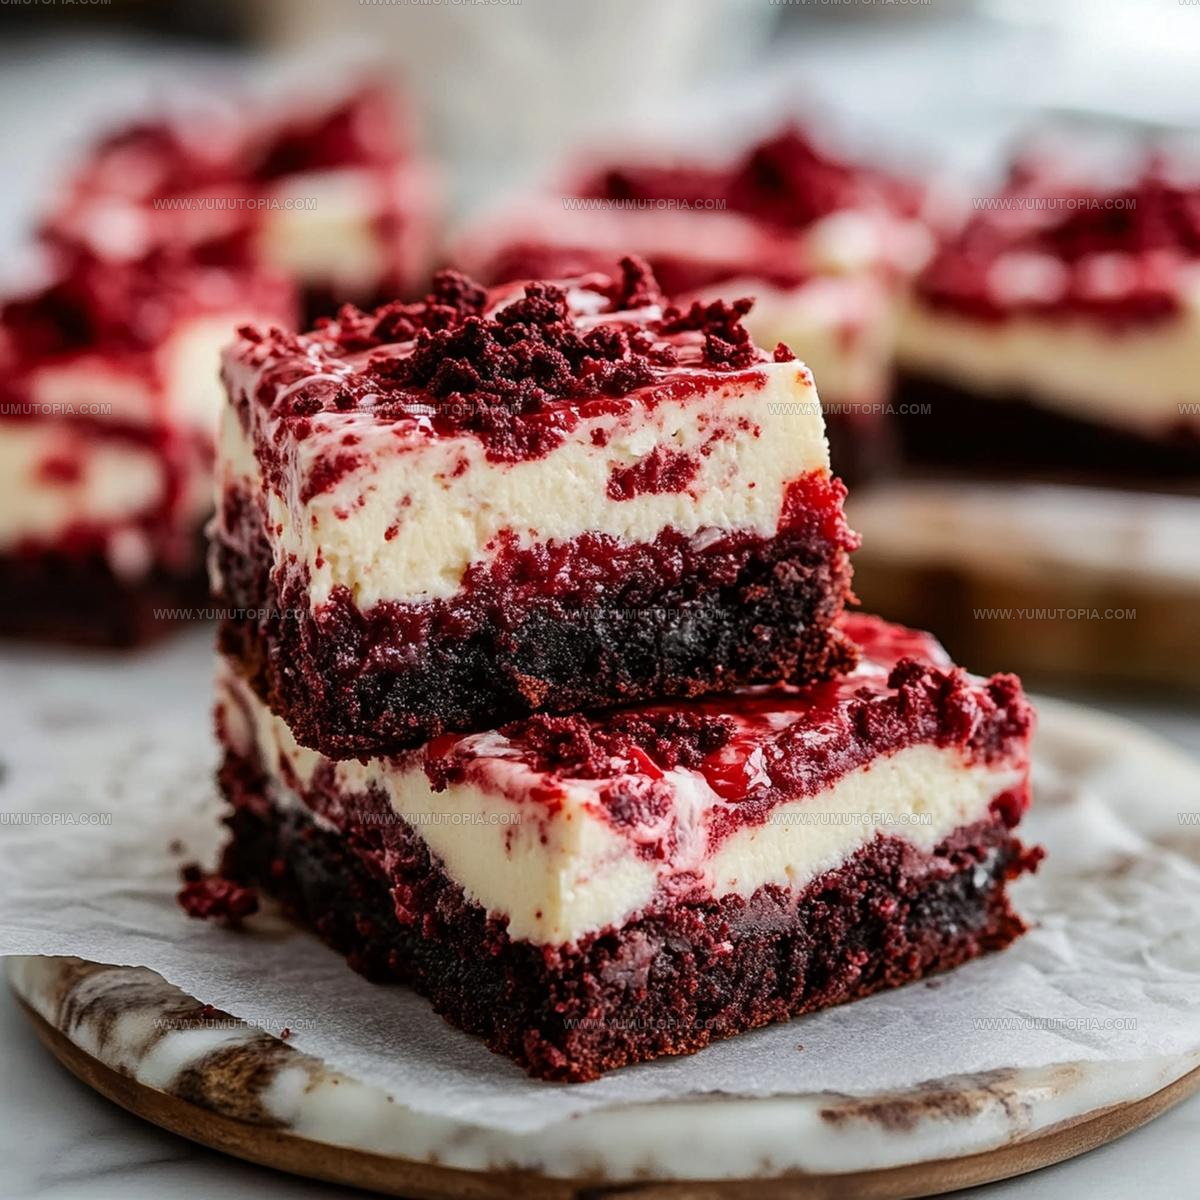
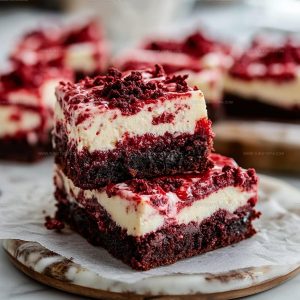
Rich chocolate notes meet a velvety cream cheese swirl in a fudgy square that brings pure indulgence with every bite.
This dessert speaks to anyone who loves bold flavors and striking presentation, whether you need something impressive for a celebration or simply want to enjoy a memorable sweet treat at home.
The contrast between deep cocoa tones and creamy white swirls creates visual appeal that matches the incredible taste waiting inside.
Each square offers layers of texture and flavor that satisfy even the most particular dessert lovers.
Baking enthusiasts appreciate how this recipe honors classic traditions while creating something uniquely delightful.
Why Red Velvet Cheesecake Brownies Are So Stunning
What Goes Into The Best and Authentic Red Velvet Cheesecake Brownies Recipe
Base Ingredients:Coloring and Flavor Enhancers:Cheesecake Swirl:Baking Gear for Red Velvet Cheesecake Brownies
Complete Guide to Red Velvet Cheesecake Brownies
Prep the Oven and Pan
Heat your oven to exactly 350°F (175°C). Line an 8×8-inch baking pan with parchment paper, making sure the paper covers the bottom and sides completely.
Create the Brownie Base
Grab a mixing bowl and combine 1/2 cup (113g) melted butter with 1 cup (200g) granulated sugar. Whisk in 2 large eggs, one at a time, mixing thoroughly after each. Stir in these ingredients carefully:
Mix until the batter looks smooth and has a rich red color.
Prepare the Cream Cheese Layer
In a separate bowl, beat 8 ounces (226g) softened cream cheese until it’s completely smooth. Gradually mix in 1/4 cup (30g) powdered sugar until well combined.
Assemble the Brownie Layers
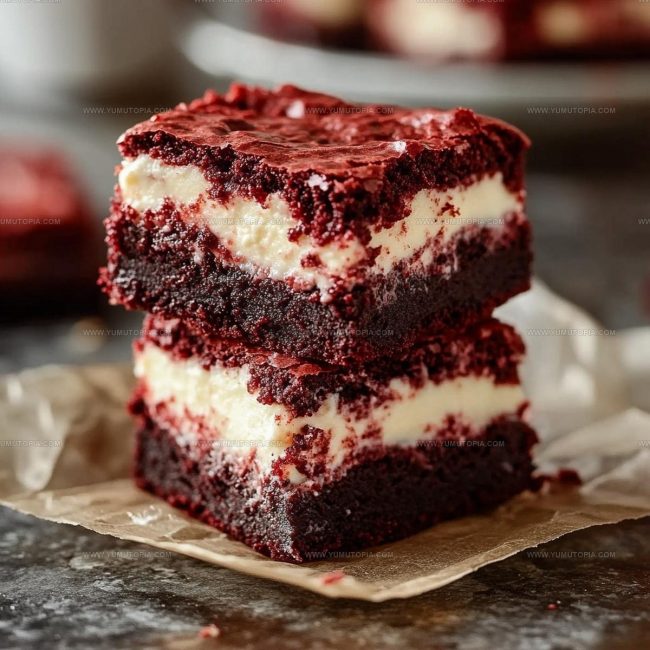
Pour half of the red brownie batter into your prepared pan. Spoon dollops of the cream cheese mixture across the surface. Add the remaining brownie batter on top, creating a beautiful layered look.
Create Swirl Pattern
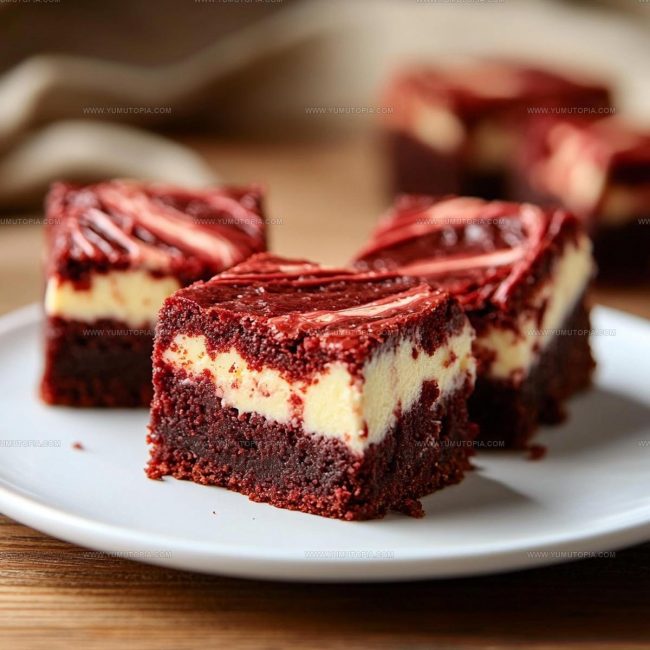
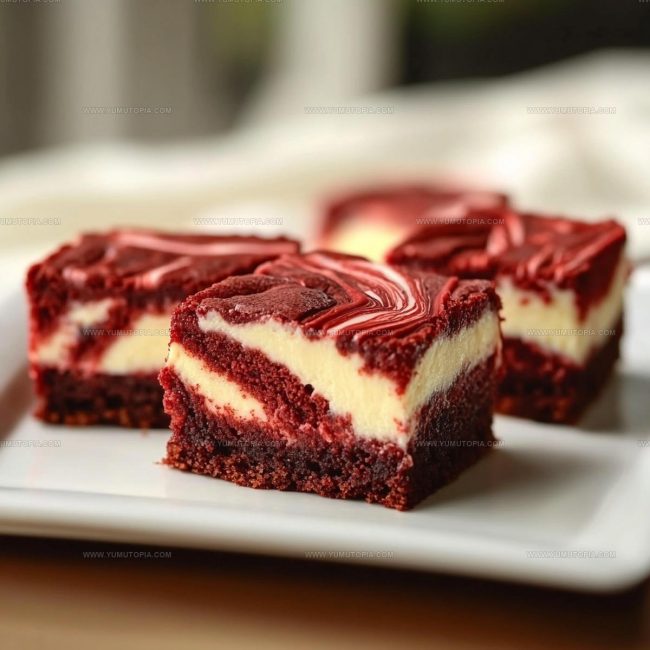
Take a knife and gently drag it through the layers, creating a marbled swirl pattern. Don’t overmix – you want beautiful swirls of red and white.
Bake to Perfection
Slide the pan into the preheated oven and bake for 30-35 minutes. Check doneness by inserting a toothpick into the brownie portion – it should come out clean when the brownies are ready.
Cool and Slice
Remove the pan from the oven and let the brownies cool completely in the pan. Once cooled, lift out the parchment paper and slice into perfect squares.
Baking and Layering Notes for The Best and Authentic Red Velvet Cheesecake Brownies Recipe
Flavor Variations for The Best and Authentic Red Velvet Cheesecake Brownies Recipe
Serving The Best and Authentic Red Velvet Cheesecake Brownies Recipe
How to Store The Best and Authentic Red Velvet Cheesecake Brownies Recipe
Red Velvet Cheesecake Brownies: Your Most Common Questions
Can I use natural cocoa powder instead of Dutch-processed cocoa?
Natural cocoa works perfectly fine in this recipe. Just ensure you’re using unsweetened cocoa powder for the best brownie texture.
How do I prevent the cream cheese from getting too runny?
Make sure your cream cheese is softened at room temperature and not overmixed. Beating it gently until just smooth helps maintain the right consistency.
What if I don’t have red food coloring?
You can skip the food coloring or use beet juice as a natural alternative. The taste won’t change, but the classic red color will be different.
Does the cream cheese layer need to be completely covered?
Not necessarily. Leaving some cream cheese peeking through creates a beautiful marbled effect when you swirl the batters.
Can these brownies be frozen?
Absolutely! Wrap them tightly in plastic wrap and store in a freezer-safe container for up to 3 months. Thaw at room temperature before serving.
What’s the best way to get clean, neat brownie cuts?
Use a sharp knife and wipe it clean between each cut. Chilling the brownies slightly can also help create cleaner slices.
Red Velvet Cheesecake Brownies Recipe
- Total Time: 45-50 minutes
- Yield: 9 1x
Description
Red Velvet Cheesecake Brownies bring pure chocolate and cream cheese delight right to your kitchen counter. Creamy cheesecake swirls dance through rich red velvet batter, creating a dessert sure to make your friends and family smile with pure enjoyment.
Ingredients
Main Ingredients:
- 1 cup all-purpose flour
- ½ cup unsweetened cocoa powder
- 1 cup granulated sugar
- 2 large eggs
- ½ cup melted butter
Supporting Ingredients:
- 2 tablespoons red food coloring
- 8 ounces cream cheese
- ½ cup powdered sugar
Instructions
- Fire up the oven to a precise 350°F (175°C) and carefully drape parchment paper across an 8×8-inch baking pan, ensuring complete coverage of the bottom and sides.
- Whisk ½ cup melted butter with 1 cup granulated sugar until thoroughly integrated. Crack in 2 large eggs, incorporating each one completely before adding the next.
- Sift ⅓ cup unsweetened cocoa powder and ½ cup all-purpose flour into the wet mixture. Blend 2 tablespoons red food coloring and 1 teaspoon vanilla extract until the batter transforms into a vibrant crimson consistency.
- Grab another mixing bowl and beat 8 ounces softened cream cheese using an electric mixer for 2-3 minutes until ultra-smooth. Gradually fold in ¼ cup powdered sugar, mixing until completely uniform.
- Transfer half the red brownie batter into the prepared pan, creating an even base layer. Drop generous spoonfuls of cream cheese mixture across the surface.
- Pour remaining brownie batter over the cream cheese dollops. Use a knife to create elegant, swirling patterns throughout the entire pan.
- Slide the pan into the preheated oven and bake for exactly 32-35 minutes. Your test for doneness involves inserting a toothpick near the center – it should emerge with just a few moist crumbs.
- Remove from the oven and let the brownies rest inside the pan for 45-60 minutes. This cooling period helps them set perfectly before you slice into delectable squares.
Notes
- Use gel food coloring for deeper, more vibrant red color without altering the batter’s consistency.
- Ensure cream cheese is at room temperature to prevent lumps and create smooth swirls.
- Let brownies cool completely before cutting to maintain clean, sharp edges and prevent crumbling.
- For a gluten-free version, replace all-purpose flour with a 1:1 gluten-free baking blend.
- Prep Time: 15 minutes
- Cook Time: 30-35 minutes
- Category: Brownies
- Method: Baking
- Cuisine: American
Nutrition
- Serving Size: 9
- Calories: 250 kcal
- Sugar: 20 g
- Sodium: 150 mg
- Fat: 15 g
- Saturated Fat: 7 g
- Unsaturated Fat: 6 g
- Trans Fat: 0.5 g
- Carbohydrates: 30 g
- Fiber: 2 g
- Protein: 4 g
- Cholesterol: 50 mg
Madison Wyman
Recipe Developer & Food Storyteller
Expertise
Recipe Research and Adaptation, Food Writing and Cultural Storytelling, Sustainable and Ethical Sourcing, Dietary Adaptations (e.g., gluten-free, plant-based)
Education
Oregon Health & Science University
Portland Community College
Madison’s passion for flavor and culture ignited amidst the rich Southern cooking traditions of her upbringing, where cherished family recipes told delicious tales.
Armed with a Master’s in Food Systems and Society from Oregon Health & Science University and a Culinary Arts Certificate from Portland Community College, Madison truly excels at transforming rich, intricate flavors into dishes that are both approachable and heartfelt.
For her, cooking is a vibrant blend of science, art, and heritage – a powerful way to connect us to our roots and each other. Her recipes invite you to delve deeper, uncovering the fascinating stories woven into every ingredient.