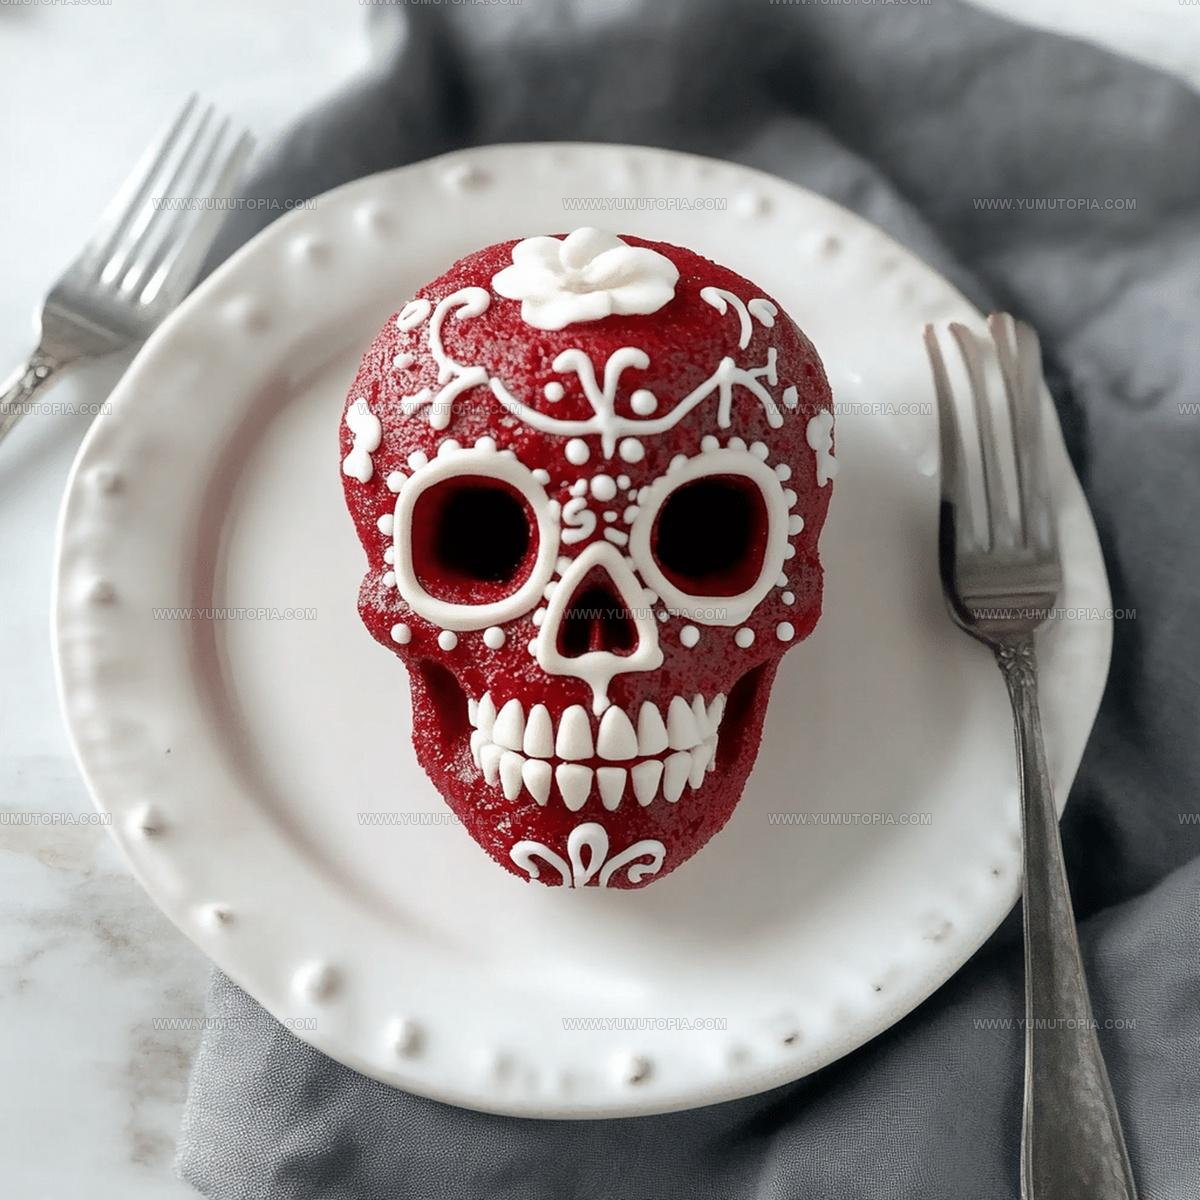
Red Velvet Skull Cakes Recipe That Haunts Every Bite
Spooky red velvet skull cakes promise to be the ultimate Halloween dessert sensation.
Gothic baking enthusiasts will love this wickedly delightful treat that combines dramatic presentation with decadent flavor.
Dark and mysterious, these skull-shaped confections capture the spirit of seasonal celebration with dramatic flair.
Chocolate lovers and Halloween party hosts will find themselves enchanted by this show-stopping dessert concept.
Perfect for haunting gatherings or spine-chilling celebrations, these skull cakes deliver serious wow factor.
Decorative and delightful, they blend ghoulish design with seriously delicious taste profiles that spark excitement.
Bold bakers seeking a memorable Halloween dessert will absolutely adore this spirited and striking recipe that turns heads and delights taste buds.
Why You’ll Love Delicious Red Velvet Skull Cakes
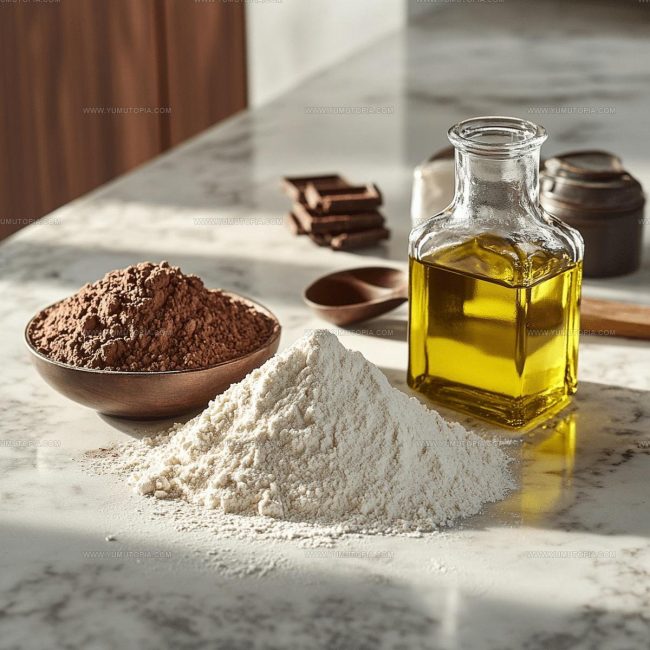
Ingredients You’ll Need for Red Velvet Skull Cakes
Essential Kitchen Tools for Red Velvet Skull Cakes
Simple Way to Prepare Red Velvet Skull Cakes

Prep the Skull Molds
Grab your skull-shaped pan and get it ready for some serious baking action. Coat every nook and cranny with butter or baking spray. Want extra insurance against sticking? Dust a light layer of cocoa powder into those molds.
Dry Ingredient Magic
Grab a big mixing bowl and your sifter. Toss in 2 ½ cups flour, 1 ½ cups sugar, 1 teaspoon each of baking soda, salt, and cocoa powder. Sift everything together until it looks smooth and well-blended.
Wet Ingredient Mixing
In another bowl, combine these bad boys:
Whisk everything until it’s completely combined and looking gorgeous.
Create the Batter
Pour those wet ingredients into your dry ingredients. Stir gently – we’re not looking to overwork this batter. Mix just until everything comes together smoothly.
Fill the Molds
Spoon that crimson batter into your skull molds. Fill each cavity about ¾ full. Tap the pan gently on the counter to send any air bubbles packing.
Bake to Perfection
Heat the oven to 350°F. Slide those skull molds into the oven and bake for 18-22 minutes. Check doneness by poking a toothpick in the center – it should come out clean.
Cool and Release
Let the cakes hang out in the pan for 10 minutes. Then flip them onto a wire rack to cool completely.
Spooky Decoration
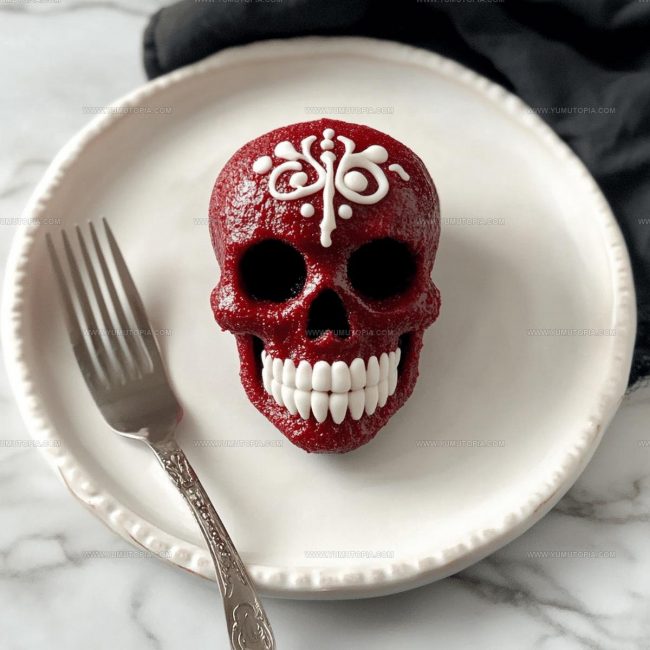
Time to get creative! Dust with powdered sugar, drizzle with “blood” sauce, add candy eyes, or dunk in chocolate. Make these skulls scream Halloween.
Important Prep Notes for Red Velvet Skull Cakes
Creative Variations For Red Velvet Skull Cakes
Creative Serving Ideas For Red Velvet Skull Cakes
Proper Storage Guide For Red Velvet Skull Cakes
Red Velvet Skull Cakes Questions Readers Often Ask
Can I use natural food coloring instead of artificial red food coloring?
Natural alternatives work, but they won’t create the same vibrant red color. Beet juice or pomegranate juice can add a reddish tint, though the intensity will be softer.
How do I prevent my skull cakes from sticking to the mold?
Grease the pan meticulously with butter or baking spray, getting into every detailed crevice of the skull shape. A light dusting of cocoa powder helps create a clean release.
What makes the texture of red velvet cake so unique?
The combination of buttermilk, vinegar, and cocoa creates a tender, slightly tangy cake with a soft, velvety crumb that sets it apart from standard chocolate cakes.
Can I freeze these skull cakes before decorating?
Absolutely! Wrap each cake individually in plastic wrap and store in a freezer-safe container for up to 3 weeks. Thaw at room temperature before adding decorative touches.
Are skull molds necessary, or can I use standard cake pans?
While skull molds create the dramatic Halloween design, you can certainly use standard round or cupcake pans. The recipe will work perfectly in alternative bakeware.

Red Velvet Skull Cakes Recipe
- Total Time: 33-37 minutes
- Yield: 12 1x
Description
Skull-shaped red velvet cakes scream Halloween fun right from your kitchen counter! Creepy delicious desserts bring spooky vibes to your celebration with minimal effort and maximum ghoulish charm.
Ingredients
Primary Ingredients:
- 2 ½ cups all-purpose flour
- 1 ½ cups granulated sugar
- 1 ½ cups vegetable oil
- 1 cup buttermilk
- 2 large eggs
Binding and Flavoring Ingredients:
- 2 tablespoons red food coloring
- 1 teaspoon cocoa powder
- 1 teaspoon vanilla extract
- 1 teaspoon white vinegar
Leavening and Seasoning Ingredients:
- 1 teaspoon baking soda
- 1 teaspoon salt
Instructions
- Grease each skull cavity thoroughly with 2 tablespoons butter, ensuring every crevice is coated to prevent sticking.
- Sift 2 ½ cups flour, 1 ½ cups sugar, 1 teaspoon baking soda, 1 teaspoon salt, and 1 teaspoon cocoa powder together in a large mixing bowl until uniformly blended.
- Whisk 1 ½ cups vegetable oil, 1 cup buttermilk, 2 large eggs, 2 tablespoons red food coloring, 1 teaspoon vanilla extract, and 1 teaspoon white vinegar in a separate bowl until completely integrated.
- Gently fold liquid mixture into dry ingredients, stirring just until combined without overmixing to maintain cake’s delicate texture.
- Distribute batter into skull molds, filling each cavity approximately ¾ full with a large spoon.
- Tap pan against counter 2-3 times to eliminate potential air bubbles trapped in the batter.
- Preheat oven to 350°F and position rack in center of oven.
- Bake for exactly 20 minutes, rotating pan halfway through cooking time for even heat distribution.
- Check doneness by inserting a clean toothpick into cake’s center – it should emerge without wet batter.
- Allow cakes to rest in pan for 10 minutes, then carefully transfer to wire rack for complete cooling.
- Decorate with powdered sugar, chocolate drizzle, or spooky candy embellishments once cakes reach room temperature.
Notes
- Use a light hand when mixing the batter to keep the cakes soft and tender, stopping as soon as ingredients are just combined.
- Grease skull molds meticulously, getting into every crevice and corner to ensure easy cake removal.
- For a gluten-free version, swap regular flour with a cup-for-cup gluten-free blend and add 1 teaspoon of xanthan gum.
- Refrigerate cakes briefly before decorating to help them hold their detailed skull shape and prevent crumbling.
- Prep Time: 15 minutes
- Cook Time: 18-22 minutes
- Category: Cakes
- Method: Baking
- Cuisine: American
Nutrition
- Serving Size: 12
- Calories: 282 kcal
- Sugar: 18 g
- Sodium: 220 mg
- Fat: 15 g
- Saturated Fat: 2 g
- Unsaturated Fat: 13 g
- Trans Fat: 0 g
- Carbohydrates: 34 g
- Fiber: 1 g
- Protein: 3 g
- Cholesterol: 37 mg
Logan Lemaster
Founder & Culinary Innovator
Expertise
Recipe Development and Innovation, Menu Design and Optimization, Fine Dining Techniques, Ingredient Pairing and Flavor Science
Education
Metropolitan Culinary Arts Institute
Logan’s culinary journey kicked off in his vibrant Chicago family kitchen, where fresh, seasonal ingredients and bold flavors were always front and center.
After graduating from the Metropolitan Culinary Arts Institute in Arlington, Virginia, and honing his skills in renowned restaurants, Logan mastered the art of blending classic techniques with exciting, modern twists.
His kitchen is a dynamic lab for flavor exploration. Through Yum Utopia, Logan aims to empower you to cook with both confidence and creativity, turning simple ingredients into spectacular meals.