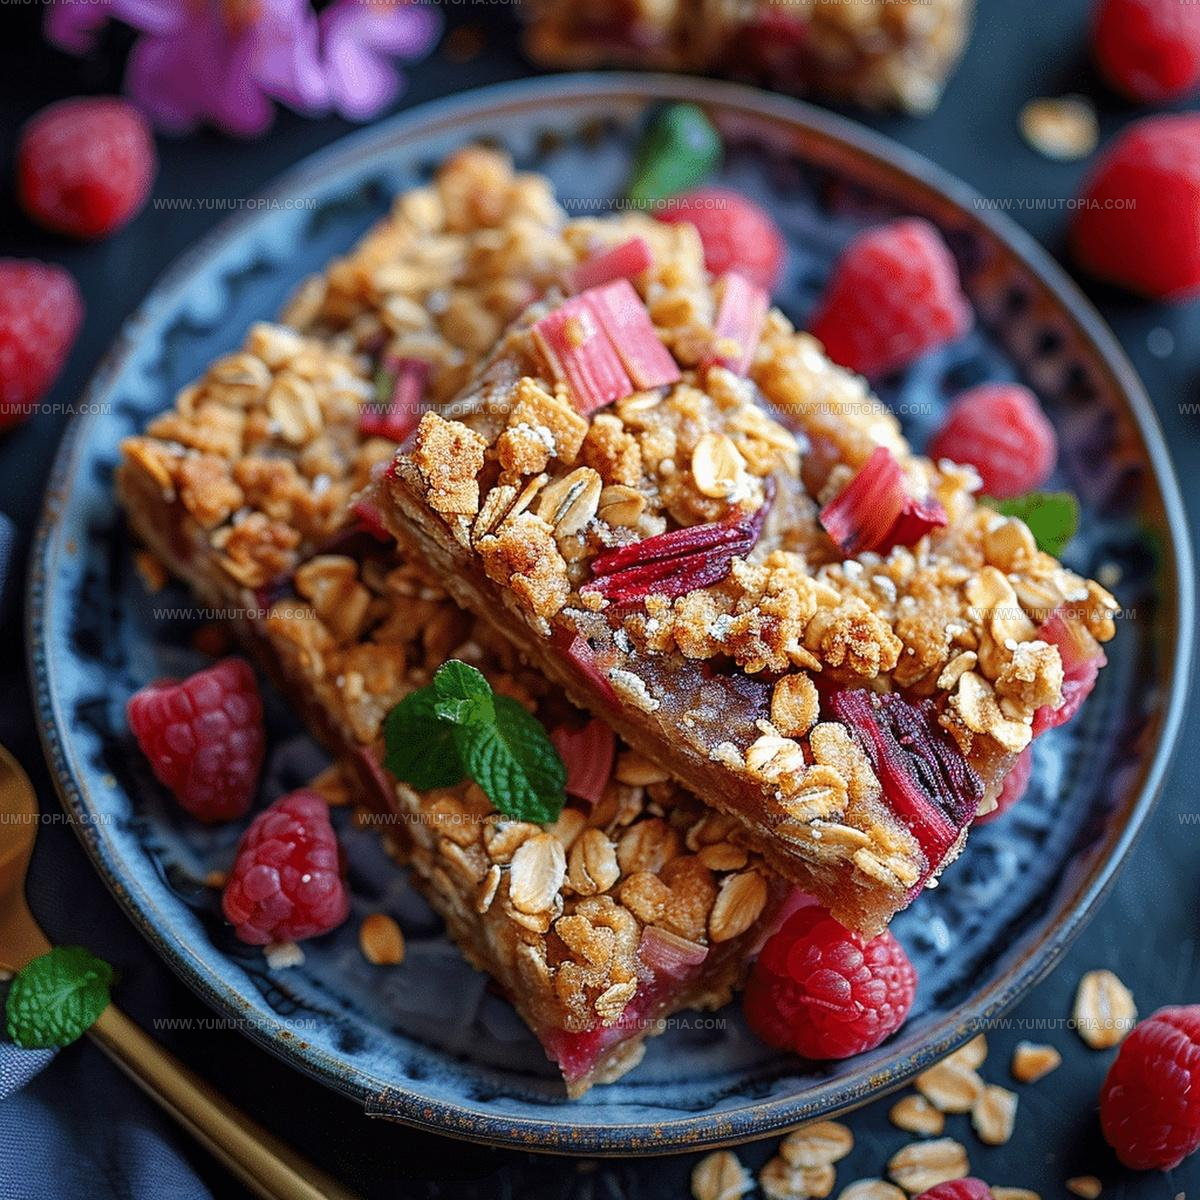
Rhubarb Oat Bars Recipe For Sweet Tart Mornings
Rhubarb oat bars burst with springtime charm and rustic elegance.
Sweet-tart flavors dance delightfully in this classic dessert that feels both comforting and sophisticated.
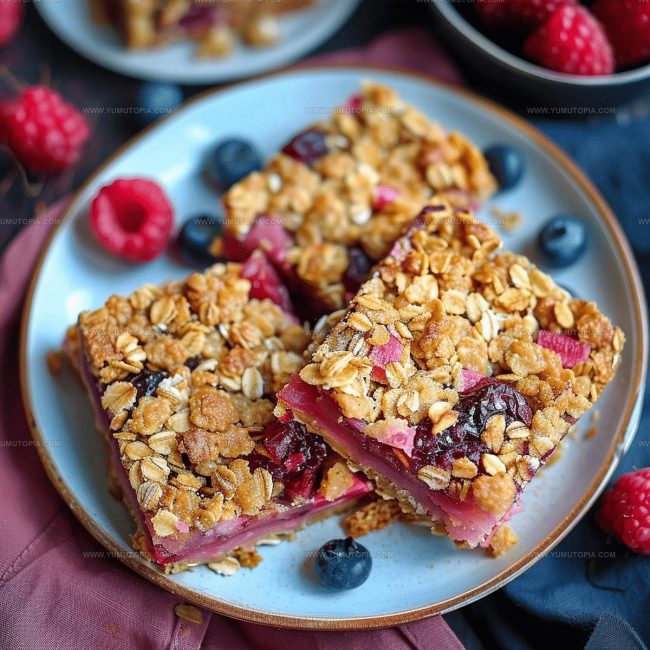
Home bakers adore how simple ingredients combine into something truly memorable.
Every bite promises a delightful balance between crumbly and smooth textures that everyone adores.
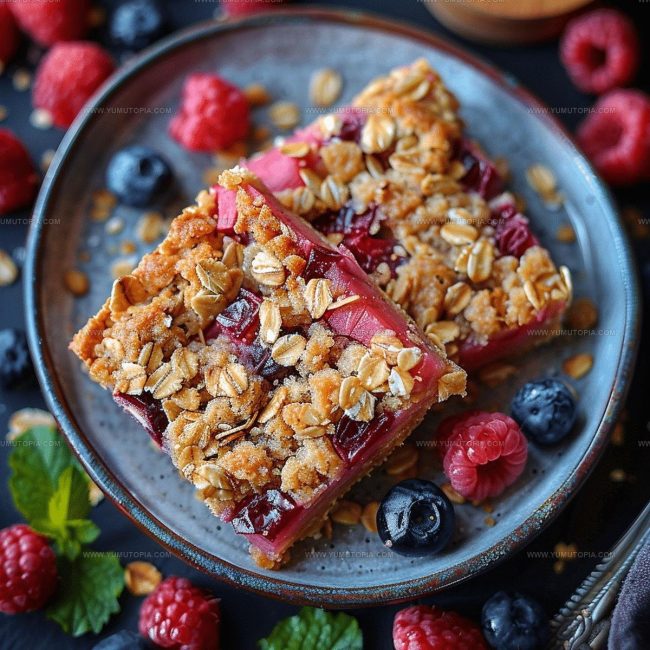
Perfect for afternoon tea, picnics, or casual gatherings, these bars offer a delectable treat that sparks conversation.
Seasonal rhubarb transforms ordinary ingredients into an extraordinary experience worth sharing with friends and family.
Summer memories will bloom with each delightful slice of this irresistible dessert.
What Makes Rhubarb Oat Bars So Balanced
Core Ingredients for Rhubarb Oat Bars
Crust Ingredients:Filling Ingredients:Common Prep Tools for Rhubarb Oat Bars
Steps to Prepare Rhubarb Oat Bars
Prepare the Oven
Heat the oven to 350°F. Grab an 8×8 inch baking dish and give it a quick spray with cooking oil or line it with parchment paper.
Mix the Base
Grab a large mixing bowl and toss in:
Pour in the melted butter and stir until everything looks like delicious crumbs.
Create the Crust
Take about two-thirds of those crumbly mixture and press it firmly into the bottom of your prepared baking dish. Make sure you’ve got an even layer that covers the entire pan.
Cook the Rhubarb Filling
Grab a saucepan and combine:
Cook this mixture over medium heat, stirring constantly. Watch it transform and thicken for about 5-7 minutes. Let it cool down for a few minutes so it’s not scalding hot.
Layer the Filling
Spread the warm rhubarb mixture evenly over the crust you pressed down earlier. Take the remaining crumb mixture and sprinkle it across the top like a cozy blanket.
Bake to Perfection
Slide the dish into the preheated oven and bake for 30-35 minutes. You’ll know it’s ready when the edges turn golden and the top looks beautifully crisp.
Cool and Slice
Let the bars cool completely at room temperature. For the cleanest cuts, pop the dish in the refrigerator for about an hour. Then slice into squares and enjoy your delicious creation!
Notes For Best Results With Rhubarb Oat Bars
Simple Variations For Rhubarb Oat Bars
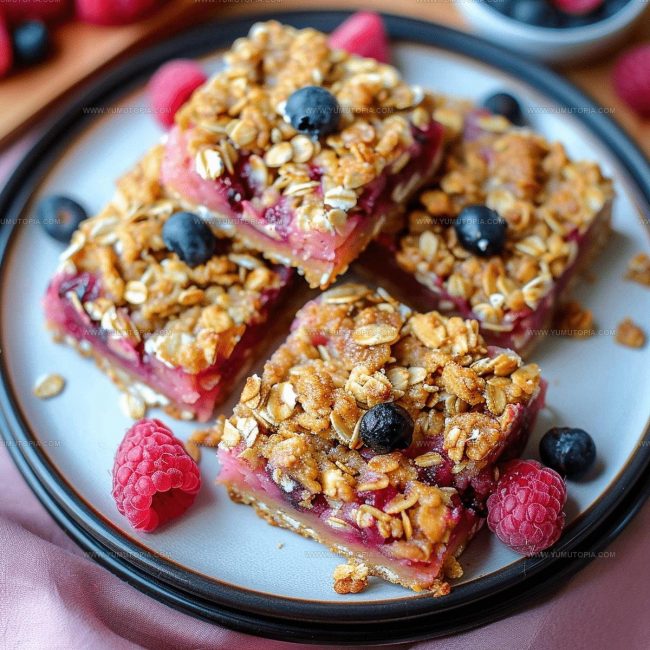
Simple Serving Ideas For Rhubarb Oat Bars
Storage And Reheating Notes For Rhubarb Oat Bars
Rhubarb Oat Bars Q&A
Can I use frozen rhubarb instead of fresh?
Absolutely! Thaw and drain frozen rhubarb completely before cooking to prevent excess liquid in your bars.
How do I know if my rhubarb filling is thick enough?
The filling should coat the back of a spoon and leave a clear path when you run your finger through it. It will continue to thicken as it cools.
What if my crumble topping seems too dry?
Squeeze small handfuls of the mixture to create larger crumble pieces. The butter helps bind the dry ingredients together.
Can these bars be made gluten-free?
Swap the regular flour for a gluten-free blend and ensure your oats are certified gluten-free. The texture might be slightly different but still delicious.
How ripe should my rhubarb be?
Choose stalks that are firm and bright red or pink. Avoid super green or soft stalks, which can be less flavorful.
Do these bars freeze well?
Wrap individual bars tightly in plastic wrap, then store in a freezer bag. They’ll keep for up to 3 months when properly sealed.

Rhubarb Oat Bars Recipe
- Total Time: 52 minutes
- Yield: 9 1x
Description
Rhubarb Oat Bars deliver a perfect balance of tangy fruit and sweet crumble that brings your summer dessert game to the next level. Fresh rhubarb nestled between buttery oat layers creates a simple yet satisfying treat your family will absolutely adore.
Ingredients
Crust and Topping:
- 1 cup all-purpose flour
- 1 cup rolled oats
- ¾ cup brown sugar
- ½ cup butter
- ½ teaspoon baking soda
- ¼ teaspoon salt
Filling:
- 2 cups rhubarb
- ½ cup sugar
- ¼ cup water
- 1 tablespoon cornstarch
- ½ teaspoon vanilla extract
Instructions
- Prepare your oven by heating it precisely to 350°F and coat an 8×8 inch baking pan with butter or parchment paper.
- Combine 1 cup flour, 1 cup rolled oats, ¾ cup brown sugar, ½ teaspoon baking soda, and ¼ teaspoon salt in a medium mixing bowl.
- Pour ½ cup melted butter into the dry ingredients and mix until the mixture forms coarse crumbs that hold together when pressed.
- Transfer ⅔ of the crumb mixture into the prepared pan, pressing firmly to create an even bottom crust.
- In a small saucepan, mix 2 cups chopped rhubarb, ½ cup sugar, 1 tablespoon cornstarch, ½ teaspoon vanilla extract, and ¼ cup water.
- Cook the rhubarb mixture over medium heat, stirring constantly for 5-7 minutes until it thickens and becomes glossy.
- Allow the rhubarb filling to cool for 5 minutes, then spread it evenly across the crust.
- Sprinkle the remaining crumb mixture over the rhubarb layer, creating a rustic, uneven topping.
- Bake in the preheated oven for 35 minutes until the edges turn golden brown and the filling bubbles slightly.
- Remove from the oven and let the bars cool completely at room temperature for approximately 2 hours.
- Slice into 9 even squares and store in the refrigerator for a crisp, clean cut.
Notes
- Check rhubarb for freshness by selecting firm, bright red stalks without blemishes or soft spots.
- Press the crust mixture firmly and evenly to create a solid base that holds together when sliced.
- For a gluten-free version, swap regular flour with a cup-for-cup gluten-free blend and ensure your oats are certified gluten-free.
- Cool the bars completely before cutting to help them set and prevent crumbling, giving you clean, neat slices.
- Prep Time: 10 minutes
- Cook Time: 42 minutes
- Category: Dessert Bars
- Method: Baking
- Cuisine: American
Nutrition
- Serving Size: 9
- Calories: 180 kcal
- Sugar: 15 g
- Sodium: 95 mg
- Fat: 7 g
- Saturated Fat: 4 g
- Unsaturated Fat: 3 g
- Trans Fat: 0 g
- Carbohydrates: 28 g
- Fiber: 2 g
- Protein: 2 g
- Cholesterol: 20 mg
Logan Lemaster
Founder & Culinary Innovator
Expertise
Recipe Development and Innovation, Menu Design and Optimization, Fine Dining Techniques, Ingredient Pairing and Flavor Science
Education
Metropolitan Culinary Arts Institute
Logan’s culinary journey kicked off in his vibrant Chicago family kitchen, where fresh, seasonal ingredients and bold flavors were always front and center.
After graduating from the Metropolitan Culinary Arts Institute in Arlington, Virginia, and honing his skills in renowned restaurants, Logan mastered the art of blending classic techniques with exciting, modern twists.
His kitchen is a dynamic lab for flavor exploration. Through Yum Utopia, Logan aims to empower you to cook with both confidence and creativity, turning simple ingredients into spectacular meals.