
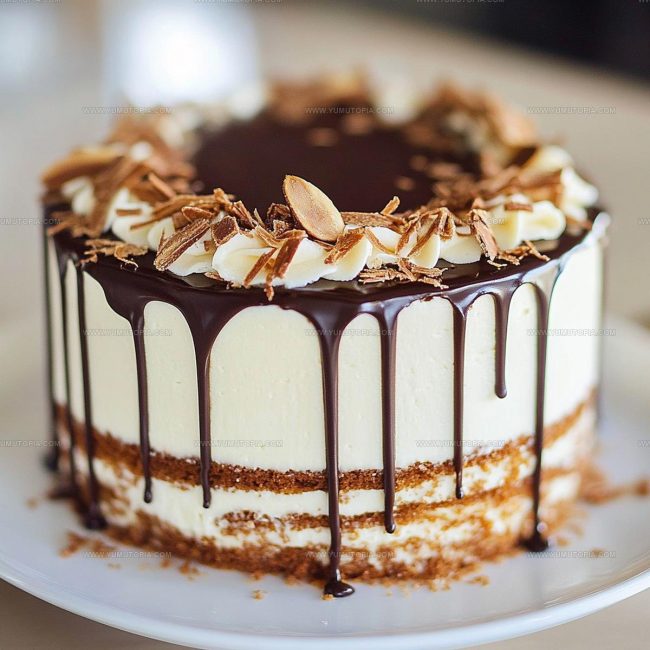
Almond Joy Cake Recipe With Layers of Chocolate Flavor
A decadent Almond Joy cake infuses all the magic of the beloved candy bar into dessert form that everyone adores.
The combination of chocolate, coconut, and almond flavors creates something truly special for celebrations or weekend indulgence.
This cake brings rich, satisfying sweetness without being overly complicated to prepare.
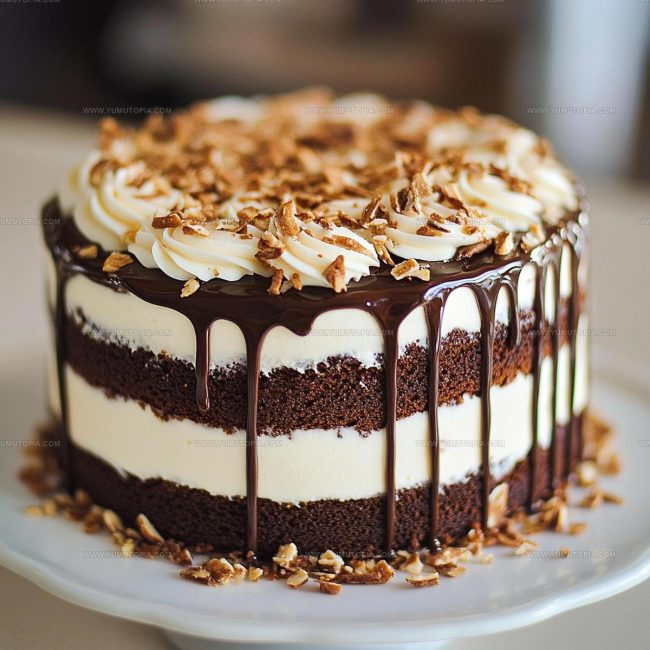
Each bite offers multiple layers of flavor that work together beautifully, making it a showstopper at any gathering.
The dessert has become a favorite among those who appreciate bold, crowd-pleasing treats.
Whether served at birthdays, potlucks, or simple dinner parties, it never fails to impress.
Why Almond Joy Cake Feels Extra Indulgent
What Makes Almond Joy Inspired Cake So Rich
Cake Dry Ingredients:Wet Ingredients:Topping and Texture Ingredients:Tools That Make Almond Joy Cake Decadent
Baking Guide for Almond Joy Inspired Cake
Prepare the Oven
Warm up your oven to exactly 350°F (175°C). Grab three 9-inch round cake pans and coat them thoroughly with butter or cooking spray to prevent sticking.
Mix Dry Ingredients
Grab a large mixing bowl and whisk together the dry ingredients carefully:
Make sure everything is combined smoothly with no lumps.
Prepare Wet Ingredients
In a separate bowl, crack 3 large eggs and beat them until they become light and frothy. Pour in 1 cup buttermilk and 1/2 cup melted unsalted butter. Whisk everything until the mixture looks creamy and well combined.
Create Cake Batter
Pour the wet ingredients into the dry ingredients. Stir gently until just combined. Don’t overmix – a few small lumps are totally okay. The batter should look smooth but not completely uniform.
Fill Cake Pans
Divide the batter evenly between the three prepared cake pans. Use a spatula to spread the batter so it reaches all edges and looks level.
Bake the Cake Layers
Slide the pans into the preheated oven. Bake for exactly 30 minutes at 350°F (175°C). Check doneness by inserting a toothpick – it should come out clean with just a few moist crumbs.
Cool Cake Layers
Remove the pans from the oven and let them rest on a cooling rack for 10 minutes. After that, carefully turn out the cakes and let them cool completely before adding any frosting.
Prepare Coconut Topping
While the cakes cool, get ready your toppings:
These will add fantastic texture and flavor to your finished cake.
Baking Tips for Coconut Chocolate Almond Cake
Flavor Twists for Almond Joy Style Cake
How Almond Joy Cake Is Served Best
Keeping Almond Joy Cake Fresh
Almond Joy Cake Kitchen Questions
What makes this cake taste like an Almond Joy candy bar?
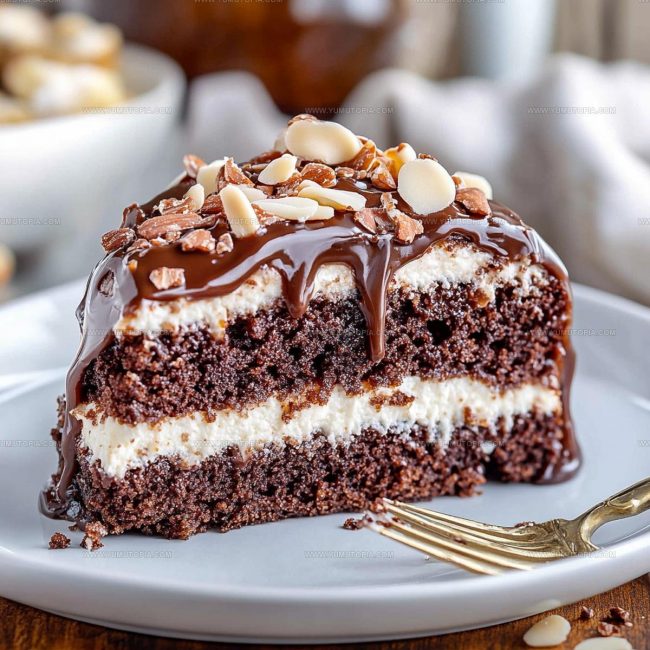
The combination of chocolate cake, coconut frosting, and chocolate ganache mimics the classic candy bar’s flavors, creating a dessert that captures the same delicious taste you love.
Can I make this cake gluten-free?
Absolutely replace the all-purpose flour with a gluten-free flour blend to transform the recipe into a gluten-free version that everyone can enjoy.
How do I keep the cake layers from sticking to the pan?
Grease your baking pans thoroughly and consider using parchment paper circles at the bottom to ensure smooth cake removal without any stuck pieces.
What if I don’t have buttermilk on hand?
Create a quick buttermilk substitute by adding one tablespoon of white vinegar or lemon juice to a cup of regular milk and letting it sit for 5 minutes before using.
Can this cake be made ahead of time?
Bake the cake layers in advance and store them wrapped in plastic at room temperature for up to two days before assembling and frosting.
Do I need any special equipment to make this cake?
A standard mixer, mixing bowls, and three 9-inch round cake pans are all you need to create this delectable dessert.
Rich Almond Joy Cake Recipe
- Total Time: 45 minutes
- Yield: 8 1x
Description
Baking Almond Joy Cake brings pure chocolate and coconut bliss right into your kitchen, delivering a delightful dessert that connects comfort with classic candy bar flavors. Craving something sweet and nostalgic becomes effortless when this simple yet satisfying cake lands on your plate.
Ingredients
Main Ingredients:
- 2 cups all-purpose flour
- ¾ cup unsweetened cocoa powder
- 1 ½ cups granulated sugar
- 3 large eggs
Supporting Ingredients:
- 1 cup buttermilk
- ½ cup unsalted butter
Topping Ingredients:
- 1 ½ cups coconut flakes
- 1 cup chopped almonds
Instructions
- Heat your oven to precisely 350°F (175°C) and thoroughly coat three 9-inch round cake pans with butter or non-stick spray.
- Sift 2 cups all-purpose flour, ¾ cup unsweetened cocoa powder, and 1 ½ cups granulated sugar into a large mixing bowl, ensuring no lumps remain.
- Crack 3 large eggs into a separate bowl and whisk until they become light and airy, about 2 minutes.
- Pour 1 cup buttermilk and ½ cup melted unsalted butter into the whisked eggs, stirring gently to create a smooth liquid mixture.
- Gradually fold the wet ingredients into the dry ingredients, stirring just until the batter becomes uniform – do not overmix or your cake will become tough.
- Distribute the batter evenly across the three prepared pans, using a spatula to spread it smoothly to the edges.
- Slide the pans into the preheated oven and bake for exactly 30 minutes, rotating the pans halfway through to ensure even browning.
- Check cake doneness by inserting a clean toothpick into the center – it should emerge without any raw batter clinging to it.
- Remove cakes from the oven and let them rest in the pans for 10 minutes before transferring to a wire rack to cool completely.
- Once cooled, prepare to assemble your cake layers with coconut frosting and chocolate ganache.
Notes
- Toast the shredded coconut before adding to frosting for a deeper, nuttier flavor that enhances the Almond Joy profile.
- Use room temperature ingredients to ensure smoother cake batter and more consistent texture throughout your layers.
- Check your cake layers at 25 minutes since oven temperatures vary, preventing potential overbaking and keeping the cake moist.
- When making ganache, let it cool slightly before drizzling so it creates elegant, controlled drips down the cake sides instead of running completely off.
- Prep Time: 15 minutes
- Cook Time: 30 minutes
- Category: Cakes
- Method: Baking
- Cuisine: American
Nutrition
- Serving Size: 8
- Calories: 343 kcal
- Sugar: 28 g
- Sodium: 110 mg
- Fat: 17 g
- Saturated Fat: 11 g
- Unsaturated Fat: 5 g
- Trans Fat: 0.5 g
- Carbohydrates: 42 g
- Fiber: 4 g
- Protein: 6 g
- Cholesterol: 55 mg
Logan Lemaster
Founder & Culinary Innovator
Expertise
Recipe Development and Innovation, Menu Design and Optimization, Fine Dining Techniques, Ingredient Pairing and Flavor Science
Education
Metropolitan Culinary Arts Institute
Logan’s culinary journey kicked off in his vibrant Chicago family kitchen, where fresh, seasonal ingredients and bold flavors were always front and center.
After graduating from the Metropolitan Culinary Arts Institute in Arlington, Virginia, and honing his skills in renowned restaurants, Logan mastered the art of blending classic techniques with exciting, modern twists.
His kitchen is a dynamic lab for flavor exploration. Through Yum Utopia, Logan aims to empower you to cook with both confidence and creativity, turning simple ingredients into spectacular meals.