Chocolate Espresso Cheesecake Recipe That’s Silky
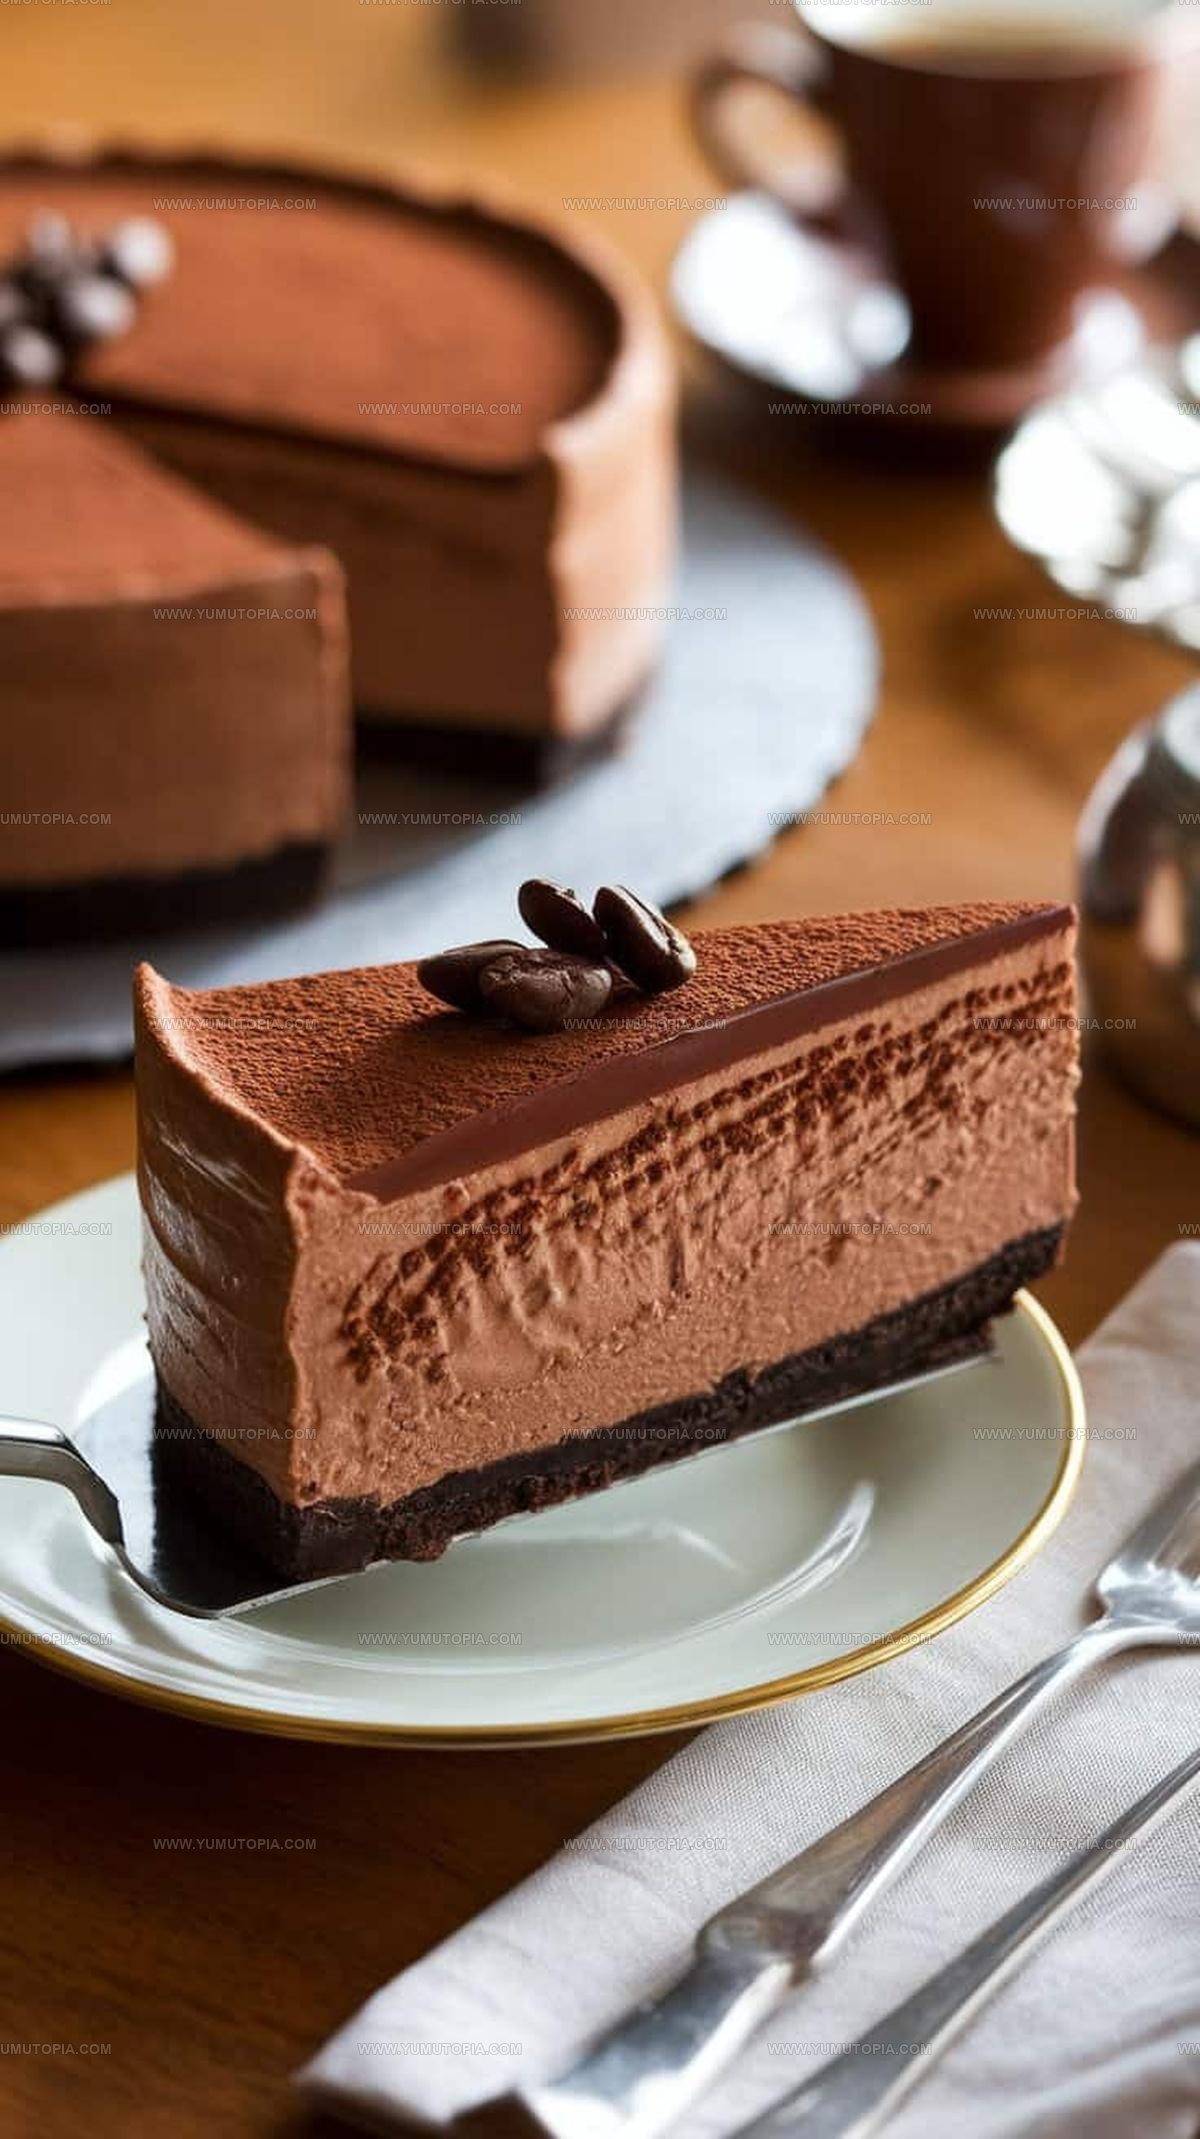
Rich and Creamy Chocolate Espresso Cheesecake Recipe blends two beloved flavors in one stunning dessert that feels both elegant and comforting.
The pairing of bold coffee notes with smooth chocolate creates a sophisticated profile that appeals to grown-up palates looking for something beyond ordinary sweets.
Dinner parties and special celebrations call for show-stopping finales, and few desserts command attention quite like a beautifully set cheesecake with deep, complex flavors.
The silky texture melts on the palate while layers of flavor unfold with every forkful, making it hard to stop at just one slice.
Baking something impressive doesn’t have to mean spending all day in the kitchen, as this dessert rewards you with bakery-worthy results.
Coffee enthusiasts and chocolate lovers alike will find themselves drawn to this luxurious combination that satisfies multiple cravings at once.
When the occasion calls for something memorable, nothing compares to presenting a slice of pure decadence that earns rave reviews from every guest at the table.
What Makes Chocolate Espresso Cheesecake So Indulgent
Chocolate Espresso Cheesecake Core Ingredients
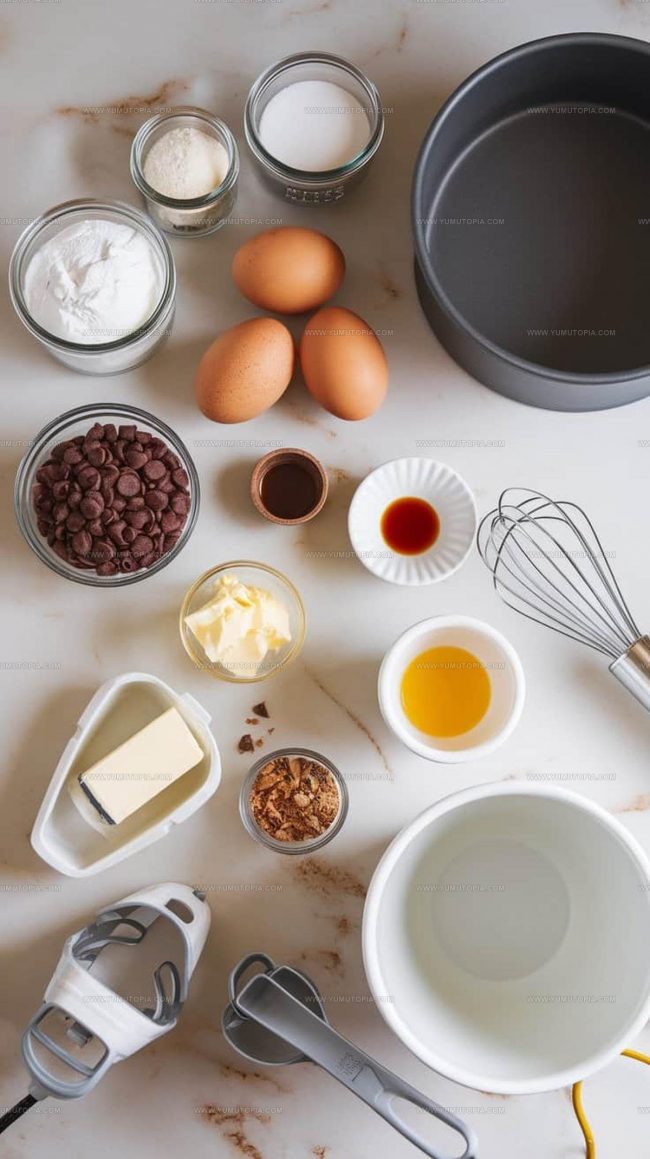
Essential Kitchen Tools for Chocolate Espresso Cheesecake
Rich Chocolate Espresso Cheesecake Baking Steps
Prepare Crust
Grab a food processor and crush 1 ½ cups of chocolate cookies until they become fine crumbs. Mix the crumbs with 5 tablespoons of melted butter until everything sticks together. Press this mixture firmly into the bottom of a 9-inch springform pan. Pop the pan in the refrigerator while preparing the filling.
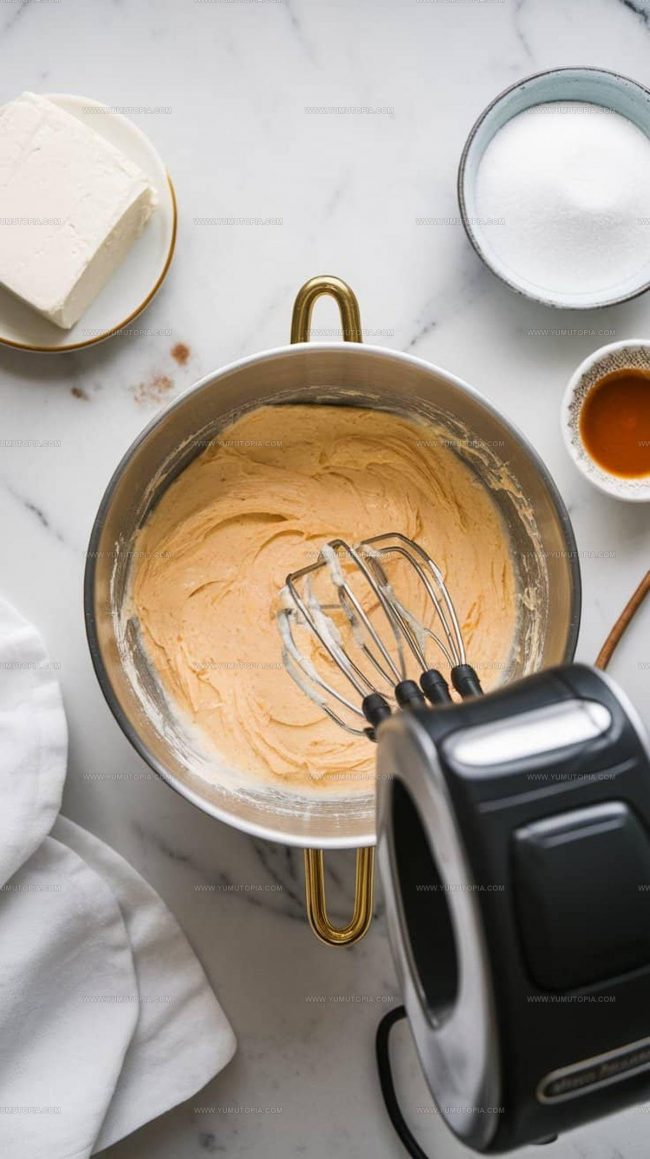
Cream the Cheese
Pull out your electric mixer and blend 3 packages (8 oz each) of softened cream cheese with 1 cup of granulated sugar until super smooth. Make sure there are no lumps hanging around.
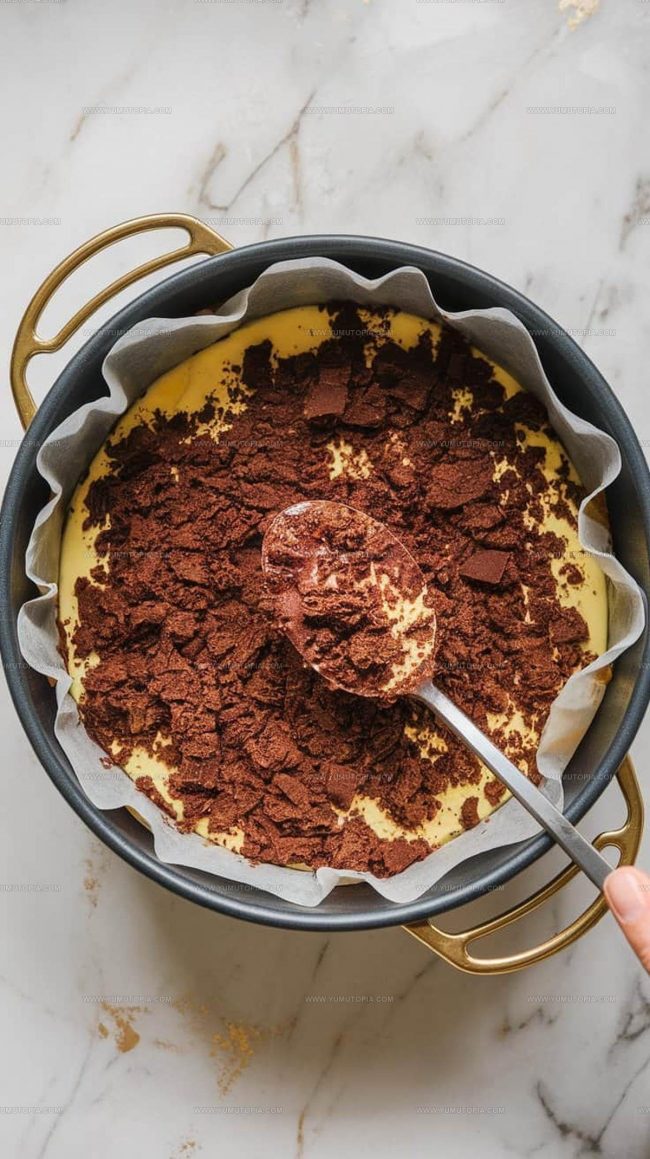
Add Filling Ingredients
Blend in 1 cup of sour cream. Then add eggs one at a time, mixing after each addition. Dissolve 2 tablespoons of instant espresso powder in 2 tablespoons of hot water. Pour this into the mixture along with 1 teaspoon of vanilla extract and 1 cup of melted semi-sweet chocolate chips. Mix everything until the batter looks creamy and consistent.
Prepare Water Bath
Wrap the springform pan completely in aluminum foil. Place the pan inside a larger roasting pan. Fill the roasting pan with hot water until it reaches halfway up the sides of the springform pan.
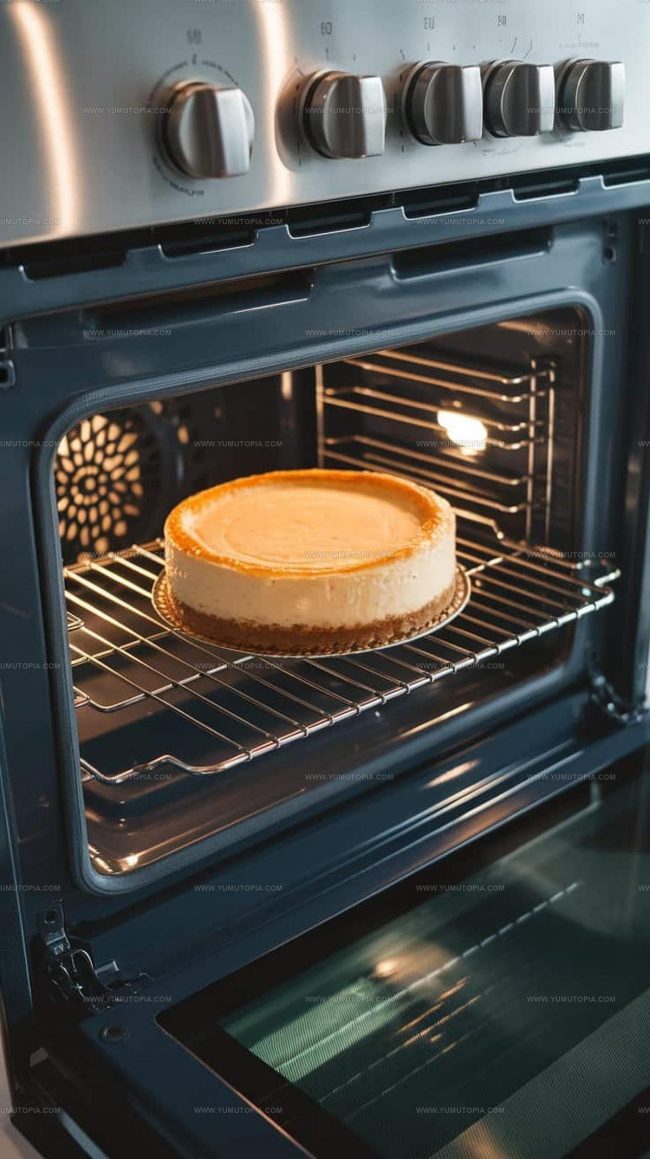
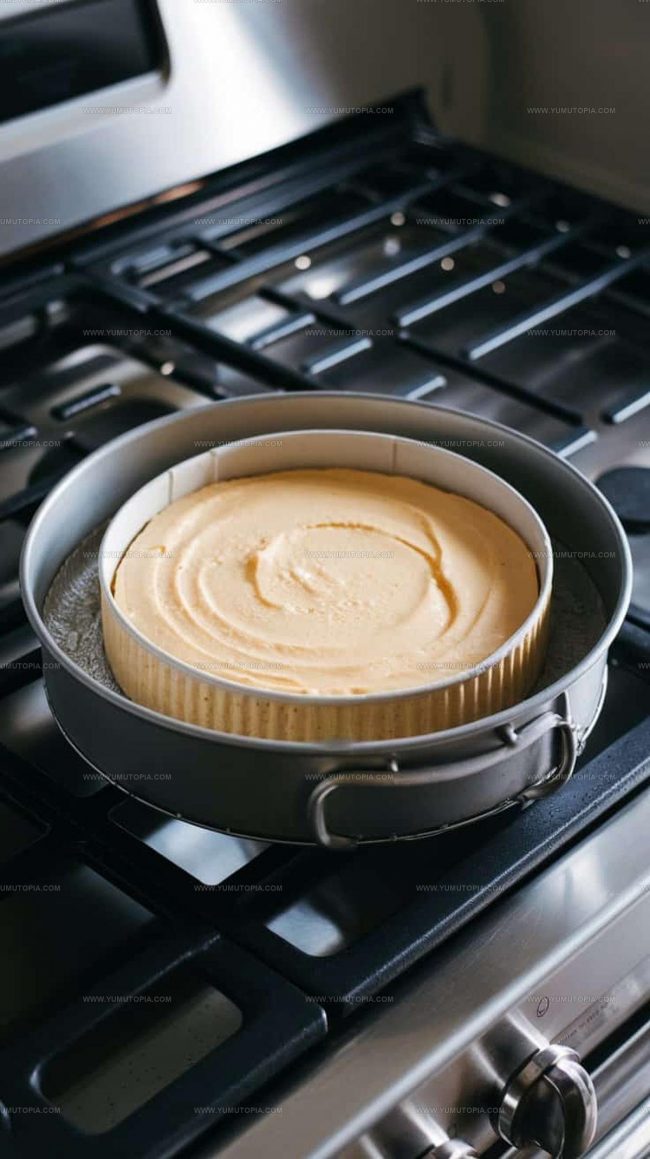
Bake the Cheesecake
Slide the water bath into a preheated oven at 325°F. Bake for 60-70 minutes until the center is almost set but still slightly jiggly.
Cool Slowly
Turn off the oven and crack the door open. Let the cheesecake hang out inside for 1 hour. This helps prevent cracking and ensures a smooth texture.
Refrigerate
Transfer the cheesecake to the refrigerator and let it chill for at least 6 hours or overnight.
Make Chocolate Ganache
Pour ½ cup of heavy cream into a saucepan and heat until it just starts to simmer.
Pour the hot cream over the chocolate chips in a bowl. Let sit for 5 minutes, then whisk until the mixture becomes smooth and glossy.
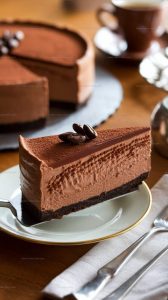
Finish and Serve
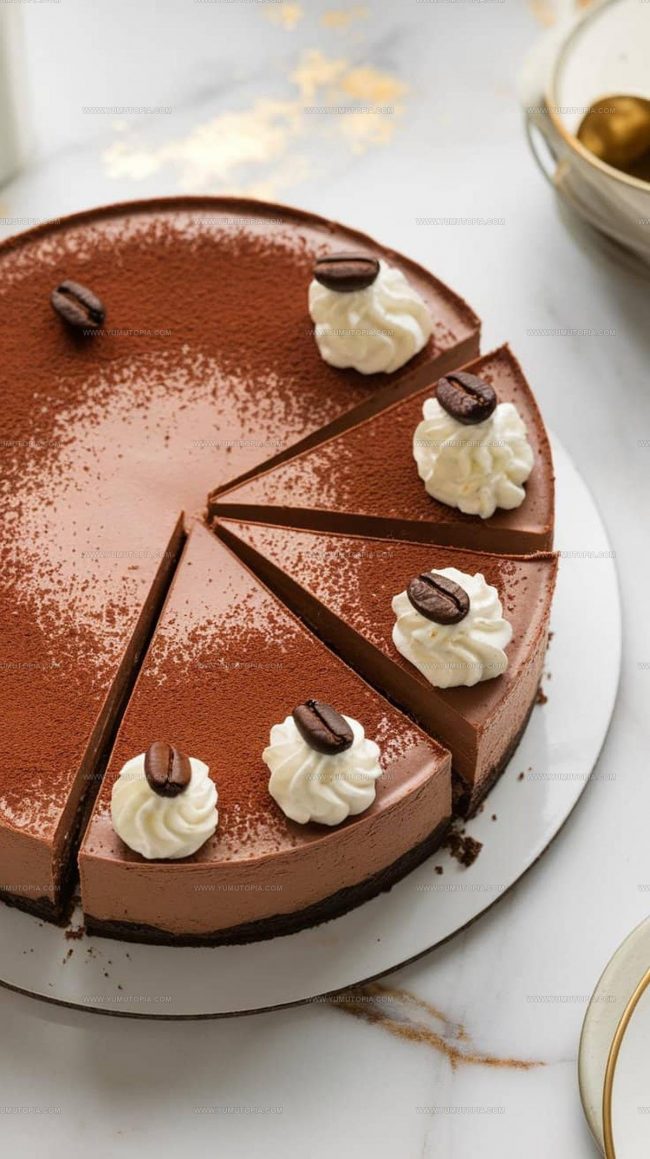
Pour the ganache over the chilled cheesecake. Dust with cocoa powder and add optional coffee bean or whipped cream garnish. Slice and serve this decadent dessert to your lucky guests.
Behind the Method of Chocolate Espresso Cheesecake
Flavor Options for Chocolate Espresso Cheesecake
Best Serving Options for Chocolate Espresso Cheesecake
Best Storage Practices For Chocolate Espresso Cheesecake
Helpful Recipe Answers for Chocolate Espresso Cheesecake
Can I make this cheesecake ahead of time?
Absolutely! The cheesecake tastes best when chilled overnight, so it’s perfect for preparing in advance.
How do I prevent cracks in my cheesecake?
The water bath method helps create a smooth, crack-free surface by providing gentle, even heat during baking.
What type of espresso works best for this recipe?
Instant espresso powder is ideal because it dissolves easily and provides a concentrated coffee flavor without adding extra liquid.
Can I substitute the chocolate cookie crumbs?
Graham cracker crumbs work well as an alternative base if you don’t have chocolate cookie crumbs on hand.
How can I tell when the cheesecake is done baking?
The center should have a slight wobble but look set. It will continue to firm up while cooling in the oven and refrigerator.
Does the ganache need to be completely cooled before pouring?
Pour the ganache while it’s still warm but not hot, which helps create a smooth, glossy finish on your cheesecake.
Rich and Creamy Chocolate Espresso Cheesecake Recipe
- Total Time: 7 hours 30 minutes
- Yield: 12 1x
Description
Chocolate Espresso Cheesecake delivers a smooth, rich dessert that brings coffee and chocolate lovers together for an unforgettable slice of pure indulgence. Creamy texture and deep espresso notes combine to create a decadent treat perfect for your next gathering or quiet evening at home.
Ingredients
Base:
- 1 ½ cups chocolate cookie crumbs
- 5 tablespoons unsalted butter
Filling:
- 3 (8 oz) packages cream cheese
- 1 cup granulated sugar
- 4 large eggs
- 1 cup sour cream
- 1 cup semi-sweet chocolate chips
- 2 tablespoons instant espresso powder
- 2 tablespoons hot water
- 1 teaspoon vanilla extract
Topping:
- ½ cup heavy cream
- 1 cup semi-sweet chocolate chips
Instructions
- Crush 1 ½ cups chocolate cookie crumbs into fine pieces. Melt 5 tablespoons unsalted butter and mix thoroughly with crumbs until they resemble wet sand.
- Press the crumb mixture firmly into the bottom of a 9-inch springform pan lined with parchment paper. Compact the crust evenly and smoothly.
- Refrigerate the prepared crust for 15 minutes while you prepare the filling to help it set firmly.
- In a large mixing bowl, beat 3 (8 oz) packages of softened cream cheese with 1 cup granulated sugar until completely smooth and free of lumps.
- Add 1 cup sour cream to the cream cheese mixture and blend until fully incorporated.
- Crack 4 large eggs into the mixture one at a time, mixing thoroughly after each addition to ensure even distribution.
- Melt 1 cup semi-sweet chocolate chips in a microwave-safe bowl, stirring every 30 seconds until completely smooth.
- Dissolve 2 tablespoons instant espresso powder in 2 tablespoons hot water, creating a concentrated coffee liquid.
- Fold the melted chocolate and dissolved espresso into the cheesecake batter, stirring until the mixture is uniform in color and texture.
- Wrap the springform pan completely in aluminum foil to prevent water from seeping in during baking.
- Place the wrapped pan inside a large roasting pan and pour hot water around it, reaching halfway up the sides of the springform pan.
- Bake at 325°F for 65-70 minutes, ensuring the center is slightly jiggly but not liquid.
- Turn off the oven and crack the door open, allowing the cheesecake to cool slowly inside for 1 hour to prevent cracking.
- Refrigerate the cheesecake for at least 6 hours or preferably overnight to set completely.
- Heat ½ cup heavy cream in a saucepan until it just begins to simmer, then pour over 1 cup semi-sweet chocolate chips.
- Let the cream and chocolate sit for 5 minutes, then whisk until the ganache is smooth and glossy.
- Pour the ganache evenly over the chilled cheesecake, allowing it to drip slightly down the sides.
- Dust the top with cocoa powder and garnish with coffee beans or a dollop of whipped cream before serving.
Notes
- Use room temperature ingredients for the smoothest, creamiest cheesecake texture that blends perfectly without lumps.
- Wrap the springform pan in multiple layers of heavy-duty foil to prevent water from seeping into the delicate crust during the water bath.
- For a gluten-free version, swap chocolate cookie crumbs with gluten-free cookie crumbs or ground almond meal to create an equally delicious base.
- Let the cheesecake cool slowly in the oven with the door cracked to prevent sudden temperature changes that could cause cracking on the surface.
- Prep Time: 20 minutes
- Cook Time: 1 hour 10 minutes
- Category: Cheesecakes
- Method: Baking
- Cuisine: American
Nutrition
- Serving Size: 12
- Calories: 380 kcal
- Sugar: 28 g
- Sodium: 210 mg
- Fat: 28 g
- Saturated Fat: 16 g
- Unsaturated Fat: 10 g
- Trans Fat: 0.5 g
- Carbohydrates: 30 g
- Fiber: 2 g
- Protein: 6 g
- Cholesterol: 110 mg
Logan Lemaster
Founder & Culinary Innovator
Expertise
Recipe Development and Innovation, Menu Design and Optimization, Fine Dining Techniques, Ingredient Pairing and Flavor Science
Education
Metropolitan Culinary Arts Institute
Logan’s culinary journey kicked off in his vibrant Chicago family kitchen, where fresh, seasonal ingredients and bold flavors were always front and center.
After graduating from the Metropolitan Culinary Arts Institute in Arlington, Virginia, and honing his skills in renowned restaurants, Logan mastered the art of blending classic techniques with exciting, modern twists.
His kitchen is a dynamic lab for flavor exploration. Through Yum Utopia, Logan aims to empower you to cook with both confidence and creativity, turning simple ingredients into spectacular meals.