
Chocolate Lava Cookie Recipe That’s Gooey and Sweet
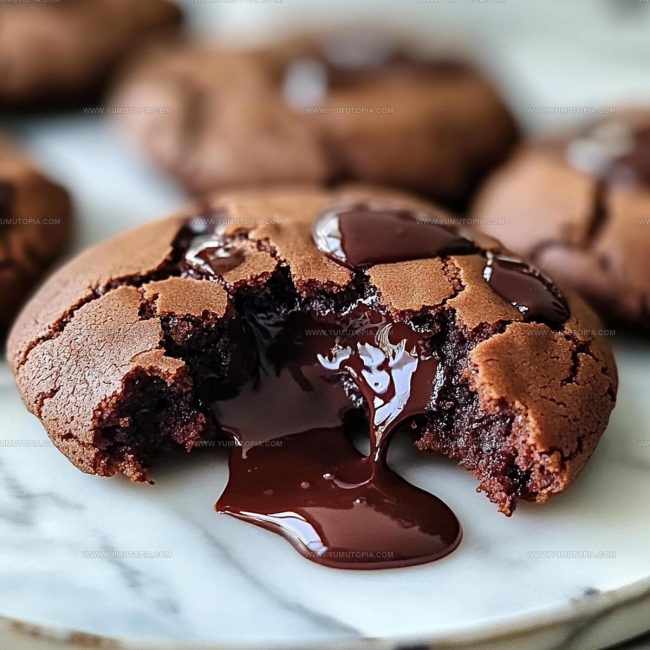
Chocolate lava cookies deliver all the drama of a molten dessert in portable, handheld form.
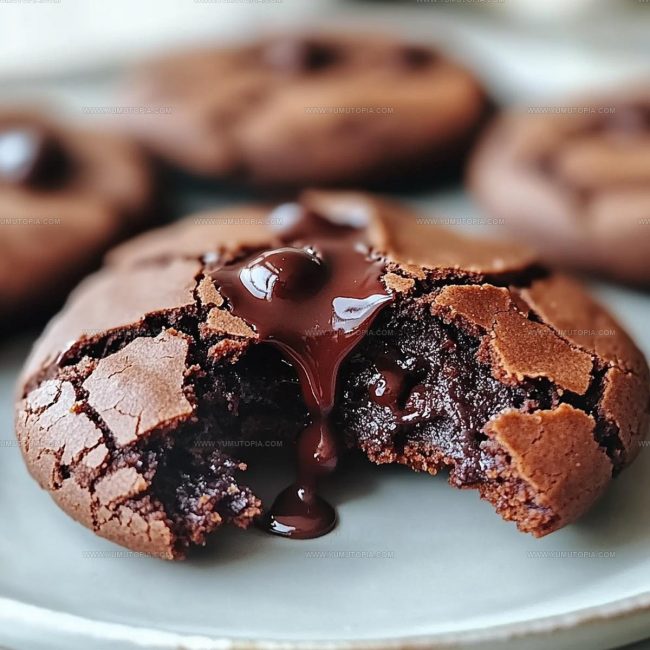
Rich, fudgy centers ooze out with every bite, creating that perfect contrast between a slightly crisp exterior and a gooey interior.
Whether you need an impressive treat for company or just want something special on a quiet evening, they fit the occasion beautifully.
The best part is how something so decadent comes together without requiring advanced skills or specialty equipment.
You can have a batch ready faster than most traditional desserts while still delivering serious wow factor.
They’re equally at home on a holiday dessert table or wrapped up as a thoughtful homemade gift.
Once you experience that warm, melty center, regular cookies just won’t cut it anymore.
Why Chocolate Lava Cookies Are So Popular
Ingredients That Make Chocolate Lava Cookies
Dry Ingredients:Sugars:Wet Ingredients:Mix-Ins:What Tools Support Chocolate Lava Cookies?
Chocolate Lava Cookies Baking Instructions
Warm Up the Oven
Crank your oven to exactly 375°F and grab a baking sheet. Line it with parchment paper so nothing sticks.
Create Creamy Base
Grab your mixer and whip 1/2 cup room temperature butter with 1/2 cup granulated sugar and 1/4 cup brown sugar. Beat for 2-3 minutes until the mixture looks light and super smooth.
Add Egg Power
Crack 2 large eggs into the butter mixture, one at a time. Pour in 1 tsp vanilla extract and blend everything until it’s perfectly combined.
Mix Dry Ingredients
In a separate bowl, sift together 1 cup all-purpose flour, 1/2 cup unsweetened cocoa powder, 1 tsp baking powder, and 1/4 tsp salt. Make sure these dry ingredients are well blended.
Combine Wet and Dry
Slowly mix your dry ingredients into the butter mixture. Don’t overmix – just blend until everything looks incorporated. Then gently fold in:
Shape the Cookies
Scoop rounded tablespoons of dough onto your prepared baking sheet. Space them about 2 inches apart so they have room to spread.
Bake to Perfection
Slide the baking sheet into the 375°F oven. Bake for exactly 10-12 minutes. The edges should look set, but the centers will still seem soft. Let them rest for a few minutes before diving in.
Secrets for Chocolate Lava Cookies
What Chocolate Lava Cookie Variations Are Popular
How to Serve Chocolate Lava Cookies
Storage Guide for Chocolate Lava Cookies
Chocolate Lava Cookies Common FAQs
Can I use milk chocolate instead of dark chocolate chips?
Milk chocolate works, but dark chocolate creates a richer flavor that complements the cookie’s deep cocoa taste.
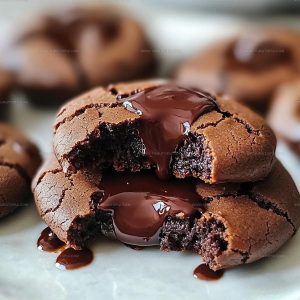
How do chocolate lava cookies get their molten center?
The soft, gooey center comes from slightly underbaking the cookies, which keeps the inside melty and delicious.
Are these cookies gluten-free?
Standard recipe contains wheat flour, so they aren’t naturally gluten-free. You would need to substitute with a gluten-free flour blend.
Can chocolate lava cookies be made ahead of time?
Prepare dough in advance and refrigerate for up to 3 days, or freeze dough balls for future baking.
What causes the cookies to crack on top?
Natural cracking happens from the sugar and butter combination during baking, which creates that classic chocolate cookie appearance.
How can I tell when the cookies are perfectly baked?
Look for set edges but a soft, slightly jiggly center – this ensures the signature lava-like texture.
Rich Chocolate Lava Cookies Recipe
- Total Time: 20-22 minutes
- Yield: 12 1x
Description
Warm chocolate lava cookies ooze pure comfort right from your oven, melting chocolate centers creating delightful surprise moments when breaking through the crisp outer layer. Guaranteed to make your dessert dreams come true with minimal effort and maximum deliciousness.
Ingredients
Primary Ingredients:
- ½ cup unsalted butter
- 2 large eggs
- 1 cup all-purpose flour
- ½ cup unsweetened cocoa powder
- ½ cup chocolate chips
Supporting Ingredients:
- ½ cup granulated sugar
- ¼ cup brown sugar
Seasoning and Leavening:
- 1 teaspoon vanilla extract
- 1 teaspoon baking powder
- ¼ teaspoon salt
Instructions
- Warm your oven to 375°F and line a baking sheet with parchment paper so your cookies won’t stick.
- Use an electric mixer to blend ½ cup room temperature butter with ½ cup granulated sugar and ¼ cup brown sugar until the mixture becomes creamy and light, about 2-3 minutes.
- Crack 2 large eggs into the butter mixture, adding 1 tsp vanilla extract and mixing until everything is smoothly combined.
- Grab another bowl and sift 1 cup flour, ½ cup cocoa powder, 1 tsp baking powder, and ¼ tsp salt together to eliminate any lumps.
- Gently fold the dry ingredients into your wet mixture, stirring just until incorporated. Sprinkle in ½ cup chocolate chips and mix lightly.
- Scoop rounded tablespoons of dough onto your prepared baking sheet, spacing each cookie about 2 inches apart to allow room for spreading.
- Slide the sheet into the 375°F oven and bake for 10-12 minutes, watching for set edges but keeping the centers deliciously soft.
- Remove from the oven and let the cookies rest for 3-4 minutes to firm up slightly before transferring to a cooling rack.
Notes
- Check chocolate chip quality by using high-cocoa percentage dark chocolate chunks for richer molten centers.
- Work quickly when removing cookies from oven to preserve gooey chocolate interior texture.
- Refrigerate dough for 30 minutes before baking to prevent excessive spreading and maintain cookie shape.
- Use parchment paper or silicone baking mat to ensure even baking and easy cookie removal.
- Prep Time: 10 minutes
- Cook Time: 10-12 minutes
- Category: Cookies
- Method: Baking
- Cuisine: American
Nutrition
- Serving Size: 12
- Calories: 175 kcal
- Sugar: 14 g
- Sodium: 85 mg
- Fat: 9 g
- Saturated Fat: 5 g
- Unsaturated Fat: 4 g
- Trans Fat: 0.2 g
- Carbohydrates: 22 g
- Fiber: 3 g
- Protein: 3 g
- Cholesterol: 40 mg
Logan Lemaster
Founder & Culinary Innovator
Expertise
Recipe Development and Innovation, Menu Design and Optimization, Fine Dining Techniques, Ingredient Pairing and Flavor Science
Education
Metropolitan Culinary Arts Institute
Logan’s culinary journey kicked off in his vibrant Chicago family kitchen, where fresh, seasonal ingredients and bold flavors were always front and center.
After graduating from the Metropolitan Culinary Arts Institute in Arlington, Virginia, and honing his skills in renowned restaurants, Logan mastered the art of blending classic techniques with exciting, modern twists.
His kitchen is a dynamic lab for flavor exploration. Through Yum Utopia, Logan aims to empower you to cook with both confidence and creativity, turning simple ingredients into spectacular meals.