Italian Crusty Bread No Knead Recipe With Crispy Crust
Rustic Italian crusty bread no knead recipe makes homemeness baking simpler than you ever thought possible while delivering that authentic old-world flavor and texture.
Busy schedules no longer stand between you and freshly baked loaves that rival anything from a European bakery.
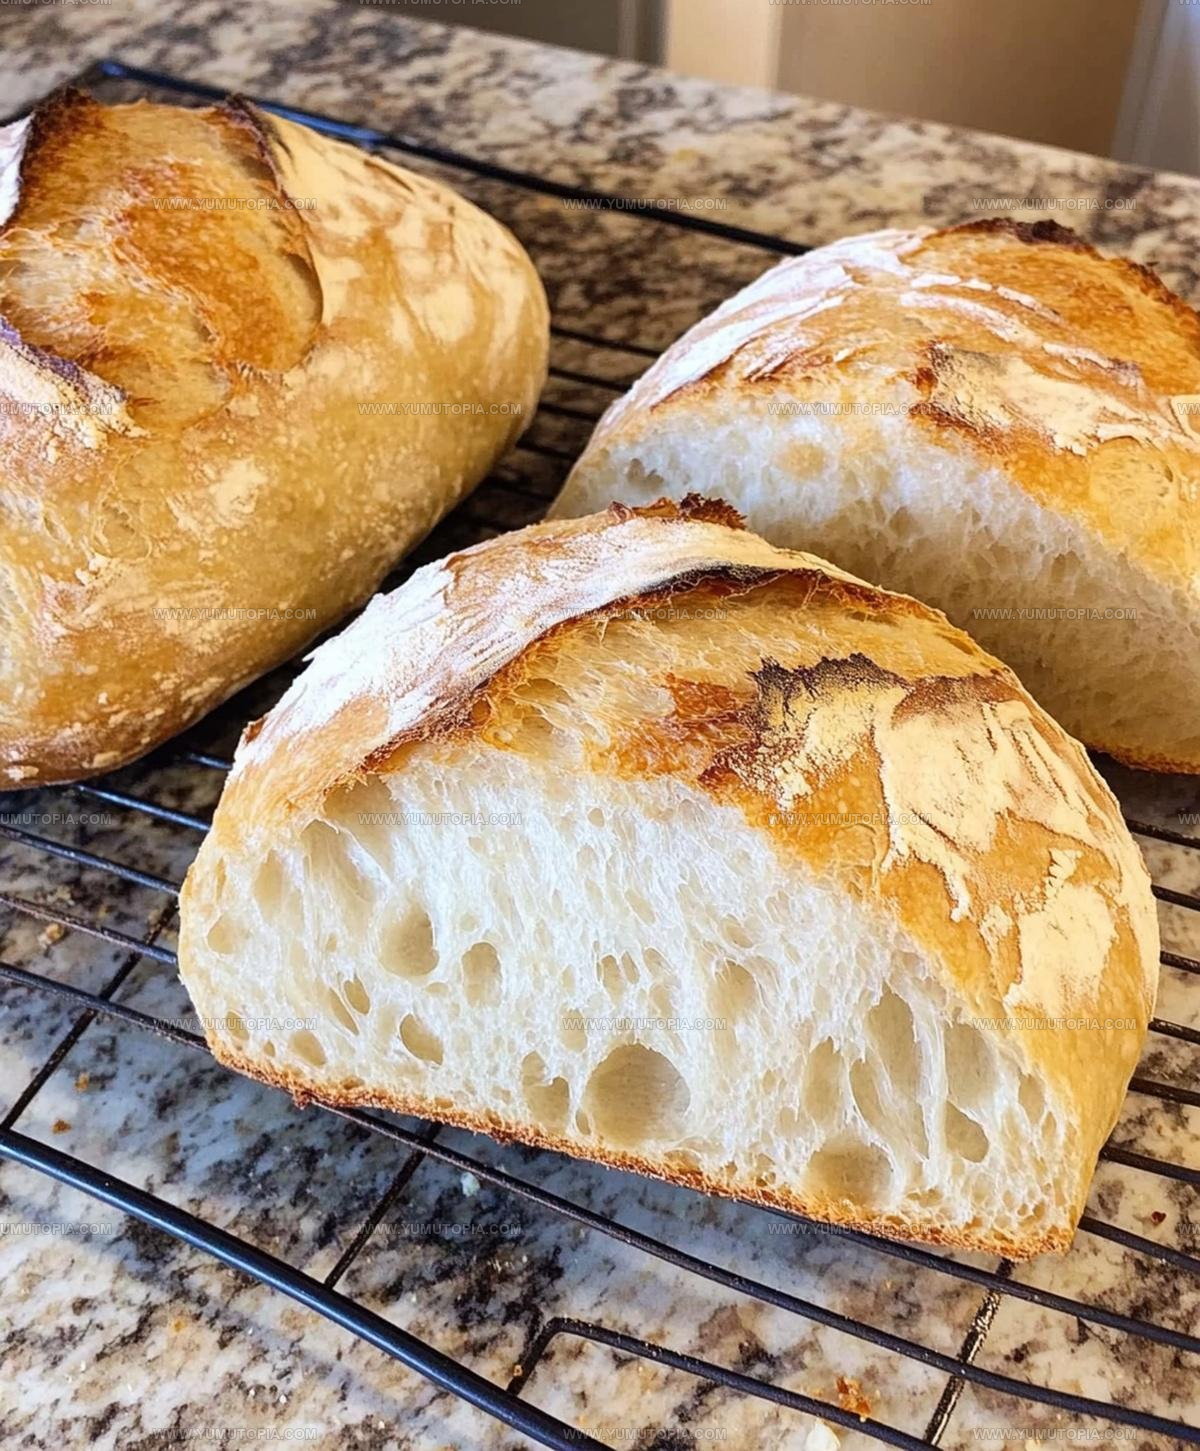
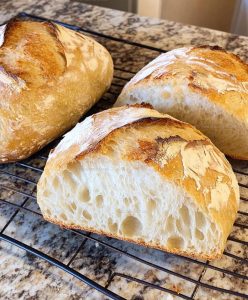
Crispy golden exteriors give way to airy, hole-studded interiors that seem almost too impressive for such an effortless process.
Perfect for sopping up sauces, serving alongside soups, or simply enjoying warm with good butter, there’s something deeply satisfying about pulling a professional-looking loaf from an ordinary home oven.
Even complete beginners find success with minimal equipment and basic pantry staples.
Few things match the pride of slicing into a loaf you made with your own hands while filling the house with that unmistakable aroma of fresh-baked bread.
Best Reasons to Bake Rustic Italian Crusty Bread
What Are All the Ingredients for Rustic Italian Bread?
Dry Ingredients:Wet Ingredients:Finishing Ingredient:Best Tools for Rustic Italian Crusty Bread
Making Rustic Italian Crusty Bread from Scratch
Mix Dry Ingredients
Grab a large mixing bowl and toss in 3 cups all-purpose flour, 1.5 teaspoons salt, and 0.5 teaspoon active dry yeast. Whisk these together until they look evenly blended and there are no clumpy spots.
Create Dough Base
Pour 1.5 cups water into your flour mixture. Stir everything with a wooden spoon until the ingredients transform into a messy, sticky dough that looks rough and uneven. This is exactly how it should look!
Overnight Fermentation
Drape some plastic wrap over the bowl and let the dough sit quietly at room temperature. Walk away and do something else for 12-18 hours. The magic happens while you’re not looking.
Prepare Dough Surface
Sprinkle flour across a clean countertop. Gently dump your puffy, bubbly dough onto the surface. Your dough will look super soft and stretchy.
Shape the Loaf
Use your hands to fold the dough over itself 2-3 times. This helps develop some structure and makes the bread look like a nice round shape. Don’t worry about being perfect.
Final Rise Prep
Dust a clean kitchen towel with flour. Place your dough ball on the towel, with the seam facing downward. Cover with another towel.
Second Rise
Let the dough hang out and puff up for 1-2 hours. It should look noticeably larger and more pillowy.
Oven Preparation
Heat your oven to 450°F. Slide a heavy Dutch oven inside to warm up for 30 minutes.
Transfer to Hot Pot
Carefully remove the scorching hot Dutch oven. Gently drop your dough inside, with the seam facing upward.
First Baking Phase
Cover the Dutch oven with its lid and bake for exactly 30 minutes.
Final Baking
Remove the lid and continue baking for 15-20 minutes. Watch for a beautiful golden brown color developing across the surface.
Cooling Down
Pull the bread from the oven and place it on a wire rack. Wait at least 1 hour before slicing – this helps the interior set perfectly.
What Helpful Cooking Notes Perfect Rustic Italian Bread
How Can Rustic Italian Bread Be Shaped Differently
Best Ways to Enjoy Rustic Italian Bread
Best Storage Method For Rustic Italian Bread
Rustic Italian Crusty Bread Frequently Asked Questions
Can I use whole wheat flour instead of all-purpose flour?
You can substitute up to half the all-purpose flour with whole wheat flour, but using 100% whole wheat might make the bread denser and less fluffy.
What if my dough doesn’t look perfectly smooth?
Don’t worry! Rustic bread is meant to look slightly imperfect. The shaggy texture is part of the bread’s charm and won’t affect the final taste.
How do I know if my yeast is still active?
Test your yeast by dissolving it in warm water. If it foams and bubbles within 5-10 minutes, it’s ready to use in your bread recipe.
Can I add herbs or cheese to this bread?
Absolutely! Sprinkle dried herbs like rosemary or thyme into the dry ingredients, or fold in some grated parmesan cheese during the shaping process.
Why do I need to preheat the Dutch oven?
Preheating creates instant steam when the dough enters, which helps develop a crispy, golden crust that’s characteristic of artisan bread.
What if I don’t have a Dutch oven?
You can use a heavy ceramic or cast-iron pot with a lid. The key is having a covered, heat-retaining vessel that creates steam during baking.
Rustic Italian Crusty Bread No Knead Recipe
- Total Time: 14-21 hours and 5 minutes
- Yield: 4 1x
Description
Fresh Artisan Rustic Italian Crusty Bread brings pure bakery magic right to your kitchen with zero fancy equipment needed. Minimal ingredients and simple techniques deliver a golden, crispy-crusted loaf that’ll make your whole home smell like a traditional Italian bakery.
Ingredients
Bread Essentials:
- 3 cups all-purpose flour
- 1.5 cups water
- 0.5 teaspoons active dry yeast
Seasonings and Finishing:
- 1.5 teaspoons salt
- 1 tablespoon olive oil
Instructions
- Grab a large mixing bowl and thoroughly blend 3 cups all-purpose flour, 1.5 teaspoons salt, and 0.5 teaspoon active dry yeast until ingredients are completely integrated.
- Pour 1.5 cups water into the dry mixture, stirring with a wooden spoon until a rough, sticky dough develops that looks slightly ragged around the edges.
- Seal the bowl tightly with plastic wrap and allow the dough to rest undisturbed at room temperature for 12-18 hours, letting natural fermentation work its magic.
- Sprinkle a clean countertop generously with flour and gently transfer your dough onto the surface.
- Using soft hands, delicately fold the dough over itself 2-3 times to create surface tension and shape it into a round, compact ball.
- Dust a clean kitchen towel with flour and carefully place your dough on it, positioning the seam side downward.
- Drape another towel over the dough and permit it to rise for 1-2 hours until it visibly doubles in volume.
- Position your empty Dutch oven inside the oven and preheat to exactly 450°F for 30 minutes, creating an intensely hot cooking environment.
- Extract the scorching Dutch oven and softly drop your dough inside, positioning the seam side facing upward.
- Cover the Dutch oven with its lid and bake for precisely 30 minutes at 450°F.
- Remove the lid and continue baking for an additional 15-20 minutes until the bread achieves a rich, golden-brown exterior.
- Transfer the bread onto a wire rack and allow it to cool completely for at least 1 hour before slicing to preserve its internal structure.
Notes
- Room temperature ingredients help the dough develop complex flavors during the long fermentation process.
- Don’t worry about a perfectly smooth dough, as the rustic texture creates beautiful air pockets and a crusty exterior.
- For gluten-free bread, substitute a combination of gluten-free flour blends and add xanthan gum to help bind the dough.
- Storing bread in a paper bag at room temperature keeps the crust crisp, while plastic bags can make the crust soft and chewy.
- Prep Time: 13-20 hours
- Cook Time: 45-50 minutes
- Category: Breads
- Method: Baking
- Cuisine: Italian
Nutrition
- Serving Size: 4
- Calories: 260 kcal
- Sugar: 0.1 g
- Sodium: 870 mg
- Fat: 3.2 g
- Saturated Fat: 0.5 g
- Unsaturated Fat: 2.5 g
- Trans Fat: 0 g
- Carbohydrates: 53 g
- Fiber: 2 g
- Protein: 7 g
- Cholesterol: 0 mg
Madison Wyman
Recipe Developer & Food Storyteller
Expertise
Recipe Research and Adaptation, Food Writing and Cultural Storytelling, Sustainable and Ethical Sourcing, Dietary Adaptations (e.g., gluten-free, plant-based)
Education
Oregon Health & Science University
Portland Community College
Madison’s passion for flavor and culture ignited amidst the rich Southern cooking traditions of her upbringing, where cherished family recipes told delicious tales.
Armed with a Master’s in Food Systems and Society from Oregon Health & Science University and a Culinary Arts Certificate from Portland Community College, Madison truly excels at transforming rich, intricate flavors into dishes that are both approachable and heartfelt.
For her, cooking is a vibrant blend of science, art, and heritage – a powerful way to connect us to our roots and each other. Her recipes invite you to delve deeper, uncovering the fascinating stories woven into every ingredient.