
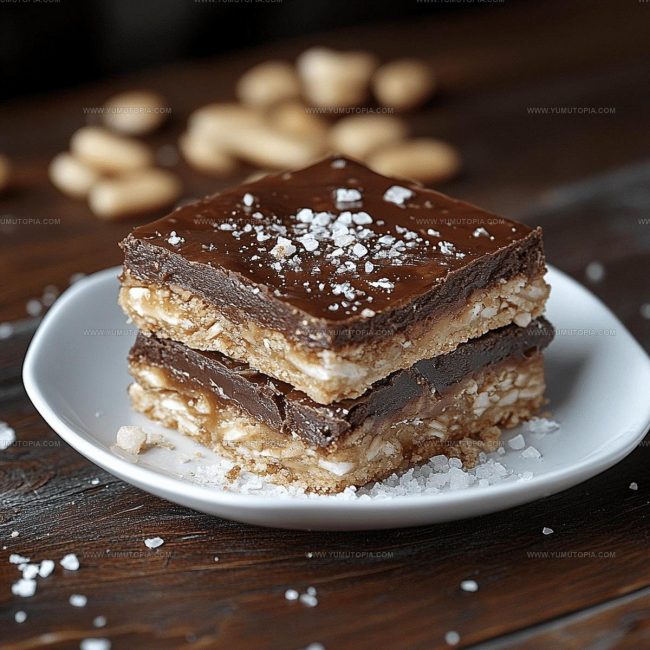
Salt River Bars Recipe That Combines Chocolate and Caramel Perfection
Salt river bars are the ultimate sweet-meets-salty sensation that chocolate lovers crave.
Decadent and totally addictive, these bars blend rich flavor profiles in one seriously delicious treat.
Dessert enthusiasts consistently rave about the incredible combination of textures and taste sensations packed into each bite.
Chocolate and caramel fans will absolutely swoon over this mouthwatering recipe that strikes the perfect balance between sweet and salty notes.
Snack time just got a serious upgrade with this incredible crowd-pleasing creation that disappears faster than you can imagine.
Weekend baking projects rarely come more exciting or rewarding than preparing something guaranteed to make everyone smile.
Prepare to become the neighborhood hero when you share these unforgettable salt river bars that people will request again and again.
What Makes Salt River Bars So Addictive
What Goes Into Salt River Bars
Base Layer:Caramel Layer:Chocolate Topping:Finishing Touch:Essential Kitchen Tools for Salt River Bars
Steps to Prepare Salt River Bars
Prep the Pan
Line a 9×9 inch square baking pan with parchment paper. Make sure the paper hangs over the sides so you can easily lift out the bars later.
Create Cracker Base
Grab that sleeve of Club crackers and lay them down in a single, neat layer covering the bottom of the pan completely.
Whip Up Caramel Sauce
Grab a saucepan and toss in these ingredients:
Melt these together over medium heat, stirring constantly. Keep an eye on the mixture and let it bubble gently for exactly 3 minutes.
Enrich the Caramel
Pull the pan off the heat and stir in:
Mix until everything looks smooth and combined.
First Caramel Layer
Pour half of the caramel sauce over the crackers, making sure to spread it evenly across the entire surface.
Build More Layers
Add another layer of Club crackers on top of the first caramel coating. Then pour the remaining caramel over these crackers.
Final Cracker Layer
Place one more layer of crackers on top of the second caramel coating.
Chocolate Topping
Melt together in a microwave-safe bowl:
Heat in 30-second intervals, stirring between each round until completely smooth.
Chocolate Finish
Pour the melted chocolate mixture over the top cracker layer. Spread it evenly so every inch gets covered.
Salty Sparkle
Sprinkle some flaky sea salt across the top of the chocolate layer.
Chill and Set
Pop the pan in the refrigerator for 2 full hours until everything sets firmly.
Slice and Serve
Lift the bars out using the parchment paper overhang. Cut into squares and get ready to enjoy your Salt River Bars!
Helpful Cooking Notes For Salt River Bars
Alternate Versions Of Salt River Bars
Serving Suggestions For Salt River Bars
How To Store Salt River Bars
Salt River Bars Q&A
Can I use a different type of cracker?
Absolutely! Graham crackers or saltine crackers work great in this recipe. Just ensure they fit snugly in your baking pan.
How do I prevent the caramel from burning?
Keep stirring constantly and maintain medium heat. Remove from heat immediately when it starts bubbling to avoid scorching.
What if my chocolate seizes when melting?
Add a tiny bit of vegetable oil or cream to help smooth it out. Melt slowly in short intervals and stir between each heating.
Can these bars be frozen?
Yes, wrap them tightly in plastic wrap, then place in a freezer-safe container. They’ll stay delicious for up to one month.
Is unsalted butter okay to use?
Yes, unsalted butter works perfectly. The flaky sea salt will provide all the saltiness your taste buds desire.
How thick should the layers be?
Aim for even, consistent layers. Press crackers gently to create a uniform base for each delicious tier.
Salt River Bars Recipe
- Total Time: 2 hours 25 minutes
- Yield: 12 1x
Description
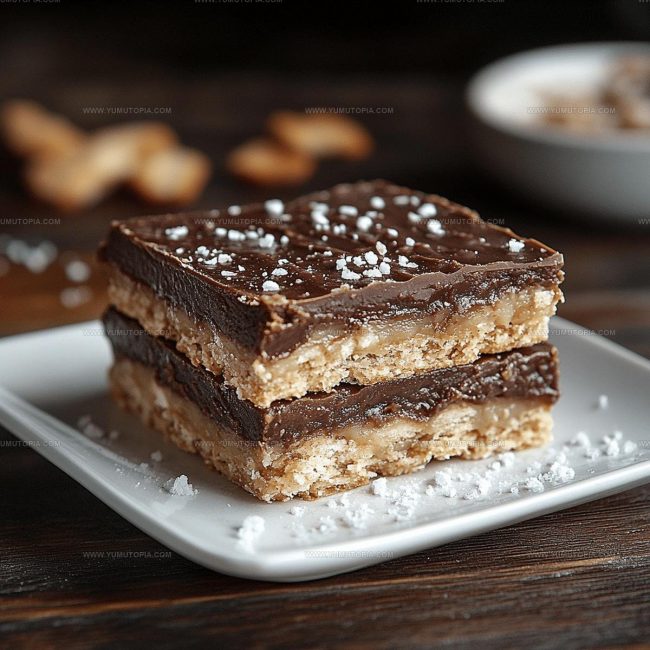
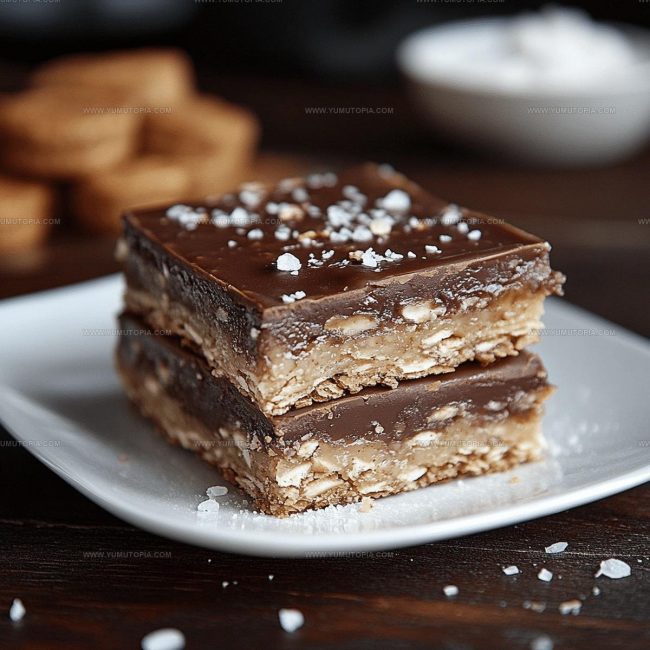
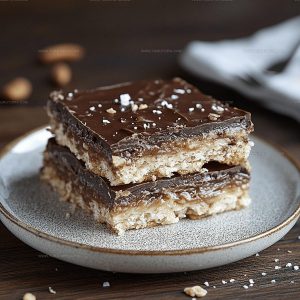
Craving a sweet and salty treat that’ll make your taste buds dance? Salt River Bars blend creamy caramel, chocolate, and a sprinkle of sea salt into a delightful dessert that’ll satisfy your snack cravings in just minutes.
Ingredients
Main Ingredients:
- 1 sleeve Club crackers
- 1 cup unsalted butter
- 1 cup light brown sugar
- 2 cups semi-sweet chocolate chips
Supporting Ingredients:
- ⅓ cup creamy peanut butter
- ¼ cup creamy peanut butter
- ½ teaspoon vanilla extract
Finishing Ingredients:
- Flaky sea salt
Instructions
- Cover a 9×9 inch baking pan with parchment paper, letting edges hang over for easy bar removal.
- Create a single tight layer of 40 Club crackers across the entire pan bottom.
- Combine 1 cup butter and 1 cup brown sugar in a saucepan, heating at medium temperature for 3 minutes while continuously stirring until mixture bubbles gently.
- Remove caramel mixture from heat and quickly blend in ⅓ cup peanut butter and ½ teaspoon vanilla extract until completely smooth.
- Carefully drizzle half the caramel over crackers, spreading to ensure even distribution.
- Position another complete layer of crackers atop the first caramel coating.
- Pour remaining caramel over the second cracker layer, creating an even surface.
- Add final layer of crackers across the pan.
- Melt 2 cups chocolate chips with ¼ cup peanut butter in microwave, heating in 30-second increments and stirring between intervals until completely liquid.
- Pour melted chocolate mixture over top cracker layer, spreading smoothly to cover entire surface.
- Sprinkle flaky sea salt across chocolate layer for enhanced flavor.
- Refrigerate pan for 2 hours at 38°F until bars become completely firm.
- Extract bars from pan using parchment paper edges and slice into individual servings.
Notes
- Parchment paper is crucial for easy removal, so let the overhang be generous and use smooth, even strokes when pressing it into the pan.
- Consistently stirring the caramel prevents burning and ensures a silky smooth texture that coats the crackers perfectly.
- Melting chocolate in short microwave intervals prevents scorching and helps maintain a glossy, professional finish on your bars.
- Flaky sea salt adds a sophisticated contrast to the sweet layers, so sprinkle it delicately across the surface for balanced flavor complexity.
- Prep Time: 15 minutes
- Cook Time: 10 minutes
- Category: Dessert Bars
- Method: Melting
- Cuisine: American
Nutrition
- Serving Size: 12
- Calories: 317 kcal
- Sugar: 17 g
- Sodium: 115 mg
- Fat: 21 g
- Saturated Fat: 8 g
- Unsaturated Fat: 11 g
- Trans Fat: 0.3 g
- Carbohydrates: 29 g
- Fiber: 2 g
- Protein: 5 g
- Cholesterol: 31 mg
Logan Lemaster
Founder & Culinary Innovator
Expertise
Recipe Development and Innovation, Menu Design and Optimization, Fine Dining Techniques, Ingredient Pairing and Flavor Science
Education
Metropolitan Culinary Arts Institute
Logan’s culinary journey kicked off in his vibrant Chicago family kitchen, where fresh, seasonal ingredients and bold flavors were always front and center.
After graduating from the Metropolitan Culinary Arts Institute in Arlington, Virginia, and honing his skills in renowned restaurants, Logan mastered the art of blending classic techniques with exciting, modern twists.
His kitchen is a dynamic lab for flavor exploration. Through Yum Utopia, Logan aims to empower you to cook with both confidence and creativity, turning simple ingredients into spectacular meals.