Simple Bread Recipe to Bake Fresh Every Morning
Simple bread recipe lovers know that few things match the satisfaction of pulling a fresh loaf from the oven, filling your kitchen with warmth and comfort.
Baking at home connects you to centuries of tradition while creating something genuinely nourishing for family and friends.
The process feels almost meditative, requiring just a bit of patience and attention to achieve golden, crusty results.
Homemade loaves offer unmatched flavor and texture that store-bought versions simply cannot replicate.
Learning to bake gives you complete control over what goes into every slice, making mealtime healthier and more meaningful.
Fresh bread pairs beautifully with soups, salads, sandwiches, or simply butter and jam for breakfast.
Nothing beats the pride of serving something made entirely by hand, and the compliments will flow freely.
Roll up your sleeves and start baking today for results that will impress everyone at the table.
Top Reasons Simple Bread Is Always Useful
What Are the Ingredients for Simple Bread
Main Dry Ingredients:Liquid and Activation Ingredients:What Tools Are Needed for Simple Bread
Easy Steps For Simple Bread
Dissolve Yeast
Grab that warm water at 110F and sprinkle 1 tablespoon of sugar into it. Scatter 2 teaspoons of active dry yeast across the surface and let it hang out for about 5-10 minutes until it gets foamy and alive.
Mix Dry Ingredients
Dump 4 cups of all-purpose flour into a big mixing bowl. Sprinkle 1 1/2 teaspoons of salt across the flour and give it a quick stir to blend.
Create Dough
Pour the bubbling yeast mixture into the flour. Stir everything together until you have a shaggy, rough-looking dough that’s just starting to come together.
Knead the Dough
Dust your countertop with a little flour. Plop the dough down and start pushing and folding for 8-10 minutes. Keep working it until the dough feels smooth and stretchy.
First Rise
Shape the dough into a nice round ball. Tuck it into a greased bowl and drape a kitchen towel over the top. Let it rest in a warm spot for 1 to 1.5 hours until it doubles in size.
Shape the Loaf
Punch down the puffy dough to release the air. Gently shape it into a round loaf and place it on a baking sheet.
Second Rise
Cover the shaped dough and let it puff up again for 30-45 minutes. This helps create those gorgeous bread textures.
Bake the Bread
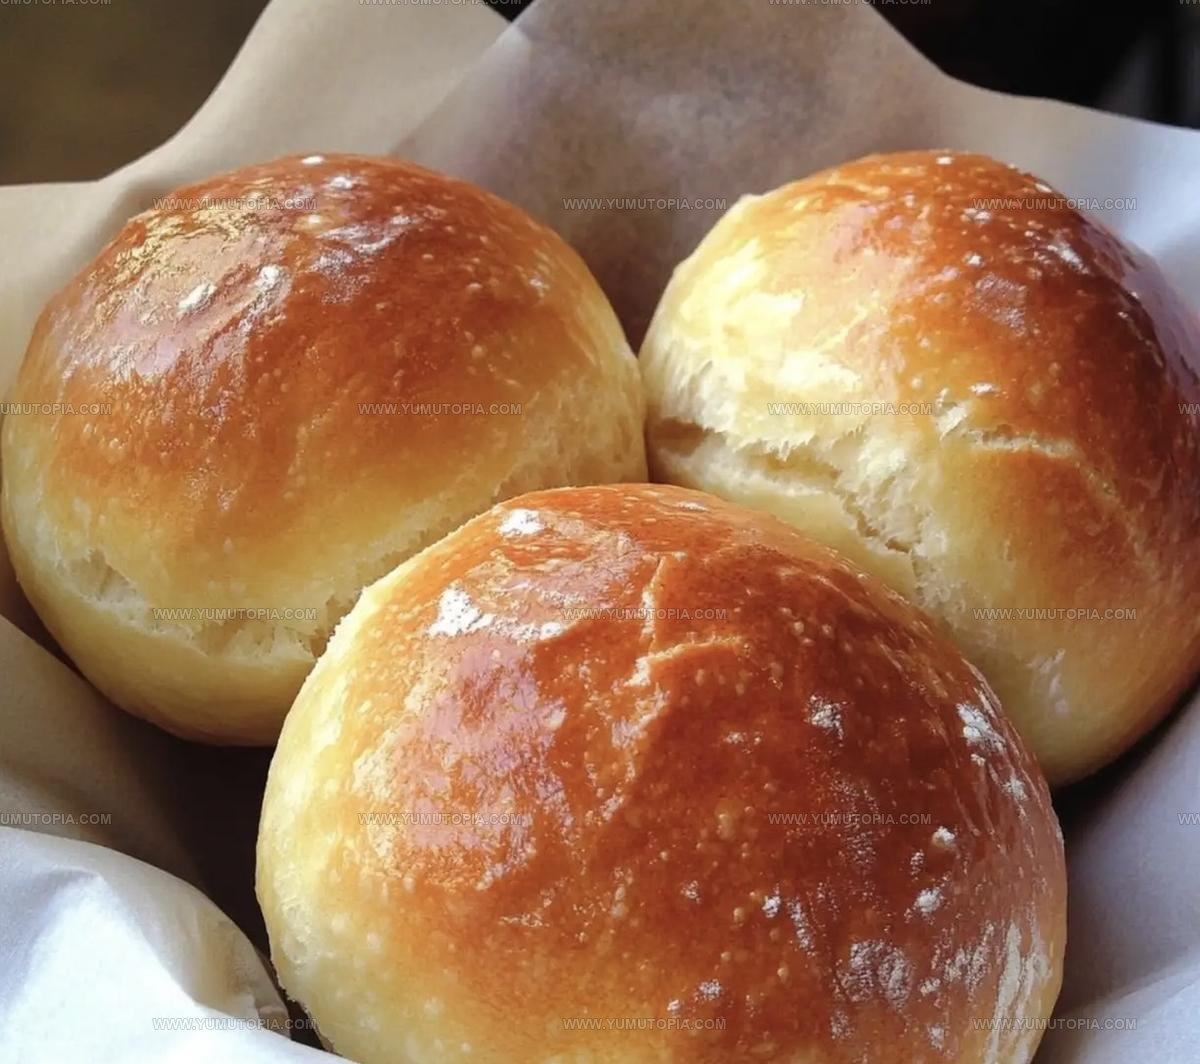
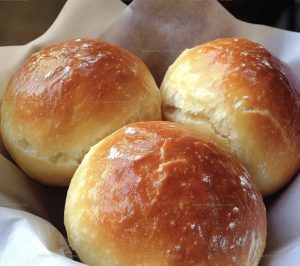
Heat the oven to exactly 375F. Slice a few diagonal cuts across the top of the dough. Slide the pan into the oven and bake for 25-30 minutes until the crust turns a deep golden brown.
Cool and Slice
Transfer the bread to a wire rack. Wait at least 20 minutes before slicing – this helps the inside set perfectly.
Smart Cooking Tips For Simple Bread
Simple Bread With Texture And Crust Variations
Best Ways To Serve Simple Homemade Bread
Simple Bread Storage Guidelines
Simple Bread FAQs
What makes yeast activate properly?
Warm water around 110F creates the perfect environment. Sugar feeds the yeast, helping it wake up and become bubbly and alive.
Can bread flour replace all-purpose flour?
Absolutely. Bread flour has more protein, which creates a chewier texture and stronger gluten network for your loaf.
How do I know when kneading is complete?
The dough becomes smooth, elastic, and springs back when gently pressed. Your hands will feel the transformation from rough to silky.
Why are slashes important on top of bread?
Slashes help steam escape and allow the bread to expand evenly during baking, creating a beautiful professional-looking crust.
What signals bread is fully baked?
A golden brown crust and hollow sound when tapping the bottom indicate your bread is perfectly done.
Can salt be reduced or eliminated?
Salt strengthens gluten and adds flavor, so removing it changes the bread’s texture and taste dramatically.
Simple Bread Recipe
- Total Time: 2 hours 10 minutes to 2 hours 30 minutes
- Yield: 8 1x
Description
Fresh Homemade Bread will fill your kitchen with warmth and comfort, making your home smell amazing. Kneading dough becomes a delightful experience when you discover how simple creating delicious bread can be.
Ingredients
Main Ingredients:
- 4 cups all-purpose flour
- 1 ½ cups warm water
Supporting Ingredients:
- 2 teaspoons active dry yeast
- 1 ½ teaspoons salt
Additional Ingredients:
- 1 tablespoon sugar
Instructions
- Collect 4 cups all-purpose flour, 1½ cups warm water, 2 teaspoons active dry yeast, 1½ teaspoons salt, and 1 tablespoon sugar onto your kitchen workspace.
- Pour 1½ cups water at 110°F into a bowl, dissolve 1 tablespoon sugar, then sprinkle 2 teaspoons yeast on top. Wait 5-10 minutes until foamy and activated.
- Mix 4 cups flour and 1½ teaspoons salt in a large mixing bowl, creating a small well in the center.
- Pour activated yeast mixture into flour well, stirring with a wooden spoon until rough, sticky dough forms.
- Transfer dough onto a lightly floured surface and knead vigorously for 8-10 minutes until surface becomes smooth and elastic.
- Shape kneaded dough into a perfect round ball and place inside a greased bowl, covering with a clean kitchen towel.
- Let dough rise in a warm spot for 1-1.5 hours, watching it double in volume.
- Gently deflate dough by pressing down, then shape into a rounded loaf on a baking sheet.
- Allow shaped loaf to rise again for 30-45 minutes, covered loosely.
- Heat oven precisely to 375°F and make 2-3 diagonal slashes across dough surface.
- Bake bread at 375°F for 25-30 minutes until golden brown and crusty.
- Remove bread from oven and cool completely on a wire rack for 20-25 minutes before slicing.
Notes
- Warm water is crucial for activating yeast, so aim for about 110°F to ensure perfect rising without killing the yeast.
- Kneading develops gluten, which gives bread its structure, so take time to work the dough until it becomes smooth and stretchy.
- Let the bread cool completely before slicing to allow the crumb to set and prevent a gummy texture when cutting.
- Experiment with different flour types like whole wheat or rye to add unique flavors and nutritional variety to your homemade bread.
- Prep Time: 1 hour 45 minutes to 2 hours
- Cook Time: 25-30 minutes
- Category: Breads
- Method: Baking
- Cuisine: American
Nutrition
- Serving Size: 8
- Calories: 160
- Sugar: 1.5 g
- Sodium: 140 mg
- Fat: 0.2 g
- Saturated Fat: 0 g
- Unsaturated Fat: 0.2 g
- Trans Fat: 0 g
- Carbohydrates: 33 g
- Fiber: 1 g
- Protein: 5 g
- Cholesterol: 0 mg
Logan Lemaster
Founder & Culinary Innovator
Expertise
Recipe Development and Innovation, Menu Design and Optimization, Fine Dining Techniques, Ingredient Pairing and Flavor Science
Education
Metropolitan Culinary Arts Institute
Logan’s culinary journey kicked off in his vibrant Chicago family kitchen, where fresh, seasonal ingredients and bold flavors were always front and center.
After graduating from the Metropolitan Culinary Arts Institute in Arlington, Virginia, and honing his skills in renowned restaurants, Logan mastered the art of blending classic techniques with exciting, modern twists.
His kitchen is a dynamic lab for flavor exploration. Through Yum Utopia, Logan aims to empower you to cook with both confidence and creativity, turning simple ingredients into spectacular meals.