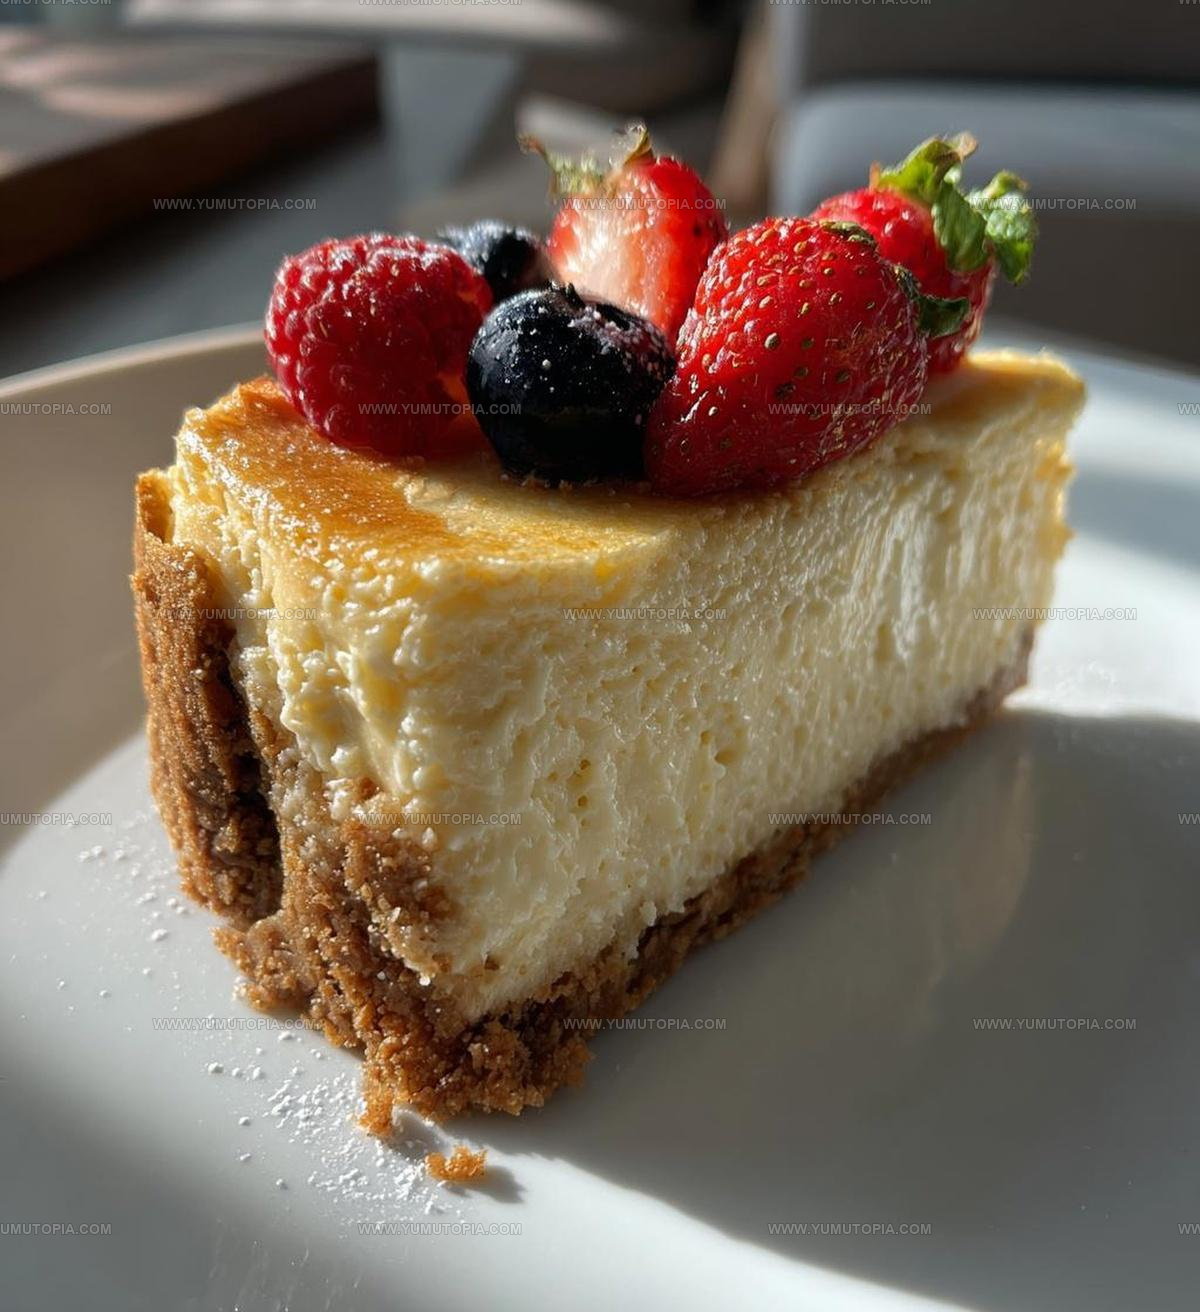
Classic Cheesecake Recipe for Creamy Dessert Lovers
Simple cheesecake hits you with pure dessert satisfaction without any fuss or complicated techniques.
Creamy, smooth, and perfectly sweet, it has become a go-to favorite for celebrations, dinner parties, and quiet evenings at home.
Whether served after a weeknight meal or as the centerpiece of a birthday spread, it never fails to impress.
The classic appeal means everyone at the table will be reaching for seconds.
No fancy equipment or advanced skills are needed to achieve that bakery-style result.
Making one from scratch is simpler than you might expect, and the payoff is absolutely worth it.
Why You’ll Love Simple Cheesecake Done Right
Simple Cheesecake Ingredient List
Crust:Cheesecake Filling:Full Baking Tools for Simple Cheesecake
Step-by-Step Directions for a Simple Cheesecake
Prepare the Oven
Crank up the oven to 325F and get ready for some serious cheesecake magic. Grab a 9-inch springform pan and have it waiting nearby.
Create the Crust
Melt 1/2 cup unsalted butter and mix it with 2 cups graham cracker crumbs until the mixture feels like damp sand. Press this mixture firmly into the bottom of the springform pan, creating a solid base for your cheesecake.
Mix the Cream Cheese Base
Grab your mixer and blend 4 packages (8 ounces each) of softened cream cheese with 1 cup granulated sugar. Keep mixing until the texture is super smooth and there are no lumps hanging around.
Add the Eggs
Crack 4 large eggs into the cream cheese mixture. Add them one at a time, mixing thoroughly after each egg. This helps create a silky, even texture that’ll make your cheesecake dreamy.
Finish the Filling
Pour in 1 teaspoon vanilla extract and 1 cup sour cream. Stir everything together until the mixture looks completely combined and glossy.
Bake the Cheesecake
Carefully pour the cream cheese filling over your prepared crust. Slide the pan into the preheated 325F oven and bake for exactly 1 hour. The center should look just set when you peek inside.
Chill and Serve
Let the cheesecake cool completely at room temperature. Then park it in the refrigerator for at least 4 hours. This waiting time helps the cheesecake firm up and develop its rich, creamy texture.
How to Perfect a Simple, Creamy Cheesecake
Easy Simple Cheesecake Alternative Versions
Simple Cheesecake Clean Slice Serving
Simple Cheesecake Storage Tips
Simple Cheesecake Q&A
Can I use low-fat cream cheese?
Regular cream cheese works best for the richest, creamiest texture. Low-fat versions might make your cheesecake less smooth and dense.
How do I prevent cracks in my cheesecake?
Bake in a water bath and avoid overmixing. Gently fold ingredients and let the cheesecake cool slowly to prevent surface cracking.
What if my cream cheese isn’t room temperature?
Cold cream cheese creates lumps. Always let your cream cheese sit out for about 30 minutes before mixing to ensure a silky smooth batter.
Can I freeze this cheesecake?
Yes, wrap the cooled cheesecake tightly in plastic wrap and freeze for up to 2 months. Thaw overnight in the refrigerator before serving.
Does the sour cream really matter?
Absolutely – sour cream adds incredible richness and helps create that signature tangy, creamy texture that makes cheesecake so delicious.
How do I know when the cheesecake is done?
The edges will be set, but the center should have a slight jiggle. A slight wobble means it’s perfectly baked and will set while cooling.
Simple Cheesecake Recipe
- Total Time: 5 hours 20 minutes
- Yield: 8 1x
Description
Crafting a Cheesecake means diving into a silky smooth dessert that whispers pure indulgence. Creamy layers of comfort dance between graham cracker crust and rich cream cheese, making your taste buds sing with delight.
Ingredients
Main Ingredients:
- 4 packages (8 ounces each) cream cheese
- 4 large eggs
- 1 cup granulated sugar
Supporting Ingredients:
- 1 cup sour cream
- 1 teaspoon vanilla extract
Crust Ingredients:
- 2 cups graham cracker crumbs
- ½ cup unsalted butter, melted
Instructions
- Warm the oven to precisely 325F, ensuring your rack sits in the center position for even baking.
- Mix 2 cups graham cracker crumbs with ½ cup melted unsalted butter until the texture resembles wet sand.
- Press the buttery crumb mixture firmly into the bottom of a 9-inch springform pan, creating a compact, even layer.
- Using an electric mixer, blend 4 packages (8 ounces each) softened cream cheese with 1 cup granulated sugar until absolutely smooth and no lumps remain.
- Crack 4 large eggs into the cream cheese mixture, incorporating them one at a time and thoroughly mixing after each addition.
- Gently fold in 1 teaspoon vanilla extract and 1 cup sour cream, stirring until the filling becomes silky and uniform.
- Carefully pour the cream cheese mixture over the prepared graham cracker crust, smoothing the top with a spatula.
- Slide the pan into the preheated oven and bake for exactly 1 hour, watching for a slightly firm center that jiggles just a bit when nudged.
- Remove from the oven and allow the cheesecake to cool completely at room temperature for 2 hours before transferring to the refrigerator.
- Chill the cheesecake for a minimum of 4 hours, preferably overnight, to achieve the perfect creamy texture.
Notes
- Room temperature ingredients create the smoothest, creamiest texture when mixing your cream cheese and eggs.
- Wrap the outside of the springform pan with aluminum foil to prevent water from seeping in during the water bath baking method.
- Avoid overmixing the batter, which can introduce too much air and cause cracking on the surface of your cheesecake.
- Cool the cheesecake gradually by cracking the oven door open after baking to prevent sudden temperature changes that lead to surface cracks.
- Prep Time: 20 minutes
- Cook Time: 1 hour
- Category: Cheesecakes
- Method: Baking
- Cuisine: American
Nutrition
- Serving Size: 8
- Calories: 565
- Sugar: 33 g
- Sodium: 310 mg
- Fat: 42 g
- Saturated Fat: 25 g
- Unsaturated Fat: 15 g
- Trans Fat: 0.5 g
- Carbohydrates: 37 g
- Fiber: 1 g
- Protein: 9 g
- Cholesterol: 125 mg
Logan Lemaster
Founder & Culinary Innovator
Expertise
Recipe Development and Innovation, Menu Design and Optimization, Fine Dining Techniques, Ingredient Pairing and Flavor Science
Education
Metropolitan Culinary Arts Institute
Logan’s culinary journey kicked off in his vibrant Chicago family kitchen, where fresh, seasonal ingredients and bold flavors were always front and center.
After graduating from the Metropolitan Culinary Arts Institute in Arlington, Virginia, and honing his skills in renowned restaurants, Logan mastered the art of blending classic techniques with exciting, modern twists.
His kitchen is a dynamic lab for flavor exploration. Through Yum Utopia, Logan aims to empower you to cook with both confidence and creativity, turning simple ingredients into spectacular meals.