Stovetop Butter Cookies Recipe in 20 Minutes
Stovetop butter cookies offer a delightful solution when the oven isn’t available but the cookie craving hits hard.
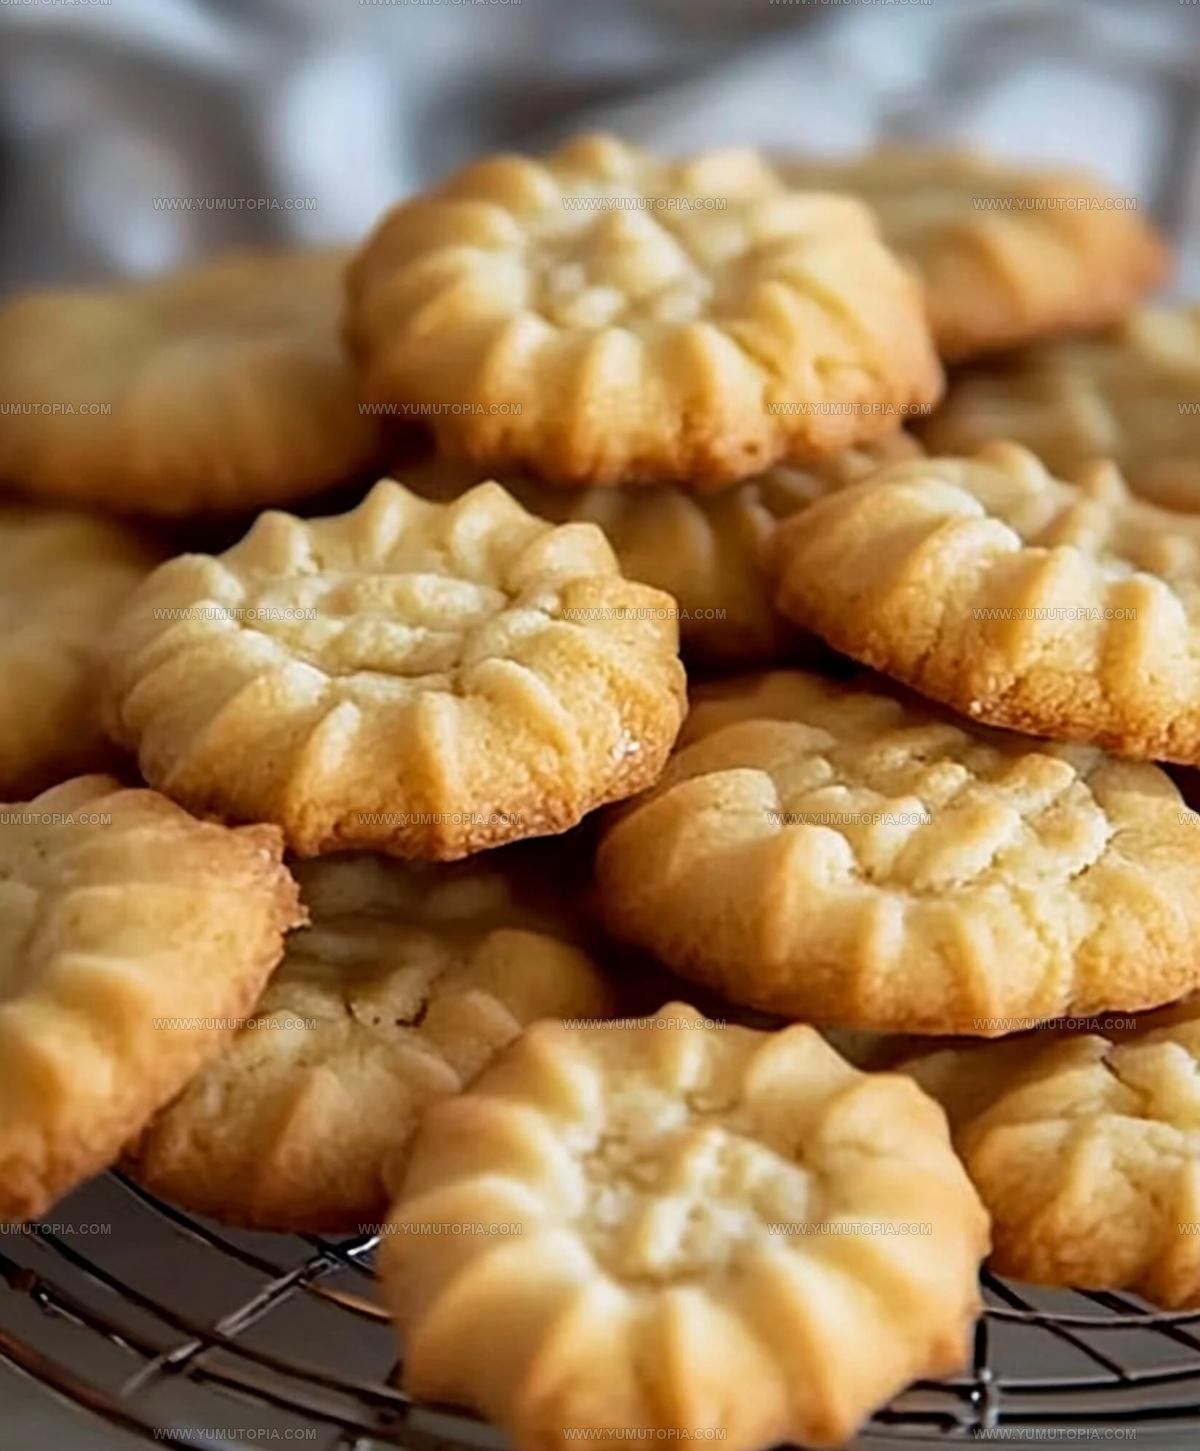
Made entirely on the stove, cookies turn out wonderfully crispy on the edges and tender in the center, proving that baking isn’t always necessary for homemade treats.
The simple method works beautifully in any kitchen, making it accessible no matter what appliances you have on hand.
Rich, buttery flavor shines through in every bite, satisfying that sweet tooth without any fuss.
Perfect for hot summer days when turning on the oven feels unbearable, or anytime you want fresh cookies in minutes.
Once you master the straightforward technique, it becomes a go-to dessert that feels both special and effortlessly simple.
What Makes Stovetop Butter Cookies So Convenient
Complete Ingredient List for Stovetop Butter Cookies
Primary Ingredients:Supporting Ingredients:Coating Ingredient:Essential Tools for Stovetop Butter Cookies
Quick Method for Stovetop Butter Cookies
Butter Prep
Take 1 cup unsalted butter out of the refrigerator and let it sit at room temperature for 30 minutes. Your butter should become soft and spreadable but not melted.
Create Butter Base
In a large mixing bowl, combine 1 cup softened butter with 1/2 cup powdered sugar. Use a hand mixer or wooden spoon to cream these together until the mixture looks light and fluffy. This usually takes about 2-3 minutes of consistent mixing.
Add Vanilla Flavor
Pour 1 tsp vanilla extract into your butter mixture. Stir thoroughly to distribute the flavor evenly throughout the base.
Make Cookie Dough
Gradually add your dry ingredients to create the dough:
Mix these ingredients into the butter mixture until a soft, cohesive dough forms. Don’t overmix – just combine until everything looks uniform.
Chill Dough
Place your dough in the refrigerator for 15 minutes. Cold dough will be easier to shape and handle.
Form Cookie Balls
Remove dough from refrigerator. Roll small portions into 1-inch balls using your palms. Your hands might get a bit buttery, which is totally normal!
Sugar Coating
Take 1/4 cup granulated sugar in a small bowl. Roll each cookie ball completely in the sugar, ensuring a total coating.
Prepare Cooking Surface
Place a heavy skillet or griddle on the stovetop. Set the heat to low – around 250°F is perfect for these delicate cookies.
Arrange Cookies
Carefully place cookie balls on the skillet, spacing them about 2 inches apart. This prevents them from touching as they spread.
Gentle Cooking
Cook cookies for 10-12 minutes total. Gently turn them every 3-4 minutes to ensure even, light golden browning. Your cookies should look set on top when done.
Cool and Serve
Remove cookies using a spatula and transfer to a wire rack. Let them cool completely before enjoying. The cookies will be delicate, so handle with care.
Kitchen Know-How for Stovetop Butter Cookies
What Are the Easiest No-Oven Butter Cookie Variations
Sweet Ways to Serve Stovetop Butter Cookies
Proper Storage For Stovetop Butter Cookies
Stovetop Butter Cookies FAQs
Can I use salted butter instead of unsalted?
Salted butter works, but reduce or eliminate added salt in the recipe to prevent the cookies from becoming too salty.
What if my dough feels too soft?
Refrigerate the dough for an extra 15-30 minutes to firm it up and make it easier to roll into balls.
Do I need a special type of skillet?
A heavy-bottomed cast iron or nonstick skillet works best to distribute heat evenly and prevent burning.
Can children help make these cookies?
Absolutely! Kids can help roll dough balls and coat them in sugar, but an adult should handle the stovetop cooking.
How do I know when the cookies are done?
Look for lightly golden edges and a set top. They should be firm but not dark brown.
Can these cookies be frozen?
Yes, store cooled cookies in an airtight container in the freezer for up to 3 weeks.

Stovetop Butter Cookies Recipe
- Total Time: 55-57 minutes
- Yield: 8 1x
Description
Butter cookies bring pure joy straight from your stovetop, creating golden rounds of sweet comfort without touching an oven. These simple treats mix up quickly and deliver delightful crunch that makes sharing extra special.
Ingredients
Main Ingredients:
- 2 cups all-purpose flour
- 1 cup unsalted butter
- ½ cup powdered sugar
Sweetening Agents:
- ¼ cup granulated sugar
Supporting Ingredients:
- 1 tsp vanilla extract
- ¼ tsp salt
Instructions
- Unwrap 1 cup unsalted butter and let it sit at room temperature for 30 minutes until soft and spreadable.
- Beat the softened butter with ½ cup powdered sugar in a large bowl until the mixture becomes creamy and airy.
- Pour 1 tsp vanilla extract into the butter mixture and blend thoroughly.
- Sift 2 cups all-purpose flour and ¼ tsp salt into the mixture, stirring gently until a soft dough forms.
- Transfer the dough to the refrigerator and chill for 15 minutes to firm up slightly.
- Roll the chilled dough into small 1-inch spheres using your palms.
- Coat each dough ball completely by rolling it in ¼ cup granulated sugar.
- Position a heavy skillet on the stovetop and set the heat to low (around 250°F).
- Carefully place cookie balls on the skillet, spacing them 2 inches apart.
- Cook the cookies for 10-12 minutes, rotating them every 3-4 minutes to achieve uniform golden edges.
- Check for doneness by observing lightly golden edges and set tops.
- Transfer the cooked cookies to a wire rack using a thin spatula.
- Let the cookies cool completely before serving to ensure proper texture.
Notes
- Softening butter is crucial for achieving a smooth, creamy cookie dough, so plan ahead and let it sit at room temperature.
- Cold dough helps cookies maintain their shape, so don’t skip the refrigeration step before cooking.
- Use a cast-iron skillet or heavy griddle for even heat distribution and consistent browning of cookies.
- For gluten-free options, swap regular flour with a 1:1 gluten-free baking blend to keep the same delicate texture.
- Prep Time: 45 minutes
- Cook Time: 10-12 minutes
- Category: Cookies
- Method: Sautéing
- Cuisine: American
Nutrition
- Serving Size: 8
- Calories: 265 kcal
- Sugar: 10 g
- Sodium: 75 mg
- Fat: 16 g
- Saturated Fat: 10 g
- Unsaturated Fat: 6 g
- Trans Fat: 0.5 g
- Carbohydrates: 28 g
- Fiber: 1 g
- Protein: 2 g
- Cholesterol: 45 mg
Logan Lemaster
Founder & Culinary Innovator
Expertise
Recipe Development and Innovation, Menu Design and Optimization, Fine Dining Techniques, Ingredient Pairing and Flavor Science
Education
Metropolitan Culinary Arts Institute
Logan’s culinary journey kicked off in his vibrant Chicago family kitchen, where fresh, seasonal ingredients and bold flavors were always front and center.
After graduating from the Metropolitan Culinary Arts Institute in Arlington, Virginia, and honing his skills in renowned restaurants, Logan mastered the art of blending classic techniques with exciting, modern twists.
His kitchen is a dynamic lab for flavor exploration. Through Yum Utopia, Logan aims to empower you to cook with both confidence and creativity, turning simple ingredients into spectacular meals.