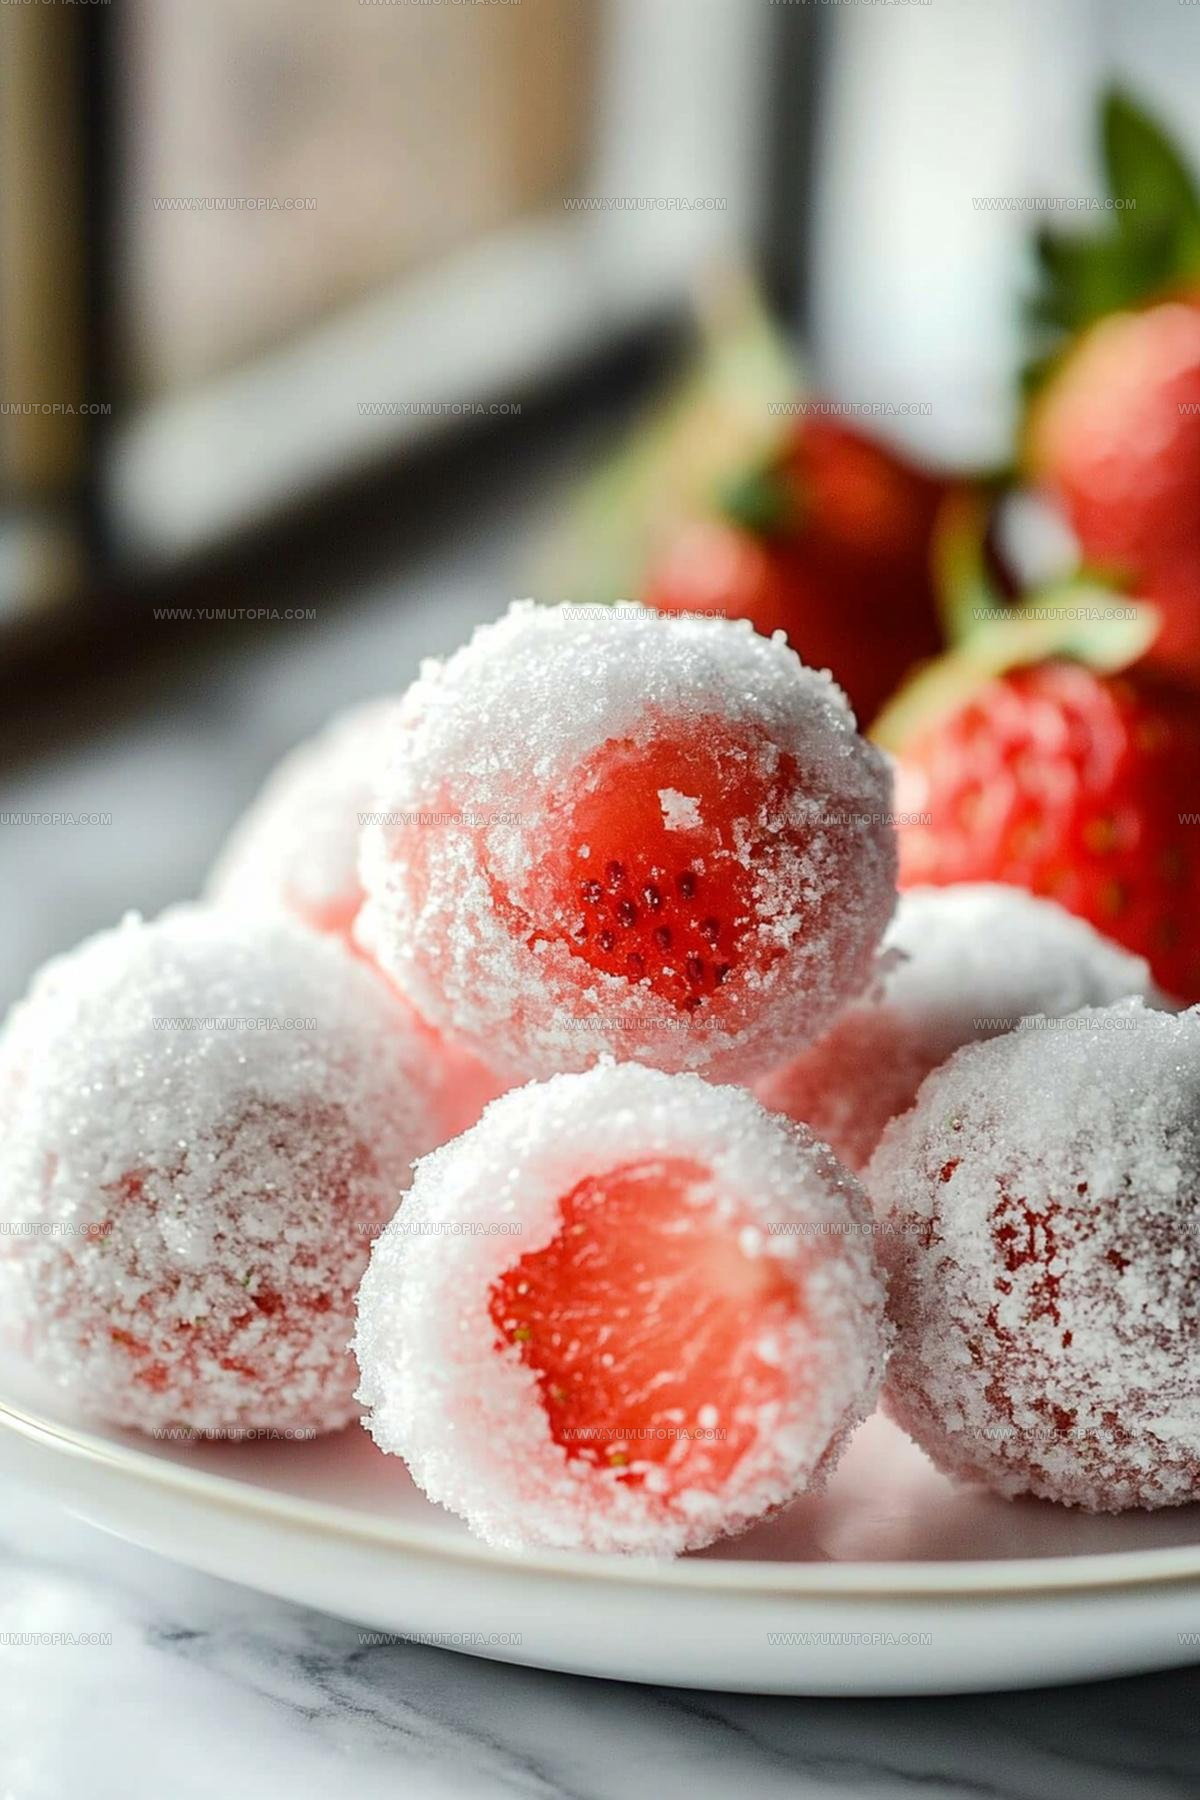
Strawberry Snowball Cookies Recipe That Crumble Sweet
Festive Strawberry Snowball Treats bring pure joy to any celebration with their cheerful appearance and delightful appeal.
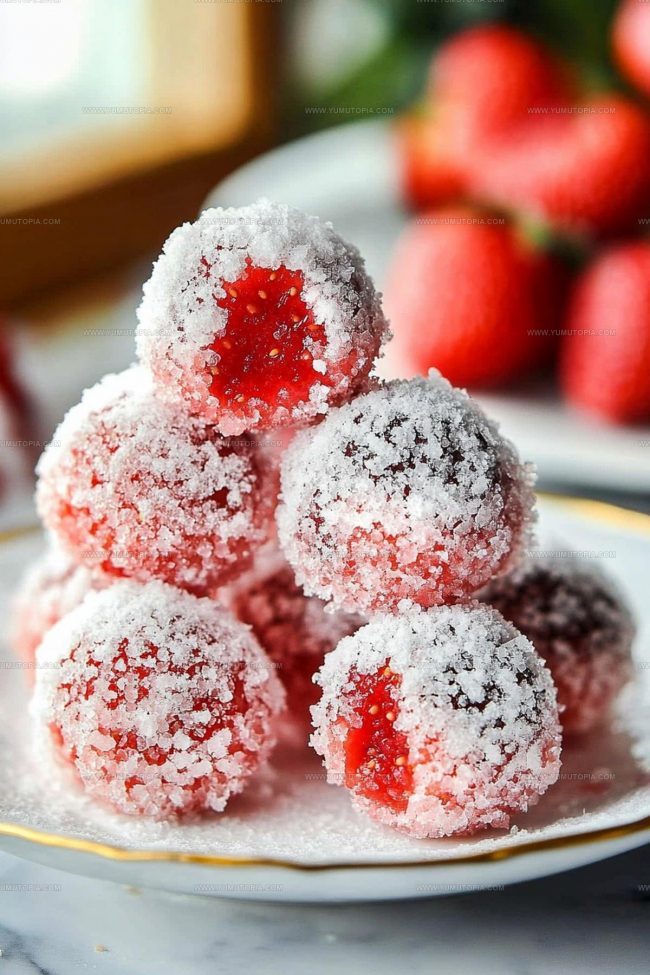
These charming bites work beautifully for parties, holiday gatherings, or whenever you want to add a touch of whimsy to the dessert table.
Everyone loves the playful contrast of colors and textures that makes each piece feel special.
The recipe comes together quickly, which means you can focus more on enjoying time with guests and less on complicated preparation.
Sweet and beautiful, they never fail to impress both children and grown-ups alike.
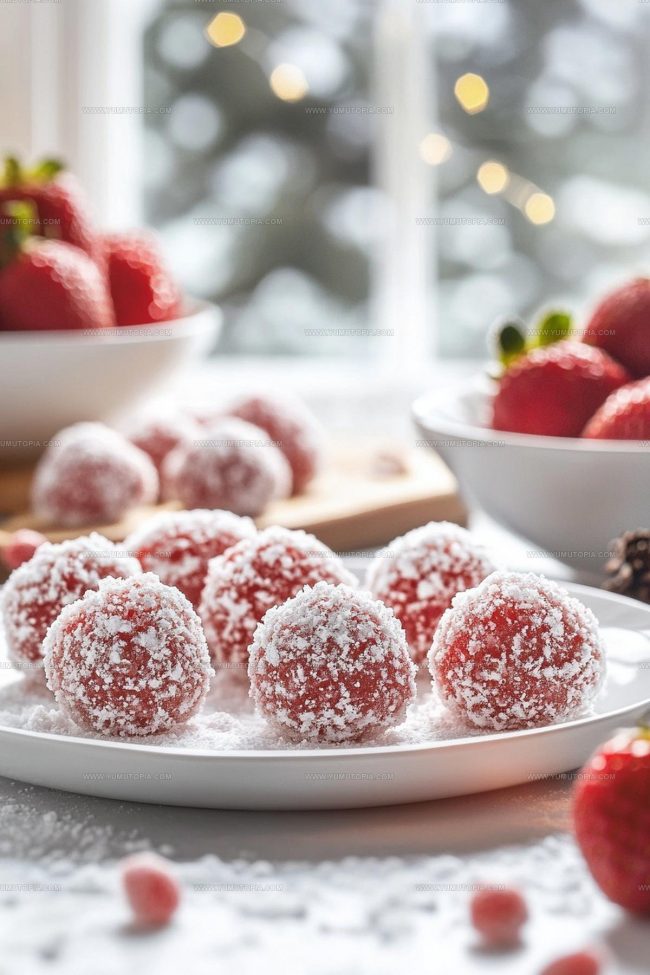
Perfect for sharing or savoring on a quiet afternoon, they create smiles with every bite.
The simplicity of this recipe means even beginners can achieve stunning results that look professionally crafted.
Why Strawberry Snowball Treats Look So Pretty
What Goes Into Strawberry Snowball Treats
Main Ingredients:Dry Ingredients:Flavor Boosters:Coating:Handy Tools for Snowball Strawberry Treats
Step-by-Step Guide to Strawberry Snowball Treats

Mixing the Base
Grab your mixer and whip 1 cup (227 grams) of softened unsalted butter with 1/2 cup (60 grams) powdered sugar until it’s super smooth and fluffy. Pour in 2 teaspoons of vanilla extract and mix thoroughly. This creates the delicious foundation for your strawberry treats.
Creating the Dough
Gradually blend in the dry ingredients with careful movements:
If nuts sound good to you, fold in 1/2 cup (60 grams) chopped pecans or walnuts right now.
Chill and Rest
Wrap the dough completely and slide it into the refrigerator. Let it relax and firm up for exactly 30 minutes – no peeking!
Prepare for Baking
Heat your oven precisely to 350°F (175°C). Line a baking sheet with parchment paper. Roll the chilled dough into perfect 1-inch round balls, spacing them comfortably apart.
Baking Time
Slide the baking sheet into the preheated oven. Bake for 12-15 minutes until the bottoms turn a gentle golden color. Your kitchen will smell amazing!
First Sugar Coating
Once the cookies come out, let them rest for 5 minutes. While still warm, roll each cookie in powdered sugar, covering them completely.
Final Touch
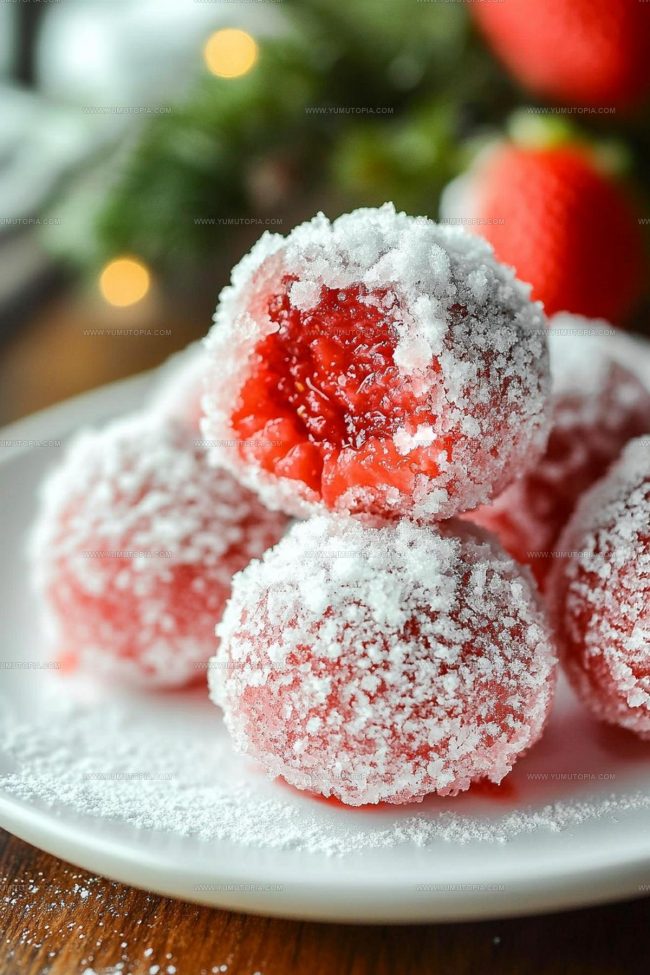
After the cookies cool completely, give them another generous roll in powdered sugar. This creates that gorgeous snowball effect that makes these treats so special.
Prep Tips for Soft Snowball Cookies
Flavor Swaps for Strawberry Snowballs
How Strawberry Snowballs Are Served
Keeping Snowball Treats Fresh
Strawberry Snowball Treat Common Questions
Can I make these cookies ahead of time?
Absolutely! The dough can be prepared and chilled up to 3 days before baking. Just wrap it tightly in plastic wrap and store in the refrigerator.
What if fresh strawberries aren’t available?
Frozen strawberries work perfectly. Thaw and drain them thoroughly before adding to the dough to prevent excess moisture.
Are the nuts mandatory in this recipe?
Not at all. The nuts add texture and flavor, but you can skip them entirely if someone has allergies or simply doesn’t enjoy nuts.
How do I prevent the cookies from spreading too much?
Chilling the dough is key. Make sure to refrigerate for the full 30 minutes, which helps the cookies maintain their shape during baking.
Can these be frozen after baking?
These cookies freeze beautifully. Store them in an airtight container between layers of parchment paper for up to 2 months.
Why do I roll the cookies in powdered sugar twice?
The first coating happens while the cookies are still warm, which helps the sugar stick. The second coating after cooling creates a beautiful, snowy appearance.

Strawberry Snowball Cookies Recipe
- Total Time: 57-60 minutes
- Yield: 8 1x
Description
These festive strawberry snowball treats are the perfect winter dessert that sparkles with sweet charm. Creamy coconut and fresh strawberries create a delightful winter party snack your guests will adore.
Ingredients
Main Ingredients:
- 2 cups all-purpose flour
- 1 cup unsalted butter, softened
- ½ cup powdered sugar
Supporting Ingredients:
- ½ cup freeze-dried strawberries, finely crushed
- ½ cup chopped pecans or walnuts
- 2 teaspoons vanilla extract
Finishing Ingredients:
- ½ teaspoon salt
- Powdered sugar (for coating)
Instructions
- Blend 1 cup softened unsalted butter with ½ cup powdered sugar using an electric mixer until the mixture becomes light and airy. Incorporate 2 teaspoons vanilla extract thoroughly.
- Gradually fold 2 cups all-purpose flour and ½ teaspoon salt into the butter mixture. Gently mix in ½ cup finely crushed freeze-dried strawberries. Add ½ cup chopped pecans if your recipe includes nuts.
- Wrap the dough in plastic and refrigerate for exactly 30 minutes to help your cookies maintain their shape.
- Heat your oven to precisely 350°F (175°C). Line a baking sheet with parchment paper.
- Form the chilled dough into compact 1-inch round balls, spacing them 1 inch apart on the prepared baking sheet.
- Bake for 12-15 minutes, watching for golden-brown edges. Your cookies should look slightly set but not dark.
- Remove from oven and allow cookies to rest on the baking sheet for 5 minutes. This helps them firm up without overcooking.
- While still warm, gently roll each cookie in additional powdered sugar, ensuring complete coverage.
- Once completely cooled, roll the cookies in powdered sugar a second time for a classic snowball appearance.
Notes
- Refrigerating the dough helps prevent spreading and keeps the cookies compact and round during baking.
- Crush strawberries finely to distribute flavor evenly and avoid large chunks that could disrupt cookie texture.
- Wear disposable gloves when rolling cookies in powdered sugar to keep your hands clean and ensure even coating.
- For gluten-free version, substitute all-purpose flour with almond flour or a gluten-free blend to maintain similar soft, crumbly texture.
- Prep Time: 15 minutes
- Cook Time: 12-15 minutes
- Category: Cookies
- Method: Baking
- Cuisine: American
Nutrition
- Serving Size: 8
- Calories: 267 kcal
- Sugar: 7 g
- Sodium: 94 mg
- Fat: 22 g
- Saturated Fat: 7 g
- Unsaturated Fat: 14 g
- Trans Fat: 0.2 g
- Carbohydrates: 17 g
- Fiber: 1 g
- Protein: 2 g
- Cholesterol: 54 mg
Madison Wyman
Recipe Developer & Food Storyteller
Expertise
Recipe Research and Adaptation, Food Writing and Cultural Storytelling, Sustainable and Ethical Sourcing, Dietary Adaptations (e.g., gluten-free, plant-based)
Education
Oregon Health & Science University
Portland Community College
Madison’s passion for flavor and culture ignited amidst the rich Southern cooking traditions of her upbringing, where cherished family recipes told delicious tales.
Armed with a Master’s in Food Systems and Society from Oregon Health & Science University and a Culinary Arts Certificate from Portland Community College, Madison truly excels at transforming rich, intricate flavors into dishes that are both approachable and heartfelt.
For her, cooking is a vibrant blend of science, art, and heritage – a powerful way to connect us to our roots and each other. Her recipes invite you to delve deeper, uncovering the fascinating stories woven into every ingredient.