Sugar Cookie Glaze Recipe That Hardens Perfectly Every Time
Craving a sugar cookie glaze that transforms ordinary treats into bakery-worthy delights? Sweet, shimmering, and impossibly smooth, this glaze promises to elevate your cookie experience from simple to spectacular.
Decorating cookies becomes an artistic adventure with just a few simple ingredients and minimal effort.
Professional bakers and home kitchen enthusiasts alike adore how quickly this glaze sets, creating a flawless, glossy finish.
Stunning visual appeal meets delectable taste in every single drizzle and swirl you create.
Precise mixing techniques ensure your glaze remains perfectly spreadable without becoming too runny or thick.
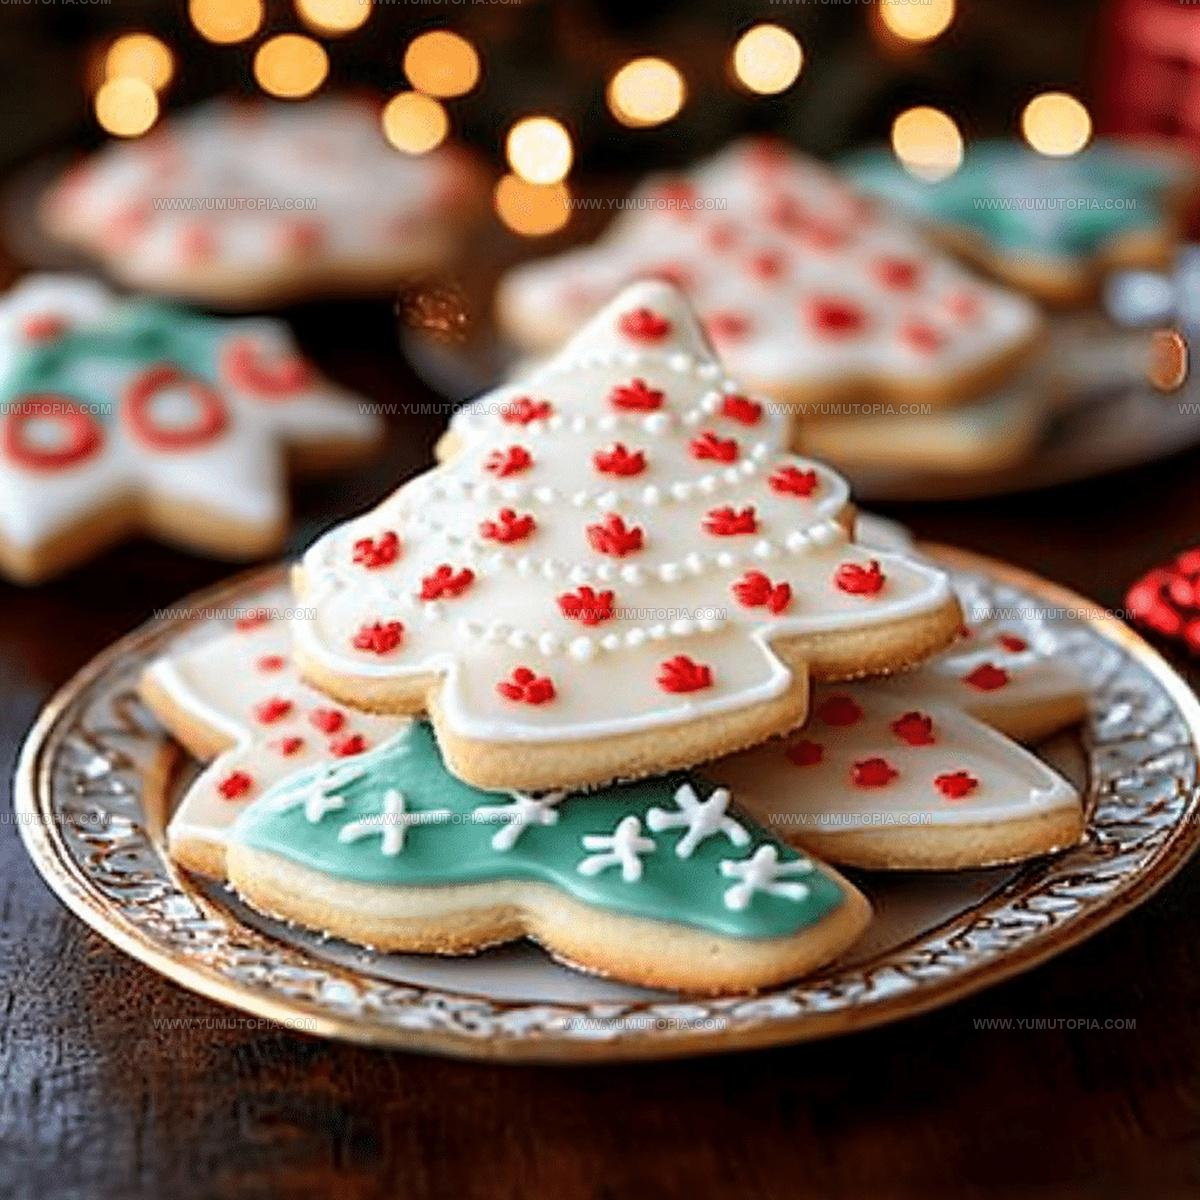
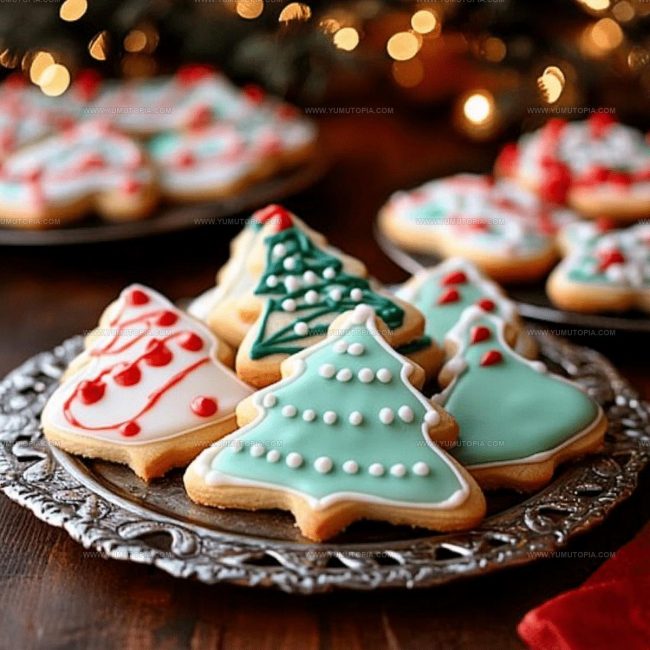
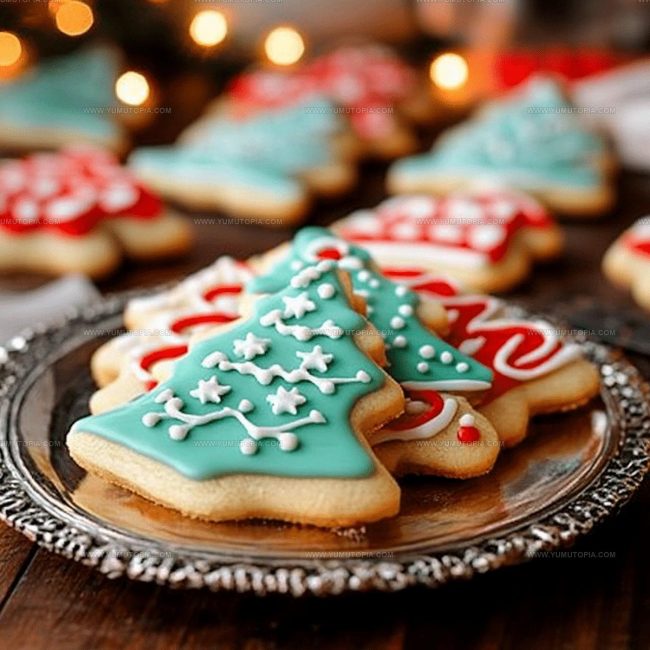
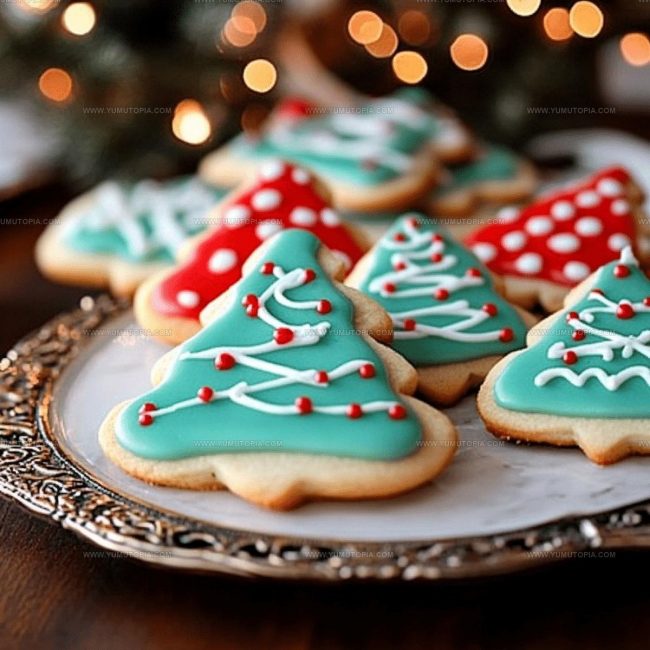
Serve these beautifully glazed cookies at parties, gatherings, or enjoy them as a special personal treat that sparks instant joy.
What Makes Sugar Cookie Glaze Worth Making
What Are The Ingredients For Sugar Cookie Glaze
Base Ingredients:Flavor Enhancers:Optional Add-Ins:Required Kitchen Tools Sugar Cookie Glaze
Basic Preparation Steps for Sugar Cookie Glaze
Mix Base
Grab a clean bowl and pour in 1 cup of powdered sugar. Slowly add 2 tablespoons of milk, whisking until the mixture turns smooth and glossy. Start with less milk and add a tiny splash more if needed to get the perfect consistency.
Flavor Time
Drop in 1/2 teaspoon of vanilla extract (or swap with almond extract for a different twist). Stir gently until the flavor blends completely into the glaze.
Perfect Consistency Check
Watch your glaze carefully. If you want a thick coating for outlining cookies, keep it as is. Need a thinner glaze for dipping? Add a few extra drops of milk until it reaches the right drizzle-friendly texture.
Color Adventure
Feeling creative? Grab your food coloring and add a few drops to transform the glaze. Stir until the color looks even and vibrant. Some fun variations to try:
Cookie Decorating Magic
Now for the fun part! Dip your cookies directly into the glaze, drizzle with a spoon, or use a piping bag for fancy designs. Let the glazed cookies sit at room temperature for 6-8 hours so the glaze can set completely before stacking or storing.
What Should Be Kept In Mind While Making Sugar Cookie Glaze
Simple Variations For Sugar Cookie Glaze
How To Use Sugar Cookie Glaze On Desserts
Best Storage Method For Sugar Cookie Glaze
Sugar Cookie Glaze Q&A
Can I make this glaze ahead of time?
Absolutely! Mix the glaze and store it in an airtight container in the refrigerator for up to a week. Just give it a quick stir before using.
What milk works best for the glaze?
Whole milk creates the smoothest consistency, but any milk in your fridge will work great. Skim, 2%, or even non-dairy alternatives blend perfectly.
How do I prevent lumps in my glaze?
Sift your powdered sugar before mixing to eliminate any clumps. Whisk slowly and steadily, and add milk gradually to ensure a silky smooth texture.
Can I freeze cookies with this glaze?
Yes! After the glaze completely dries, stack glazed cookies between wax paper in a freezer-safe container. They’ll stay fresh for about a month.
What if my glaze is too thick or thin?
Easy fix! For thick glaze, add milk one teaspoon at a time. For thin glaze, sprinkle in more powdered sugar until you reach your desired consistency.

Sugar Cookie Glaze Recipe
- Total Time: 10 minutes
- Yield: 4 1x
Description
Drizzling Sugar Cookie Glaze brings sweet simplicity to your baking adventure, turning plain cookies into delightful treats with just a few pantry ingredients that make decorating a breeze.
Ingredients
Main Ingredients:
- 1 cup powdered sugar
- 2 tablespoons milk
Flavor Enhancers:
- ½ teaspoon vanilla extract
Decorative/Optional Additions:
- Food coloring
- Lemon juice
- Cocoa powder
- Peppermint extract
Instructions
- Gather a medium mixing bowl and whisk powdered sugar with 1 tablespoon milk, stirring until your mixture looks smooth and free of lumps.
- Gradually incorporate an additional 1 tablespoon milk, checking thickness after each addition to control your glaze’s consistency.
- Pour in ½ teaspoon vanilla extract, blending thoroughly to distribute flavor evenly throughout the glaze.
- Assess your glaze’s texture: if too thick, add milk by ½ teaspoon increments; if too thin, sprinkle additional powdered sugar to thicken.
- When desired consistency is achieved, drop food coloring using toothpick tips to control color intensity and stir until completely incorporated.
- Dip cookie surfaces directly into glaze, allowing excess to drip off, or use a spoon to drizzle decorative patterns across your treats.
- Rest glazed cookies on wire racks at room temperature, permitting glaze to set and harden completely for 45-60 minutes before serving or storing.
Notes
- Experiment with different extracts like peppermint or lemon to create unique flavor profiles that complement your cookies.
- Use a squeeze bottle or piping bag for precise decorating, which helps create clean lines and professional-looking designs.
- Room temperature ingredients blend more smoothly, so let milk and extracts sit out for a few minutes before mixing.
- Sift powdered sugar beforehand to prevent lumps and ensure a silky-smooth glaze that coats your cookies perfectly.
- Prep Time: 10 minutes
- Cook Time: 0 minutes
- Category: Cookies
- Method: Blending
- Cuisine: American
Nutrition
- Serving Size: 4
- Calories: 116 kcal
- Sugar: 29 g
- Sodium: 12 mg
- Fat: 0 g
- Saturated Fat: 0 g
- Unsaturated Fat: 0 g
- Trans Fat: 0 g
- Carbohydrates: 29 g
- Fiber: 0 g
- Protein: 0 g
- Cholesterol: 0 mg
Logan Lemaster
Founder & Culinary Innovator
Expertise
Recipe Development and Innovation, Menu Design and Optimization, Fine Dining Techniques, Ingredient Pairing and Flavor Science
Education
Metropolitan Culinary Arts Institute
Logan’s culinary journey kicked off in his vibrant Chicago family kitchen, where fresh, seasonal ingredients and bold flavors were always front and center.
After graduating from the Metropolitan Culinary Arts Institute in Arlington, Virginia, and honing his skills in renowned restaurants, Logan mastered the art of blending classic techniques with exciting, modern twists.
His kitchen is a dynamic lab for flavor exploration. Through Yum Utopia, Logan aims to empower you to cook with both confidence and creativity, turning simple ingredients into spectacular meals.