Effortless Oreo Dump Cake Recipe To Spoon Warm
Oreo Dump Cake satisfies every chocolate lover’s craving with minimal effort and maximum flavor.
The beauty of this dessert lies in its simplicity – just a few pantry staples come together to create something truly spectacular.
Perfect for potlucks, weeknight treats, or whenever sweet tooth strikes, this cake adds rich, decadent results that look far more complicated than they actually are.
Families adore the comforting texture and familiar taste, while busy cooks appreciate how quickly it comes together.
The contrast between soft cake layers and crunchy cookie pieces makes each bite exciting and satisfying.
Whether serving a crowd or enjoying a quiet evening at home, this dessert never disappoints.
Start baking now and watch everyone ask for seconds!
The Ultimate Effortless, Chocolate-Drenched Bliss of Oreo Dump Cake
Cookie Cake Mix and Butter in Oreo Dump Cake
Rectangular Pan Hardware And Spatulas For Oreo Dump Cake
Ways to Achieve Gooey Centers and Crisp Cake Edges

Prepare the Oven
Preheat your oven to 350°F (175°C). Grab a 9×13-inch baking dish and give it a light coating of cooking spray or butter to prevent sticking.
Create the Oreo Base
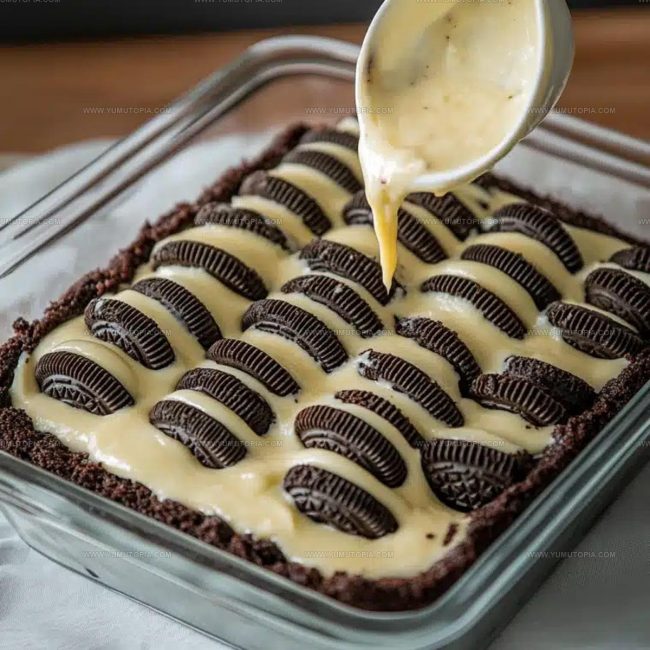
Crush 1 package (14.3 oz) of Oreo cookies into small pieces. Spread these crumbs evenly across the bottom of your prepared baking dish, pressing them down gently to create a firm base.
Mix the Pudding Layer
In a mixing bowl, whisk together 2 boxes (3.9 oz each) of instant chocolate pudding mix with 3 cups of cold milk. Stir vigorously for 2 minutes until the mixture thickens. Pour this creamy pudding evenly over the Oreo cookie layer.
Add the Cake Mix
Sprinkle the entire box (15.25 oz) of chocolate cake mix directly over the pudding layer. Do not stir or mix the layers – just let them sit as they are.
Butter the Top
Slice 3/4 cup (1.5 sticks) of unsalted butter into thin pats. Distribute these butter slices across the top of the cake mix, trying to cover as much surface area as possible.
Bake the Cake
Place the baking dish in the preheated oven and bake for 40-45 minutes. Look for a bubbly and slightly crispy top, while the center remains soft.
Cool and Serve
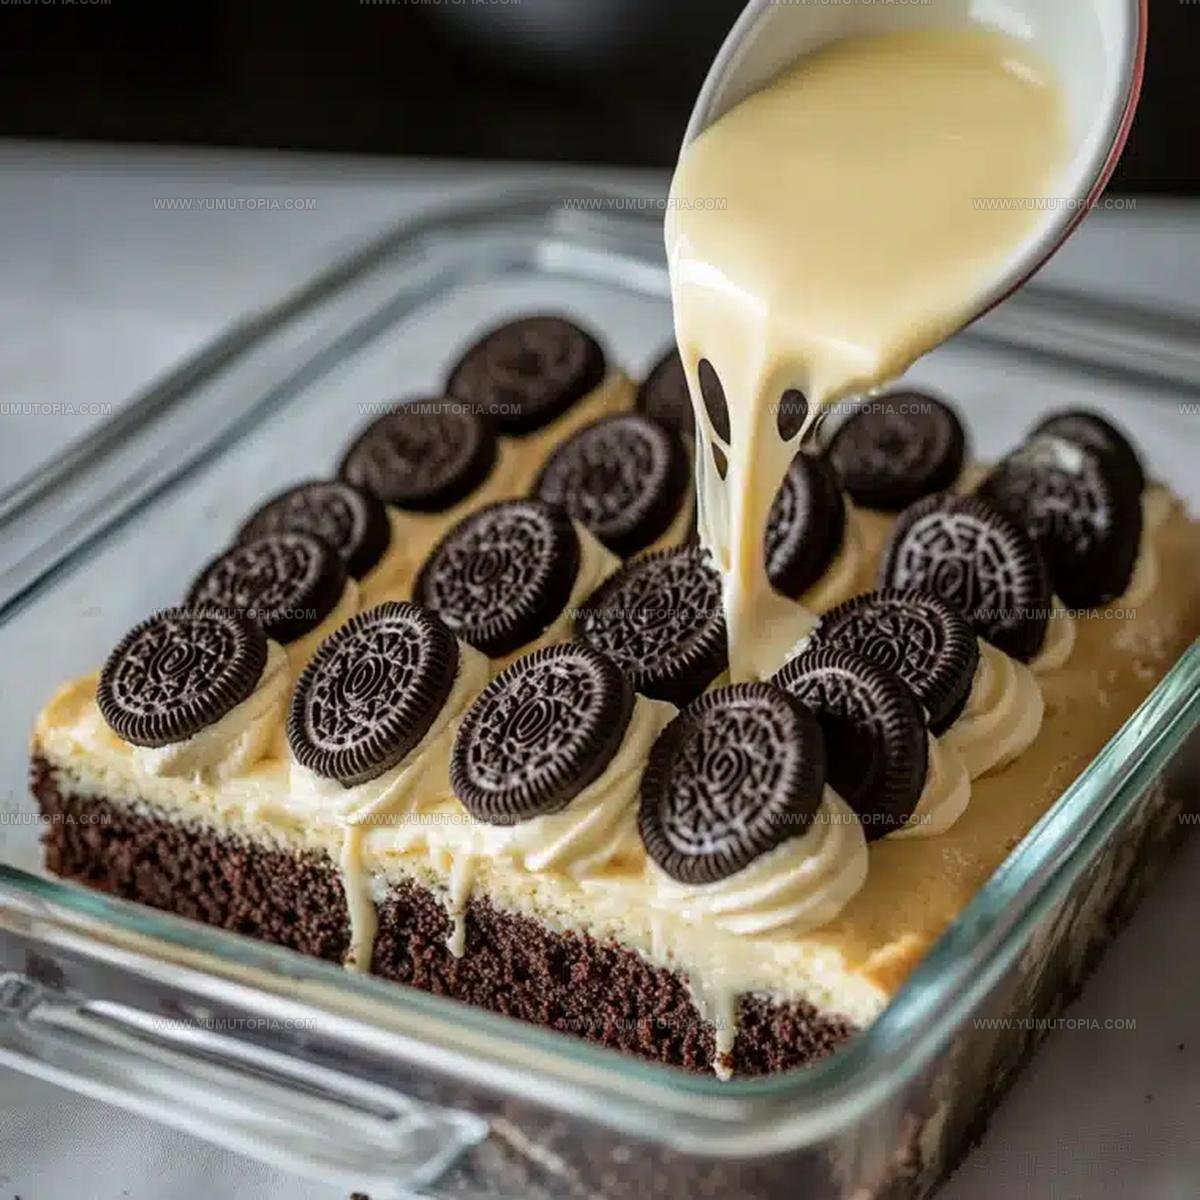
Remove the cake from the oven and let it cool for at least 15 minutes. If desired, top with 1 container (8 oz) of whipped topping. Garnish with reserved whole Oreo cookies, a sprinkle of chocolate chips, or crushed nuts for extra crunch.
Butter Distribution Tricks To Perfect An Oreo Dump Cake
Chocolate Confection Versions Of Oreo Dump Cake
Gooey Chocolate Dessert Flourishes For Oreo Dump Cake
Gooey Dessert Moisture Retention For Oreo Dump Cake
Expert Answers for Making the Best Oreo Dump Cake
Can I use different types of Oreos?
Absolutely! Experiment with flavors like mint, peanut butter, or birthday cake Oreos to create a unique twist on the classic recipe.
Do I need to crush the Oreos finely?
Roughly crush them into smaller pieces. Larger chunks give the cake more texture and delicious cookie bits throughout.
What if I don’t have chocolate pudding mix?
A vanilla pudding mix works as a substitute, but it will change the chocolate intensity of the dessert.
Can I make this cake ahead of time?
Prepare the cake up to a day before baking. Keep it covered in the refrigerator and bake when ready to serve.
Is this recipe good for feeding a crowd?
This cake serves 8-10 people and is perfect for potlucks, family gatherings, or dessert parties.
Can I make this gluten-free?
Use gluten-free Oreos, pudding mix, and cake mix to create a celiac-friendly version of the dessert.
Three-Layer Oreo Dump Cake Recipe
- Total Time: 50-55 minutes
- Yield: 8 1x
Description
Oreo Dump Cake comes together in a snap when you want a super-easy dessert that’ll make everyone smile. Crushed cookies, creamy pudding, and a buttery cake mix create pure chocolate bliss that disappears faster than you can grab a plate.
Ingredients
Main Ingredients:
- 1 box chocolate cake mix
- 2 (3.9 oz) boxes instant chocolate pudding
- 1 package (14.3 oz) Oreo cookies, crushed
Supporting Ingredients:
- 3 cups cold milk
- ¾ cup (1.5 sticks) unsalted butter
Optional Toppings:
- 1 container (8 oz) whipped topping
- chocolate chips
- mini Oreos
- crushed nuts
Instructions
- Heat your oven precisely to 350°F (175°C). Thoroughly coat a 9×13-inch baking dish with cooking spray or butter.
- Crush 1 full package (14.3 oz) of Oreo cookies into small, uneven pieces. Spread these fragments across the dish’s bottom, pressing gently to create an even layer.
- Whisk 2 boxes (3.9 oz each) of instant chocolate pudding mix with 3 cups cold milk for exactly 2 minutes until smooth and thick. Pour this mixture evenly over the Oreo base.
- Distribute the entire 15.25 oz box of dry chocolate cake mix across the pudding layer, ensuring complete and uniform coverage. Do not stir or mix the layers.
- Slice ¾ cup (1.5 sticks) unsalted butter into thin, delicate pats. Arrange these butter pieces across the cake mix, attempting to cover most of the surface.
- Place the dish in the preheated oven. Bake for 40-45 minutes until the top becomes bubbly and develops a slight golden-brown crisp. The center should remain soft and slightly jiggly.
- Remove from oven and allow the cake to rest for 15 minutes. This cooling period helps the layers settle and become more cohesive.
- Optional: Garnish with 8 oz whipped topping, reserved whole Oreo cookies, chocolate chips, or chopped nuts before serving.
Notes
- Crush Oreos into small, uniform pieces to create an even base layer that helps absorb moisture and provides consistent texture.
- Whisking the pudding mix thoroughly ensures a smooth, lump-free layer that binds the cake ingredients together perfectly.
- Use cold milk when mixing pudding to help it set faster and create a more stable foundation for the cake layers.
- For a gluten-free version, swap the regular cake mix with a gluten-free chocolate cake mix and use gluten-free sandwich cookies instead of Oreos.
- Prep Time: 10 minutes
- Cook Time: 40-45 minutes
- Category: Dump Cakes
- Method: Baking
- Cuisine: American
Nutrition
- Serving Size: 8
- Calories: 423 kcal
- Sugar: 39 g
- Sodium: 370 mg
- Fat: 18 g
- Saturated Fat: 10 g
- Unsaturated Fat: 6 g
- Trans Fat: 0.5 g
- Carbohydrates: 60 g
- Fiber: 2 g
- Protein: 4 g
- Cholesterol: 30 mg
Madison Wyman
Recipe Developer & Food Storyteller
Expertise
Recipe Research and Adaptation, Food Writing and Cultural Storytelling, Sustainable and Ethical Sourcing, Dietary Adaptations (e.g., gluten-free, plant-based)
Education
Oregon Health & Science University
Portland Community College
Madison’s passion for flavor and culture ignited amidst the rich Southern cooking traditions of her upbringing, where cherished family recipes told delicious tales.
Armed with a Master’s in Food Systems and Society from Oregon Health & Science University and a Culinary Arts Certificate from Portland Community College, Madison truly excels at transforming rich, intricate flavors into dishes that are both approachable and heartfelt.
For her, cooking is a vibrant blend of science, art, and heritage – a powerful way to connect us to our roots and each other. Her recipes invite you to delve deeper, uncovering the fascinating stories woven into every ingredient.