Moist Banana Bread Recipe For Weekend Mornings
A warm slice of banana bread makes any moment feel special, whether you enjoy it at breakfast or as an afternoon treat.
The comforting aroma that fills the kitchen while baking provides instant coziness to any home.
This classic favorite has won hearts across generations for good reason – it’s simple, satisfying, and always delicious.
Friends and family can’t resist coming back for another serving once they taste how moist and flavorful it turns out.
Baking from scratch feels rewarding when the results are consistently wonderful.
You can share it at gatherings or keep it all for yourself throughout the week.
The recipe below will show you exactly how to bake a loaf that everyone loves.
Why You Should Make Homemade Banana Bread
What Ingredients Are Needed for Classic Banana Bread
Main Ingredients:Sweeteners and Binding:Flour Base:Tools Needed for Classic Banana Bread
How to Make Classic Banana Bread at Home
Prepare Baking Station
Heat the oven to exactly 350°F. Grab a 9×5-inch loaf pan and generously coat the inside with butter, then dust with flour to prevent sticking.
Banana Mashing
Peel those super ripe bananas and drop them into a large mixing bowl. Grab a fork and squish them completely until they’re smooth. Your arm might get a little tired, but keep mashing until no big chunks remain.
Butter and Basics
Pour 1/3 cup melted butter over the mashed bananas. Sprinkle in 1/2 teaspoon baking soda and a pinch of salt. Stir everything together until well combined.
Sweet and Smooth
Add 3/4 cup sugar to the banana mixture. Crack 1 large egg into the bowl and pour in 1 teaspoon vanilla extract. Whisk everything until the mixture looks totally smooth and blended.
Flour Power
Measure out 1 1/2 cups all-purpose flour. Slowly add the flour to your banana mixture:
Stir gently until the flour just disappears. Stop mixing as soon as everything looks combined.
Into the Oven
Pour the batter into your prepared loaf pan. Spread it evenly with a spatula. Slide the pan into the 350°F oven and bake for 55 minutes exactly.
Check and Cool
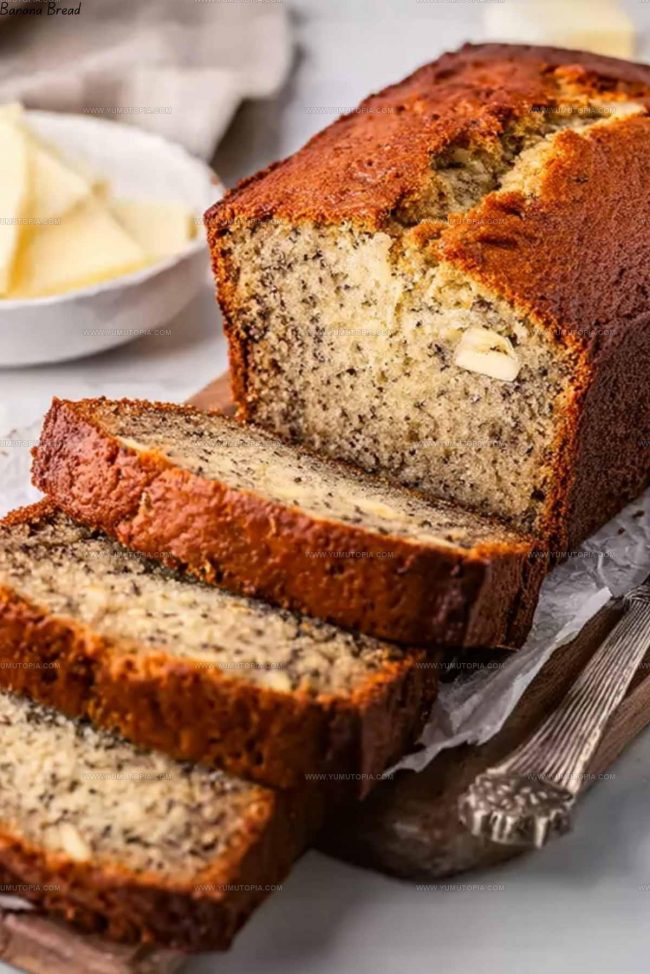
After 55 minutes, poke a toothpick into the center of the bread. If it comes out clean, the bread is done. Let the bread rest in the pan for 10 minutes, then transfer to a cooling rack. Wait at least 30 minutes before slicing to let the bread set perfectly.
What Tips Improve Classic Banana Bread Texture
Which Banana Bread Variations to Try
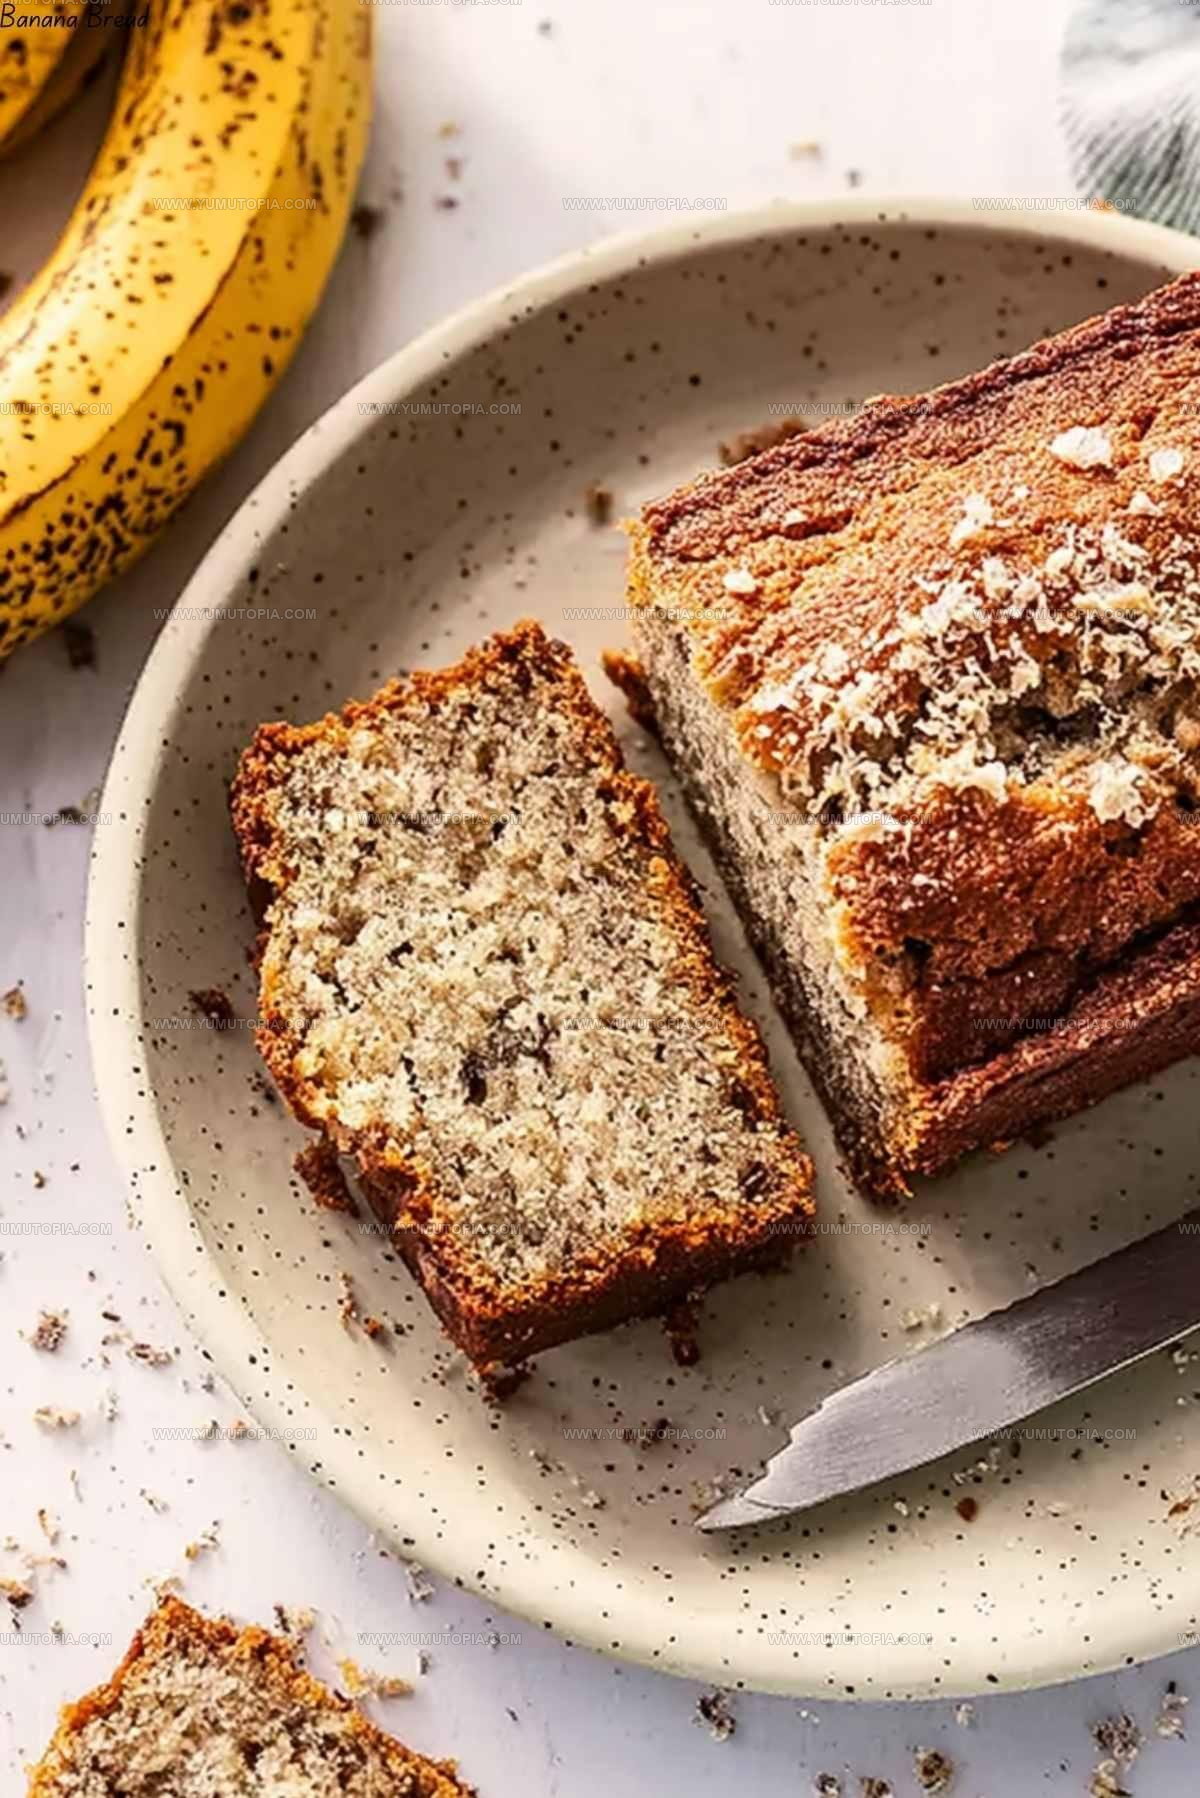
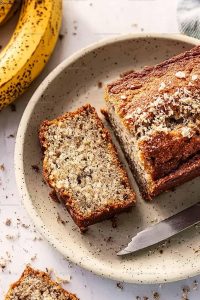
Classic Slice Presentation for Banana Bread
How to Store Classic Banana Bread
Classic Banana Bread Top Questions Answered
Can I use overripe bananas?
Absolutely! The riper the bananas, the sweeter and more flavorful your bread will be. Brown or black spots mean maximum banana goodness.
What if my bananas aren’t super ripe?
Spread bananas on a baking sheet and bake at 300°F for 15-20 minutes to soften and intensify their sweetness.
How do I know when the banana bread is done?
Insert a toothpick into the center – when it comes out clean with just a few moist crumbs, your bread is perfectly baked.
Can I freeze banana bread?
Wrap the cooled bread tightly in plastic wrap, then aluminum foil. It will stay fresh in the freezer for up to 3 months.
Why did my banana bread turn out dense?
Overmixing the batter develops gluten, which makes bread tough. Stir just until ingredients are combined.
What if I don’t have a loaf pan?
A 9-inch square baking pan works great – just adjust baking time and watch carefully.
Walnut-Free Classic Banana Bread Recipe
- Total Time: 1 hour 5 minutes – 1 hour 15 minutes
- Yield: 5 to 6 1x
Description
Warm banana bread fills the kitchen with comfort that wraps around your senses like a gentle hug. Mixing ripe bananas, flour, and a dash of cinnamon creates a simple treat perfect for lazy weekend mornings or afternoon snacks.
Ingredients
Main Ingredients:
- 1 ½ cups all-purpose flour
- 2 to 3 medium very ripe bananas
- ⅓ cup butter
Supporting Ingredients:
- ¾ cup sugar
- 1 large egg
- ½ teaspoon baking soda
Flavor Enhancers:
- 1 teaspoon vanilla extract
- 1 pinch salt
Instructions
- Preheat your oven to 350°F and prepare a 9×5-inch loaf pan by thoroughly coating it with butter and a light dusting of flour.
- Grab 2-3 very ripe bananas and mash them completely in a large mixing bowl until they form a smooth, creamy texture.
- Pour ⅓ cup of melted butter over the mashed bananas and blend thoroughly using a whisk or spatula.
- Sprinkle ½ teaspoon of baking soda and a pinch of salt into the banana mixture, stirring until evenly distributed.
- Add ¾ cup of sugar and stir gently, then incorporate 1 beaten egg and 1 teaspoon of vanilla extract, mixing until the ingredients are fully combined.
- Gradually fold in 1 ½ cups of all-purpose flour, stirring carefully to prevent overmixing and ensure a tender bread texture.
- Transfer the batter into your prepared loaf pan, smoothing the top with a spatula to create an even surface.
- Place the pan in the preheated 350°F oven and bake for 55-60 minutes, rotating halfway through to ensure even browning.
- Test the bread’s doneness by inserting a toothpick into the center – it should come out clean with just a few moist crumbs.
- Remove the pan from the oven and let the bread rest inside for 10 minutes before carefully transferring to a wire cooling rack.
Notes
- Ripe bananas make the most flavorful banana bread, so let those spotted bananas sit on the counter until they’re super soft and sweet.
- Overmixing the batter can create tough, dense bread, so fold the flour gently and stop mixing as soon as the ingredients are just combined.
- For a gluten-free version, swap regular flour with a cup-for-cup gluten-free flour blend that includes xanthan gum.
- Toss in chocolate chips, chopped nuts, or dried fruit to customize your banana bread and add extra texture and flavor.
- Prep Time: 15 minutes
- Cook Time: 50-60 minutes
- Category: Breads
- Method: Baking
- Cuisine: American
Nutrition
- Serving Size: 5 to 6
- Calories: 215 kcal
- Sugar: 15 g
- Sodium: 150 mg
- Fat: 9 g
- Saturated Fat: 5 g
- Unsaturated Fat: 3 g
- Trans Fat: 0.1 g
- Carbohydrates: 30 g
- Fiber: 2 g
- Protein: 3 g
- Cholesterol: 40 mg
Logan Lemaster
Founder & Culinary Innovator
Expertise
Recipe Development and Innovation, Menu Design and Optimization, Fine Dining Techniques, Ingredient Pairing and Flavor Science
Education
Metropolitan Culinary Arts Institute
Logan’s culinary journey kicked off in his vibrant Chicago family kitchen, where fresh, seasonal ingredients and bold flavors were always front and center.
After graduating from the Metropolitan Culinary Arts Institute in Arlington, Virginia, and honing his skills in renowned restaurants, Logan mastered the art of blending classic techniques with exciting, modern twists.
His kitchen is a dynamic lab for flavor exploration. Through Yum Utopia, Logan aims to empower you to cook with both confidence and creativity, turning simple ingredients into spectacular meals.