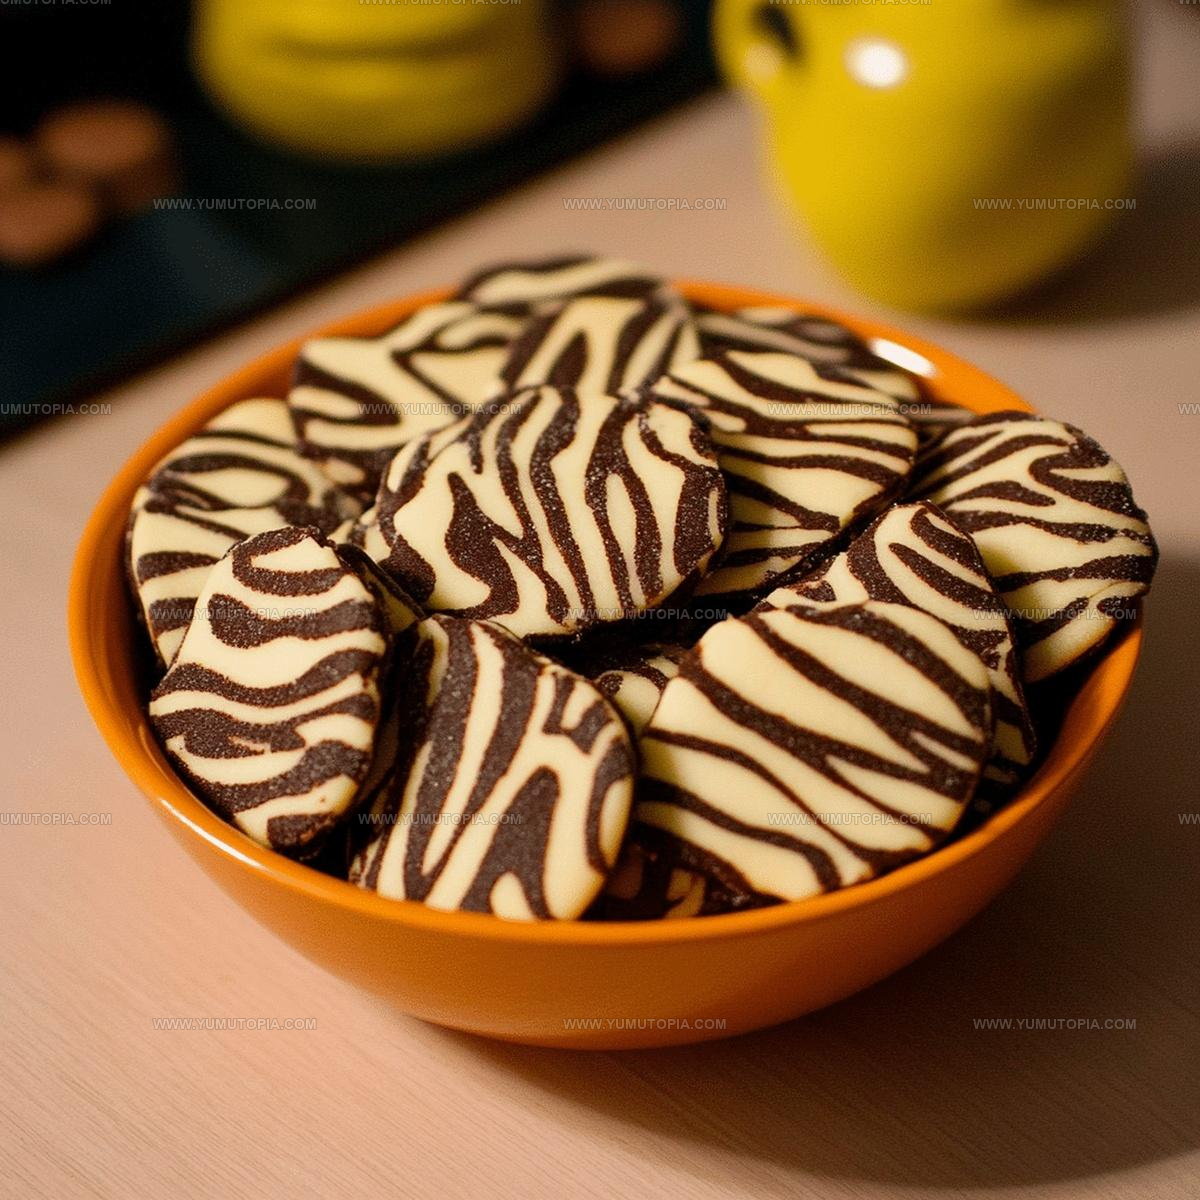
Zebra Cookies Recipe With Striped Chocolate Swirls To Bake
Zebra cookies emerge as a stunning dessert that captures pure visual magic.
Dramatic black and white swirls create an elegant cookie experience that feels simultaneously playful and sophisticated.
Baking enthusiasts love how these cookies transform simple ingredients into something extraordinary.
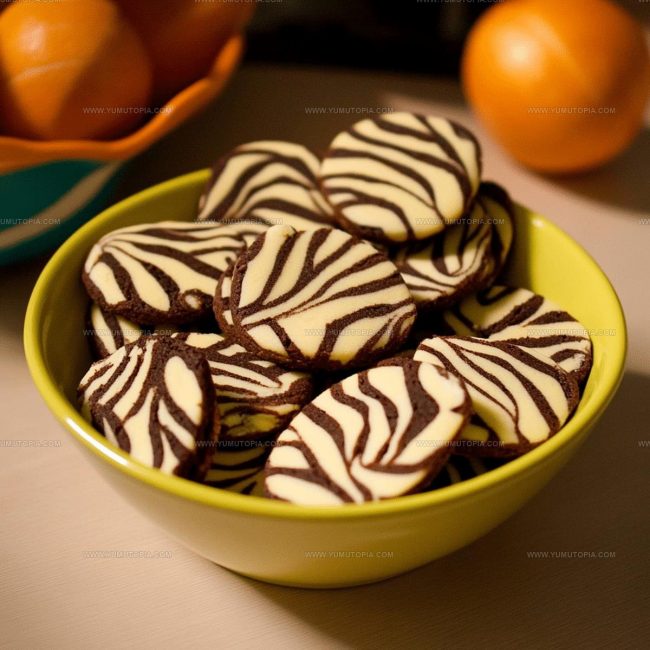
Stunning geometric patterns make zebra cookies stand out at parties, potlucks, and family gatherings.
Sweet treat lovers appreciate the striking monochromatic design that looks professionally crafted.
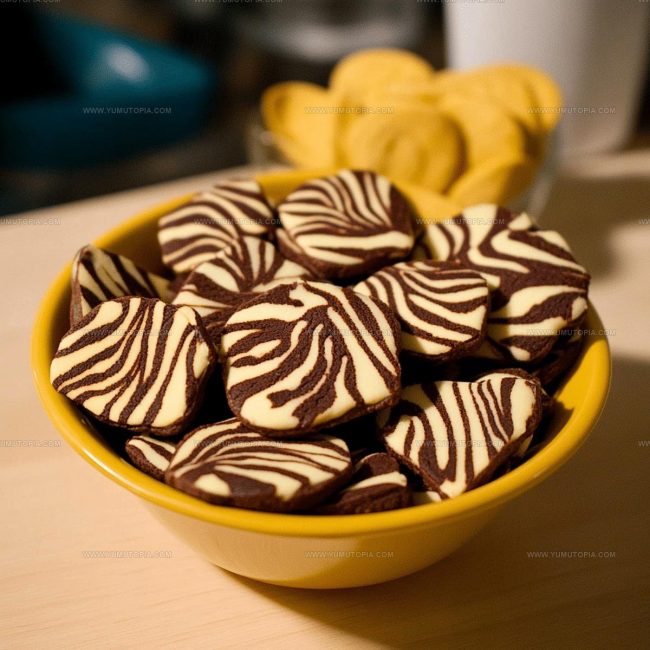
Chocolate and vanilla lovers unite over this eye-catching dessert that promises delightful flavor combinations.
Your next baking adventure just got seriously impressive – grab your mixing bowl and prepare for cookie perfection.
Why Zebra Cookies Always Catch Attention
What Makes Zebra Cookies
Base Ingredients:Binding Ingredients:Flavor Variation Ingredients:Essential Kitchen Tools for Zebra Cookies
How to Make Zebra Cookies
Cream Butter and Sugar
Grab your mixer and blend 3/4 cup softened unsalted butter with 3/4 cup granulated sugar until the mixture looks super smooth and fluffy.
Add Moisture
Crack in 1 large egg and pour 1 tablespoon vanilla extract. Mix everything until completely combined.
Create Basic Dough
Sprinkle in 2 1/2 cups all-purpose flour and 1/4 teaspoon salt. Stir until a soft dough forms. Split this dough exactly in half.
Make Chocolate Portion
Take one dough half and work in these ingredients:
Knead until the dough turns dark brown. If it seems dry, add 1/2 teaspoon milk.
Prepare Dough Layers
Roll both vanilla and chocolate doughs into rectangles about 1/4 inch thick. Stack the chocolate dough directly on top of vanilla dough.
Create Cookie Log
Carefully roll the stacked dough into a tight cylinder, creating beautiful swirled layers. Wrap this log in plastic wrap.
Chill Dough
Refrigerate the wrapped dough for at least 1 hour to firm up completely.
Slice and Prepare
Preheat oven to 350°F. Cut the chilled dough log into 1/4-inch thick rounds. Place cookies on parchment-lined baking sheet.
Bake Cookies
Slide baking sheet into preheated oven. Bake for 10-12 minutes until cookie edges turn light golden brown. Let cool completely before serving.
Practical Cooking Advice For Zebra Cookies

Popular Variations Of Zebra Cookies
Best Serving Options For Zebra Cookies
How To Store Zebra Cookies
Zebra Cookies Common Queries
What makes these cookies striped?
The swirl pattern comes from layering chocolate and vanilla dough, then rolling them together into a tight log before slicing.
Do I need special equipment to create the zebra effect?
No, just roll out two dough types and stack them carefully before rolling into a log – standard kitchen tools work perfectly.
Can chocolate lovers adjust the cocoa level?
Absolutely! Add extra cocoa powder for a deeper chocolate flavor in the dark dough stripe.
Are these cookies difficult to shape?
Not at all. With gentle rolling and some patience, anyone can create beautiful zebra-striped cookies at home.
Should the dough be super cold when slicing?
Refrigerating the log helps maintain the defined stripe pattern and prevents dough from spreading during baking.
Can kids help make these cookies?
Yes! Kids will enjoy rolling out doughs and watching the fun striped pattern emerge when slicing the log.
Zebra Cookies Recipe
- Total Time: 1 hours 30-32 minutes
- Yield: 2 1x
Description
Zebra cookies bring delightful swirls of chocolate and vanilla right to your plate, creating a playful treat that looks way more complicated than the simple steps needed to make them. These marbled beauties slice and bake with minimal effort, delivering maximum smiles to anyone who takes a bite.
Ingredients
Primary Ingredients:
- 2.5 cups all-purpose flour
- 0.75 cup unsalted butter
- 0.75 cup granulated sugar
- 1 large egg
Baking and Flavor Enhancers:
- 2 tablespoons unsweetened cocoa powder
- 1 tablespoon vanilla extract
- 0.25 teaspoon salt
Optional Ingredient:
- 0.5 teaspoons milk
Instructions
- Cream ¾ cup softened butter with ¾ cup sugar until mixture transforms into a pale, silky consistency that feels light when touched.
- Incorporate 1 large egg and 1 tablespoon vanilla extract, blending thoroughly until fully integrated and smooth.
- Fold 2 ½ cups flour and ¼ teaspoon salt into butter mixture, mixing until dough forms a cohesive texture.
- Divide your prepared dough exactly in half using a sharp knife on a clean surface.
- Add 2 tablespoons cocoa powder to one dough portion, kneading gently until chocolate color appears uniform. Add ½ teaspoon milk if dough seems dry.
- Roll both vanilla and chocolate doughs separately into rectangles measuring ¼-inch thick on lightly floured parchment paper.
- Carefully layer chocolate dough atop vanilla dough, pressing gently to eliminate air pockets.
- Tightly roll combined doughs into a cylindrical log, ensuring no gaps between layers.
- Wrap log completely in plastic wrap and refrigerate for 60 minutes at 40°F to firm up.
- Preheat oven precisely to 350°F with rack positioned in center position.
- Slice chilled log into ¼-inch thick rounds using sharp knife.
- Arrange cookie slices 2 inches apart on parchment-lined baking sheet.
- Bake exactly 10-12 minutes until cookie edges turn delicate golden brown.
- Remove from oven and allow cookies to cool completely on baking sheet for optimal texture.
Notes
- Refrigerating the dough helps prevent spreading and keeps the swirl pattern crisp during baking.
- Use room temperature butter for smoother creaming and better cookie texture.
- For clean, even slices, rotate the dough log a quarter turn between cuts to maintain the round shape.
- Gluten-free bakers can substitute all-purpose flour with a 1:1 gluten-free blend for equally delicious results.
- Prep Time: 20 minutes
- Cook Time: 10-12 minutes
- Category: Cookies
- Method: Baking
- Cuisine: American
Nutrition
- Serving Size: 2
- Calories: 669 kcal
- Sugar: 38 g
- Sodium: 360 mg
- Fat: 32 g
- Saturated Fat: 20 g
- Unsaturated Fat: 12 g
- Trans Fat: 0.5 g
- Carbohydrates: 87 g
- Fiber: 3 g
- Protein: 7 g
- Cholesterol: 55 mg
Logan Lemaster
Founder & Culinary Innovator
Expertise
Recipe Development and Innovation, Menu Design and Optimization, Fine Dining Techniques, Ingredient Pairing and Flavor Science
Education
Metropolitan Culinary Arts Institute
Logan’s culinary journey kicked off in his vibrant Chicago family kitchen, where fresh, seasonal ingredients and bold flavors were always front and center.
After graduating from the Metropolitan Culinary Arts Institute in Arlington, Virginia, and honing his skills in renowned restaurants, Logan mastered the art of blending classic techniques with exciting, modern twists.
His kitchen is a dynamic lab for flavor exploration. Through Yum Utopia, Logan aims to empower you to cook with both confidence and creativity, turning simple ingredients into spectacular meals.